HAT Zero Brick
Features
- Raspberry Pi HAT with Raspberry Pi Zero form factor
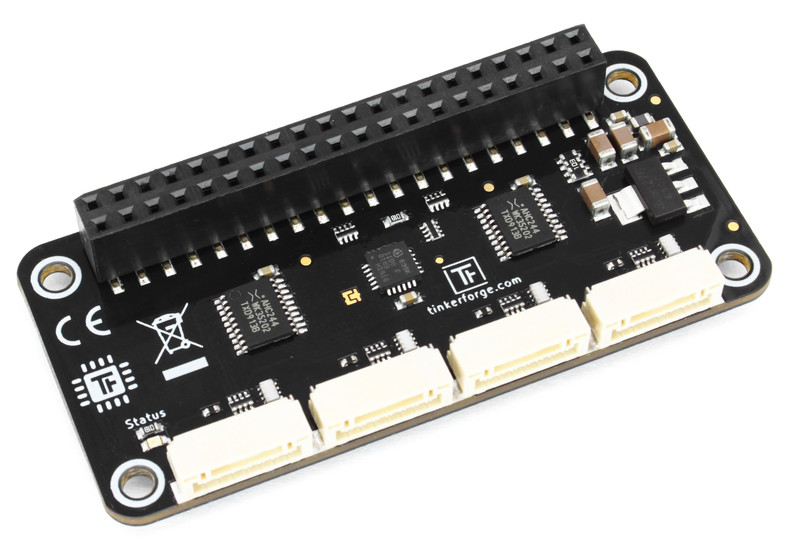
- Four ports for Bricklets
- Measures USB supply voltage
Description
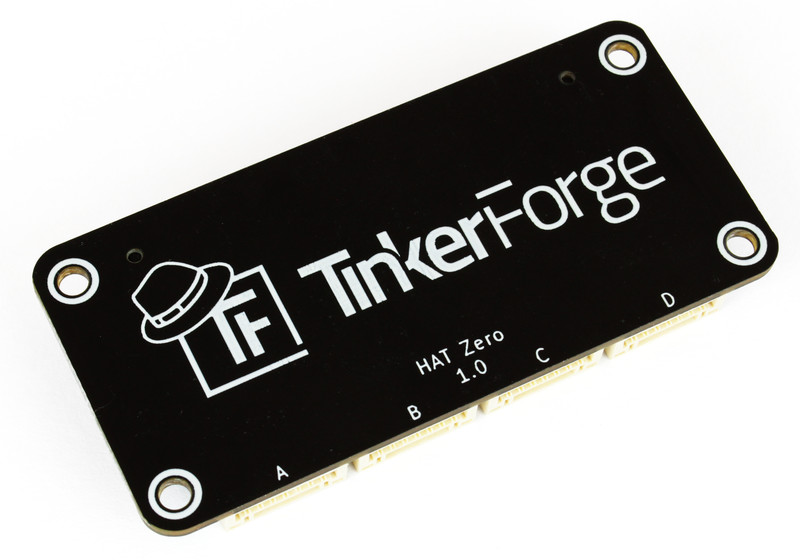
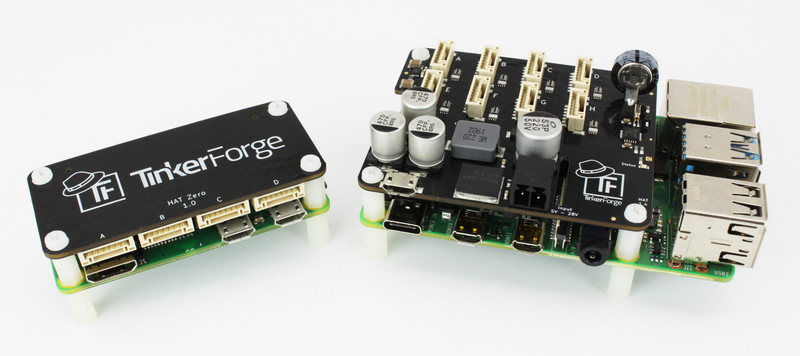
The HAT Zero Brick is a Raspberry Pi HAT with the standard Raspberry Pi Zero HAT form factor. The Brick follows the HAT specification and will automatically and without any changes work with Raspbian.
With the HAT Zero Brick you can connect up to four Bricklets to your Raspberry Pi.
Note
The HAT Zero Brick provides Bricklet ports with 7 poles each. You can connect Bricklets with a 7 pole to 7 pole cable to it. Only Bricklets with 7 pole Bricklet ports are supported.
The USB supply voltage is measured and accessible through the API.
The HAT Zero Brick is electrically compatible to the Raspberry Pi 2B, 3B, 3B+, 4, Zero and Zero W. The mounting holes are compatible to the Raspberry Pi Zero and Zero W and it is designed to take as little space as possible. We also offer a bigger HAT Brick with eight Bricklet ports and additional features that has mounting holes compatible to the standard Raspberry Pi 2/3/4.
Technical Specifications
| Property | Value |
|---|---|
| Current Consumption | 90mW (18mA at 5V) |
| Bricklet Ports | 4 |
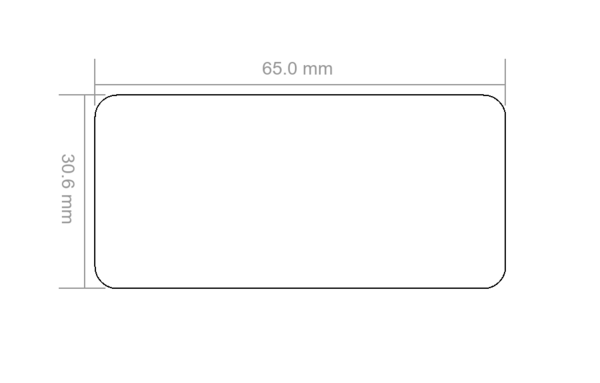
| Dimensions (W x D x H) | 65 x 30 x 5mm (2.56 x 1.18 x 0.20") |
| Weight | 12g |
Current consumption, dimensions and weight without Raspberry Pi.
Resources
Getting Started
To get started with the HAT Zero Brick, you first have to install Brick Daemon on the Raspberry Pi. Brick Daemon acts as a proxy between the Bricklet ports on the HAT Zero Brick and the API bindings.
After Brick Daemon is installed, you can put the HAT Zero Brick on top of the Raspberry Pi and restart it.
Now use Brick Viewer to connect to the Bricklets. You can install Brick Viewer directly on the Raspberry Pi or on an external PC that has access to the Raspberry Pi (over WIFI). If you use an external PC you have to connect to the IP of the Raspberry Pi, otherwise to localhost.
In Brick Viewer a new tab named "HAT Zero Brick" as well as one Tab for each of the connected Bricklets will appear:
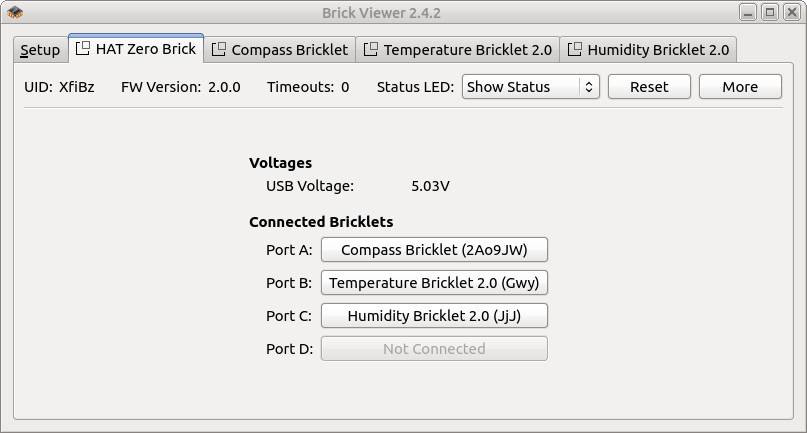
In the HAT Zero Brick tab of Brick Viewer you can see the measured USB voltage as well as the connected Bricklets.
If you are not sure if the HAT Zero Brick was detected correctly you can take a look
in the folder /proc/device-tree/hat/ on the Raspberry Pi:
cd /proc/device-tree/hat/
echo Name: "$(tr -d '\0'<name)", Product: "$(tr -d '\0'<product)",  Product ID: "$(tr -d '\0'<product_id)", Vendor: "$(tr -d '\0'<vendor)"
This should print something like the following:
Name: hat, Product: HAT Zero Brick, Product ID: 0x085d, Vendor: Tinkerforge GmbH
If the folder does not exist or the data does not match the installation was not successful. Is the HAT Zero Brick connected correctly? Did you restart the Raspberry Pi after you connected it?
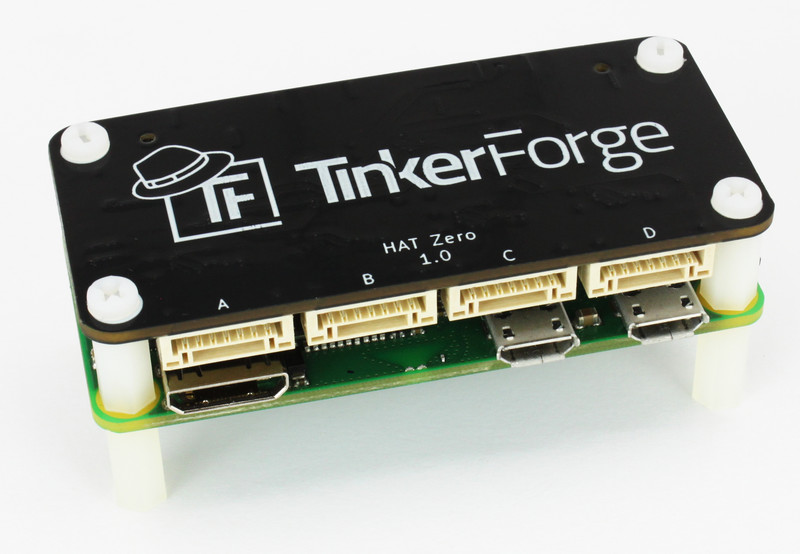
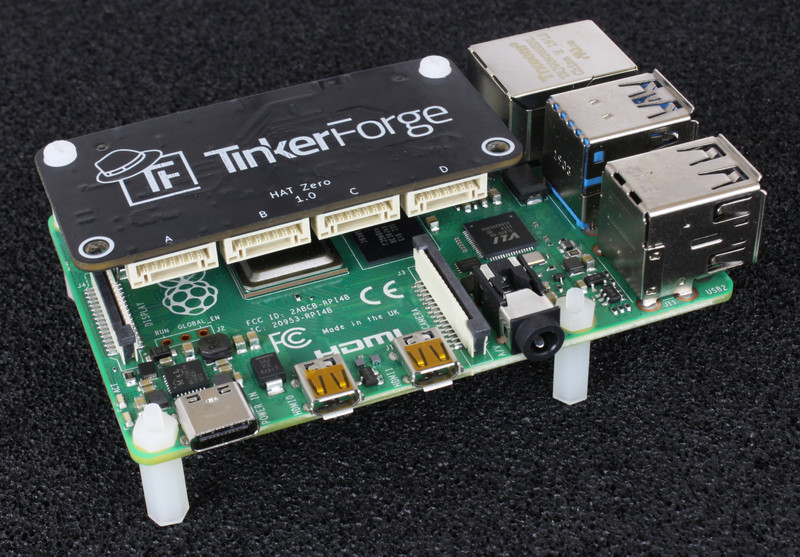
Mounting HAT Zero Brick to normal Raspberry Pi
You can use the HAT Zero Brick with a normal (non-zero) Raspberry Pi 2/3/4.

To mount it we recommend that you use our Raspberry Pi Mounting Kit.
Use the two mounting holes in the back of the HAT and the RPi. The two mounting holes in the front stay unused, but the HAT is still solidly connected this way and will not come free under vibration. You can use the standoffs together with nuts that are part of the mounting kit to make the RPi level or to mount it to something else.
There is enough space left between the RPi and the HAT Zero Brick to connect Bricklets to all four Bricklet ports.
Compatibility to other Boards and Images
If you use Raspbian, the HAT Zero Brick will automatically be detected and usable. The pins that are used for the communication with the Bricklets are configured automatically.
This is done through a configuration that is read by Raspbian from an EEPROM on the HAT.
If you use a non-standard Linux image that does not have the raspi-config framework or
a different board that has a compatible pin header but a different processor this will
not work automatically.
In this case the Brick Daemon can do the necessary configuration to the SPI and GPIO
pins. You have to add the configuration to the /etc/brickd.conf file.
For a standard Raspberry Pi with non-standard image you can add the following:
bricklet.group0.spidev = /dev/spidev0.0

bricklet.group0.cs0.driver = gpio
bricklet.group0.cs0.name = gpio27
bricklet.group0.cs0.num = 27

bricklet.group0.cs1.driver = gpio
bricklet.group0.cs1.name = gpio23
bricklet.group0.cs1.num = 23

bricklet.group0.cs2.driver = gpio
bricklet.group0.cs2.name = gpio24
bricklet.group0.cs2.num = 24

bricklet.group0.cs3.driver = gpio
bricklet.group0.cs3.name = gpio22
bricklet.group0.cs3.num = 22

bricklet.group0.cs4.driver = gpio
bricklet.group0.cs4.name = gpio25
bricklet.group0.cs4.num = 25
First you have to define the SPI device that is used (/dev/spidev0.0 for the
Raspberry Pi). Then you have to define the GPIO driver, name and number for each
chip select pin. There are four chip selects for the four Bricklet ports and one
additional chip select for the HAT Zero Brick itself.
If you use a completely different board you will have to take a look it's schematics to adjust the configuration. If you need help with this the best place to ask is probably in the forums at tinkerunity.org.
Programming Interface
See Programming Interface for a detailed description.
| Language | API | Examples | Installation |
|---|---|---|---|
| C/C++ | API | Examples | Installation |
| C/C++ for Microcontrollers | API | Examples | Installation |
| C# | API | Examples | Installation |
| Delphi/Lazarus | API | Examples | Installation |
| Go | API | Examples | Installation |
| Java | API | Examples | Installation |
| JavaScript | API | Examples | Installation |
| LabVIEW | API | Installation | |
| Mathematica | API | Examples | Installation |
| MATLAB/Octave | API | Examples | Installation |
| MQTT | API | Examples | Installation |
| openHAB | API | Examples | Installation |
| Perl | API | Examples | Installation |
| PHP | API | Examples | Installation |
| Python | API | Examples | Installation |
| Ruby | API | Examples | Installation |
| Rust | API | Examples | Installation |
| Shell | API | Examples | Installation |
| Visual Basic .NET | API | Examples | Installation |
| TCP/IP | API | ||
| Modbus | API |