Java (Android) - API Bindings
For Android the normal Java bindings can be used. For general information see the documentation about the Java bindings, this page only covers Android specific things.
In the following we assume that you already have the Android development environment installed. If you are just starting with Android development, you should first complete the first app tutorial from Google.
Testing an Example
As an example we will create a small project that can toggle a Dual Relay Bricklet. It should be easy to adjust this example for your needs.
Start a new project by clicking on:
File
New
Project...
Android Project
Choose "Name" (e.g.
relay)Choose "Target"
Choose "Package name" (e.g.
org.example)Click Finish
Copy the Tinkerforge.jar from the Java bindings into your
PROJECTFOLDER/libs/ folder.
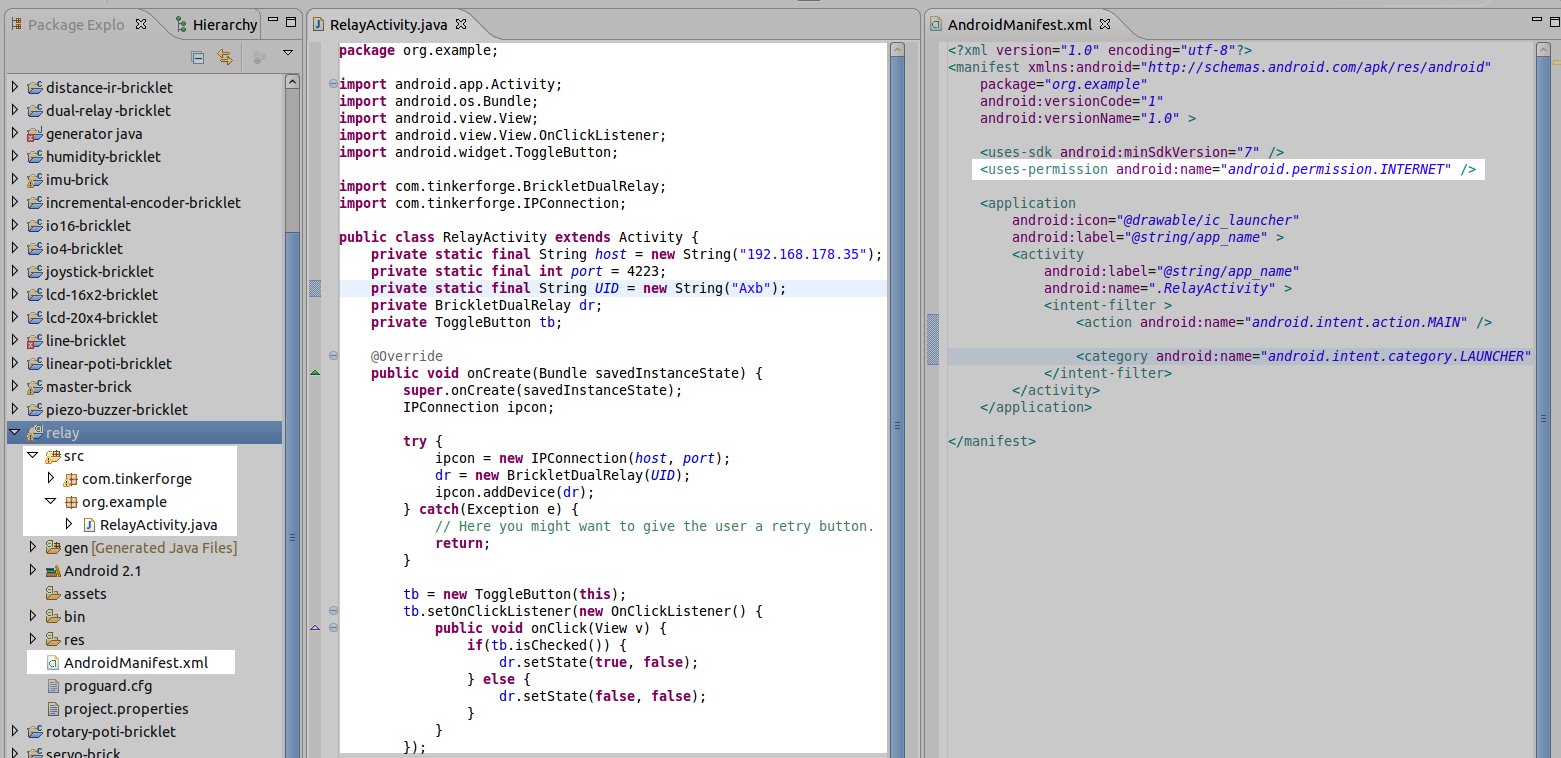
Edit the source. Don't forget to set the host IP address to the IP address of the PC running brickd. You can use your local IP address or the IP address you are connected to the Internet with. If you use the latter, you also have to make sure that the brickd port is opened to the outside.
Below is a small example program that turns a relay on and off with a toggle button.
package org.example;

import android.app.Activity;
import android.os.Bundle;
import android.view.View;
import android.view.View.OnClickListener;
import android.widget.ToggleButton;

import com.tinkerforge.BrickletDualRelay;
import com.tinkerforge.IPConnection;

public class RelayActivity extends Activity {
    // Change to the IP address of your host
    private static final String host = "192.168.178.35";
    private static final int port = 4223;
    private static final String UID = "Axb";
    private IPConnection ipcon;
    private BrickletDualRelay dr;
    private ToggleButton tb;

    @Override
    public void onCreate(Bundle savedInstanceState) {
        super.onCreate(savedInstanceState);

        try {
            ipcon = new IPConnection();
            dr = new BrickletDualRelay(UID, ipcon);
            ipcon.connect(host, port);
        } catch(Exception e) {
            // Here you might want to give the user a retry button.
            return;
        }

        tb = new ToggleButton(this);
        tb.setOnClickListener(new OnClickListener() {
            public void onClick(View v) {
                if(tb.isChecked()) {
                    dr.setState(true, false);
                } else {
                    dr.setState(false, false);
                }
            }
        });

        setContentView(tb);
    }
}
After that you have to add the Internet permission (to be able to use the network):
<uses-permission android:name="android.permission.INTERNET" />
to AndroidManifest.xml on the same level as the <application> tag.
Your application should now look as depicted below:
Test in simulator by clicking:
Run
Run
Android Application
Note
This example calls potentially blocking methods on the UI thread, such as
new IPConnection and setState. This is not recommended because it can
make the UI hang. To avoid this the communication via the IPConnection should
be done using an extra thread, for example by using an AsyncTask.
Since Android 4.2 calling new IPConnection on the UI thread will cause an
andriod.os.NetworkOnMainThreadException to be thrown. See this
StackOverflow question
for more details.