Chibi Master Extension
Note
The Chibi Extension is discontinued and is no longer sold. Depending on the use-case the WIFI Extension 2.0 can be a replacement.
Features
700/800/900MHz radio transceiver
Allows wireless interconnection between stacks
Configurable frequency and channel
Integrated signal strength measurement
Description
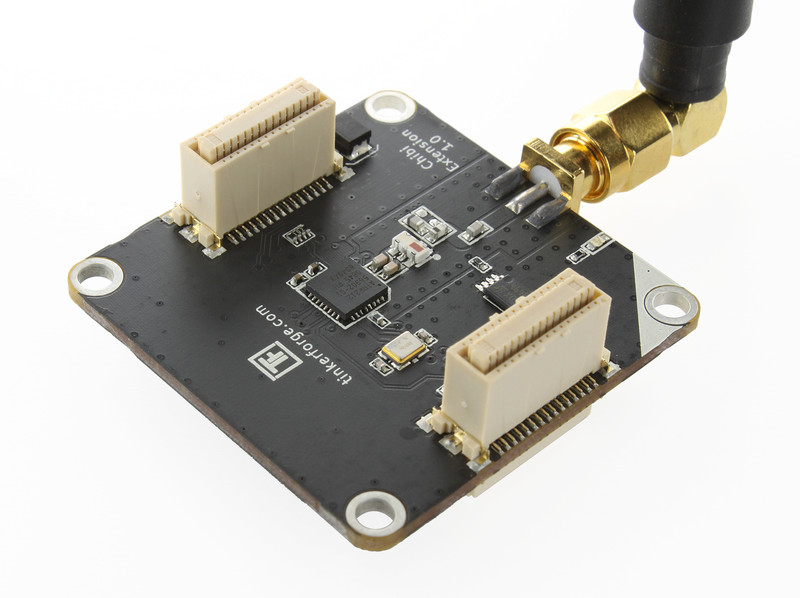
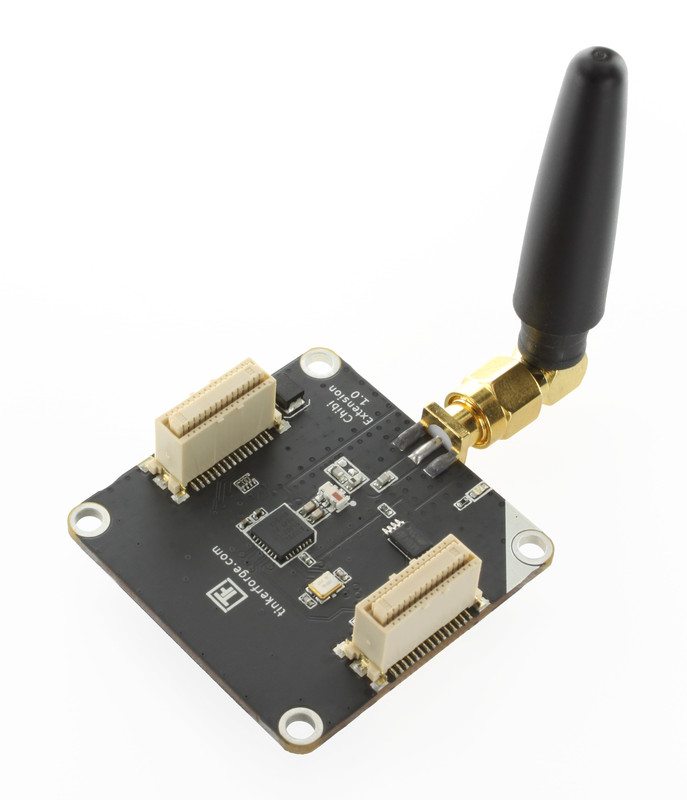
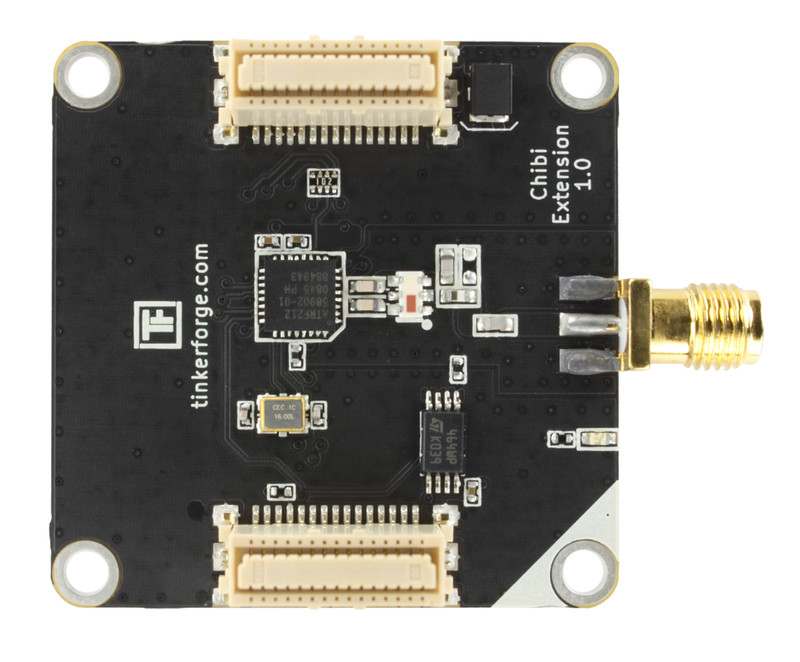
The Chibi Extension is equipped with a 700/800/900MHz radio transceiver. Typically this transceiver is used for long range Zigbee networks. Unfortunately the Zigbee terms of use do forbid a GPL implementation of the Zigbee protocol stack (see here for more information).
Thus we decided to port the open source Chibi Wireless Stack or this extension. It is a simple and small protocol stack that is perfectly suited for our use cases.
In good conditions a range of up to 2km can be achieved outdoors.
To establish a Chibi network with Bricks, at least two Chibi Extensions and two Master Bricks are needed. Both Master Bricks can be connected to a full stack of Bricks and Bricklets, whereas one Master Brick is Battery powered and one is connected with USB. From a programming perspective the Chibi network is completely transparent, i.e. the two stacks can be used exactly the same way as if they were both connected via USB.
It is also possible to create a network with several Chibi Extension where only one is connected via USB (many-to-one routing).
The following combinations with other Extensions in a stack are possible (regardless of order):
Chibi Master / RS485 Slave
Chibi Slave / RS485 Master
Note
After configuring a Chibi network all devices will behave as connected via USB to your PC. Therefore you need no code changes if you change your system from cable based to Chibi. But be aware that you will loose through put since the Chibi transmission speed is slower than USB transmission speed.
Technical Specifications
Property |
Value |
|---|---|
Current Consumption |
10mA |
Maximum Range (Outdoor) |
2km |
Maximum Baud Rate |
250kbit/s |
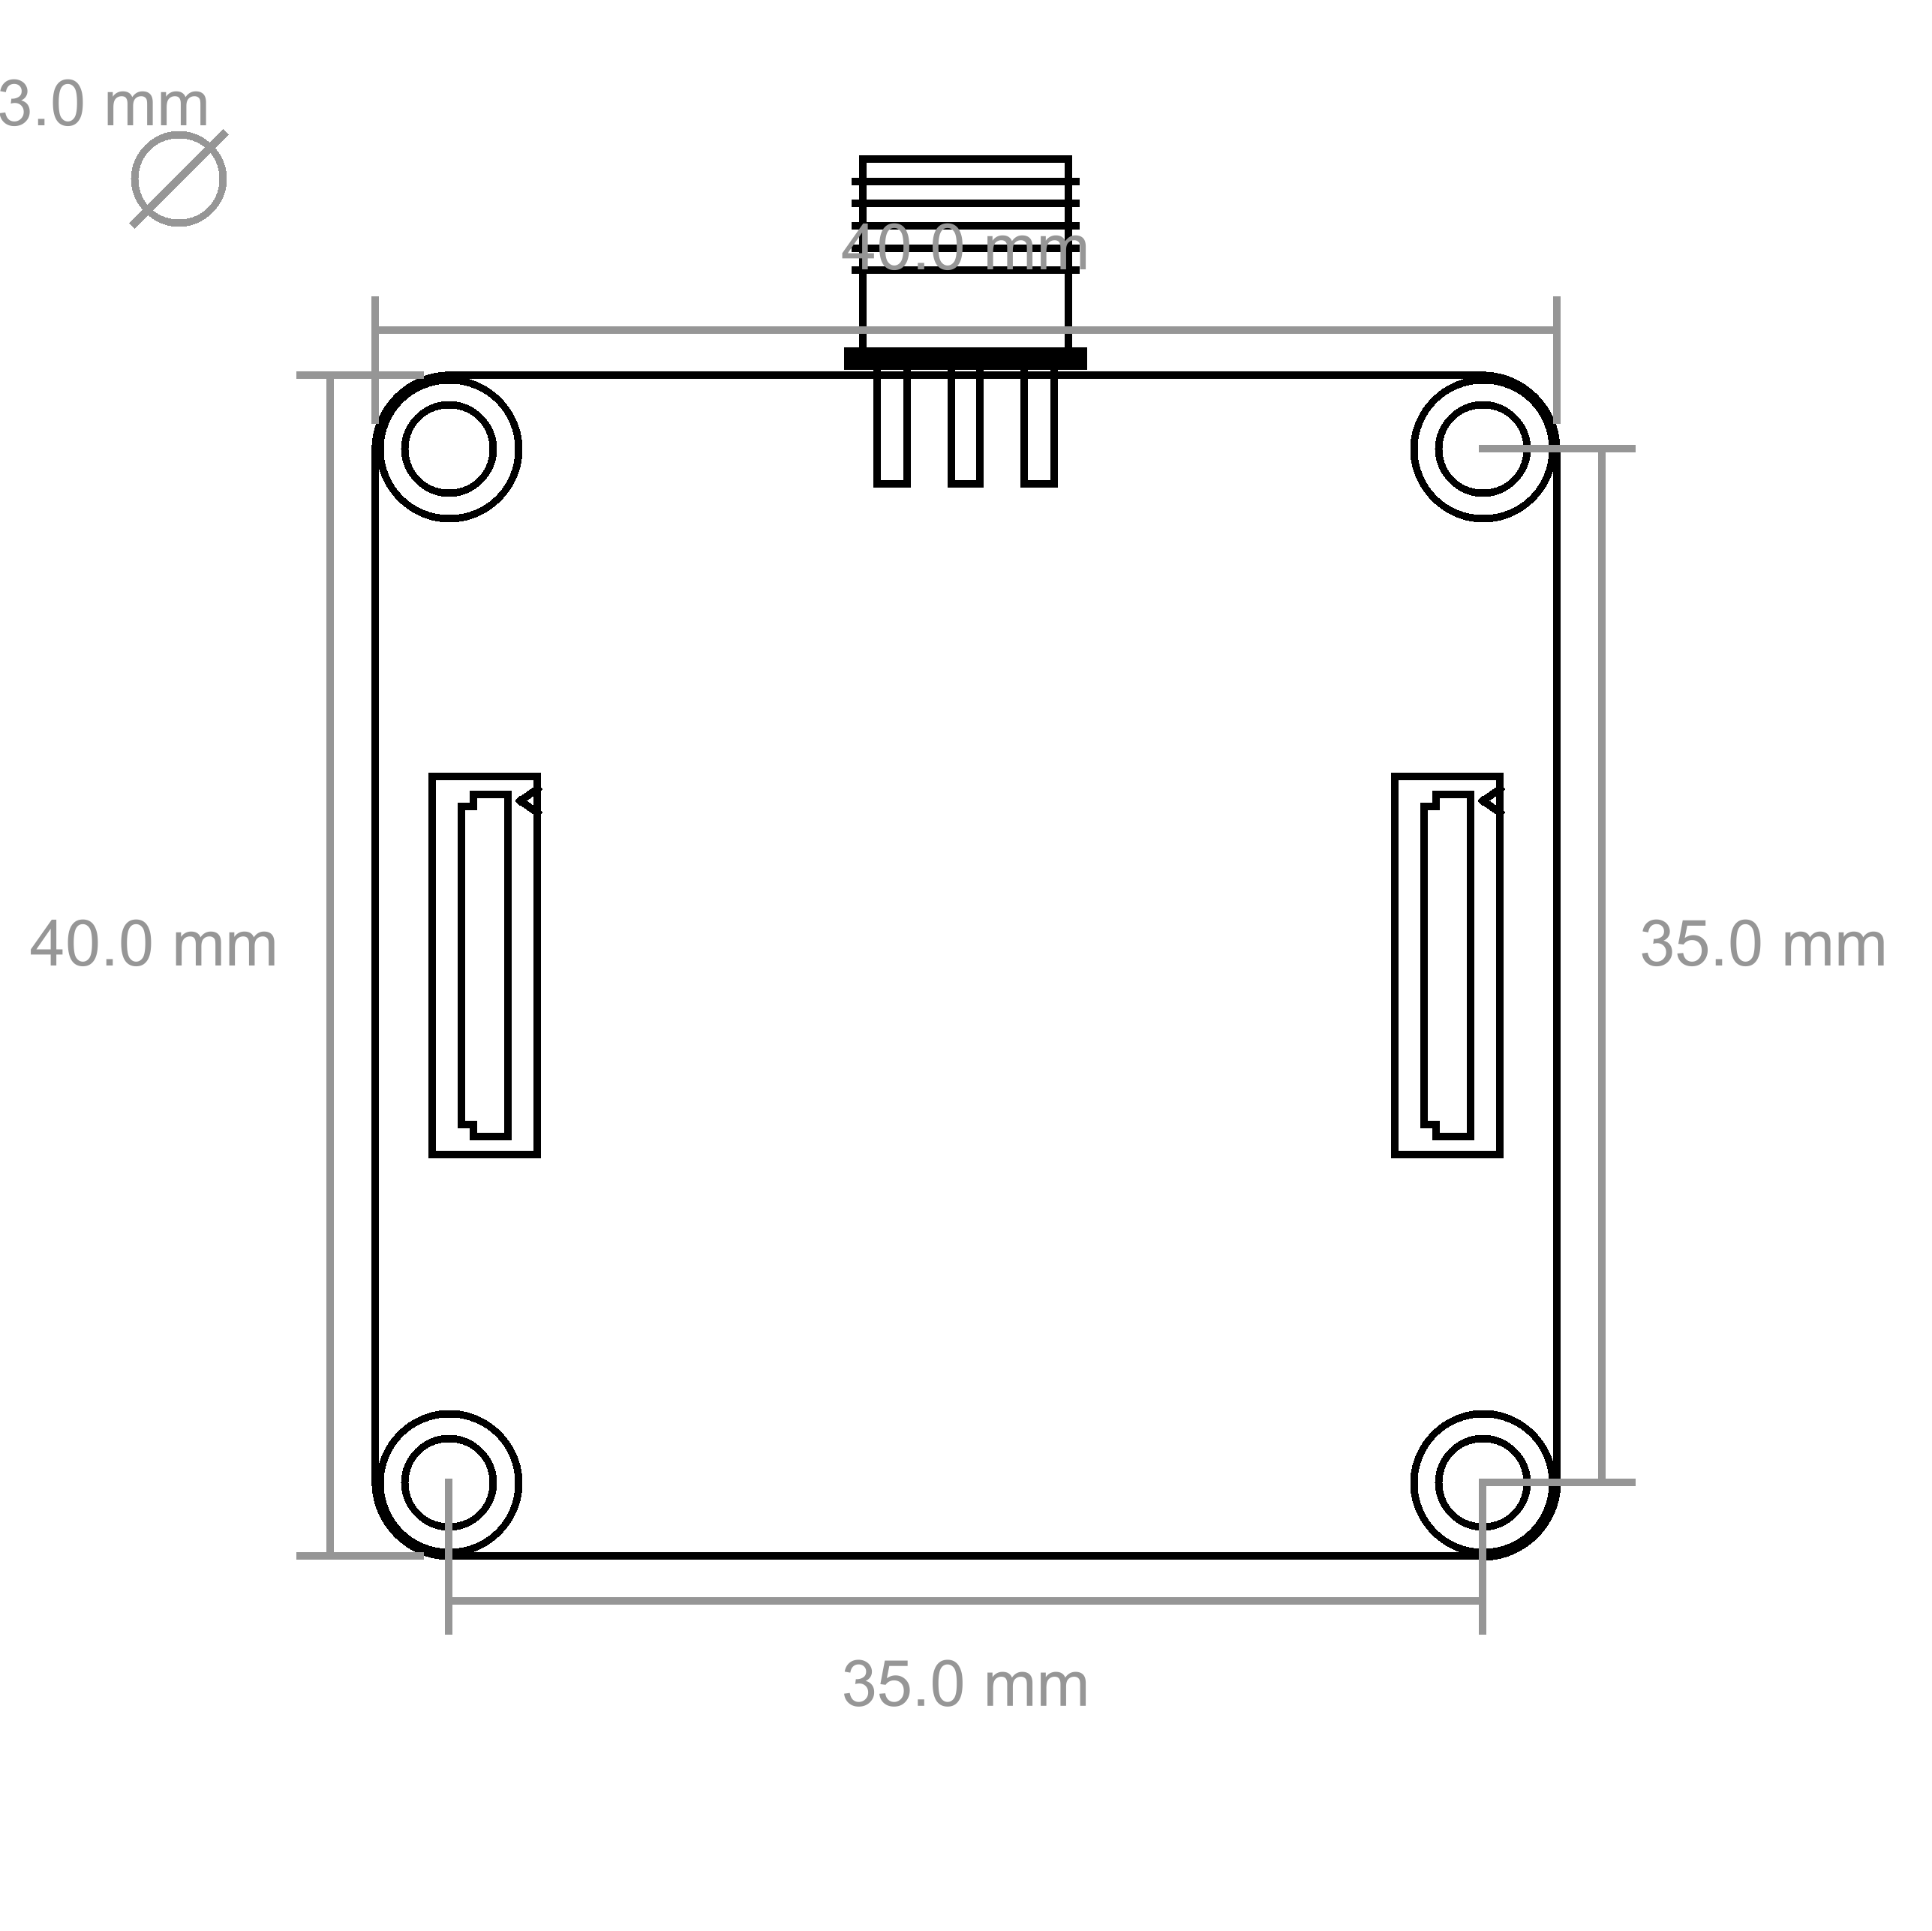
Dimensions (W x D x H) |
40 x 40 x 16mm (1.57 x 1.57 x 0.63") |
Weight |
13g |
Resources
Chibi Network Assembly
A Chibi network consists of one master and multiple slaves. Chibi master is the Master Brick which has a USB connection to the PC running the Brick Daemon. All the other Master Bricks with Chibi Extension must not have a USB connection (they can use a USB Power Supply since Master Brick firmware 1.1.3). Each Chibi Extension is identified with its own address. The addresses have to be unique in the transmission range.
Note
If you use multiple networks in parallel with identical channel and frequency make sure that every address is unique and not used in different networks in transmission range.
To create a Chibi network, stack the Chibi Extension on top of a Master Brick. Connect the Master Brick via USB with your PC and start the Brick Viewer software. You should see the Master Brick view with the identified Chibi Extension (see image below). Configure the extension as slave or master (as described here).
If you have configured all extensions you can build your system. Connect Bricks and Bricklets as you like. The Master of each stack has to be the lowermost Brick (except if you are using a Power Supply). The Chibi Extension can be positioned in the stack as you wish.
After you have plugged together your system you have to power it up. You have to power up the slaves before the master, since the Chibi master searches for slaves only at startup. You should now be able to see all connected stacks in the Brick Viewer.
Chibi Configuration
Note
The Chibi configuration changed starting from Brick Viewer version 1.0.6, before this version it was not necessary to specify if the extension should be used as master or slave (it was inferred by other means).
It turns out that this was highly confusing to most, so we recommend that you update to the newest Brick Viewer version before you configure your Chibi network.
To configure a Chibi Extension you have to choose a unique address and a frequency and channel first.
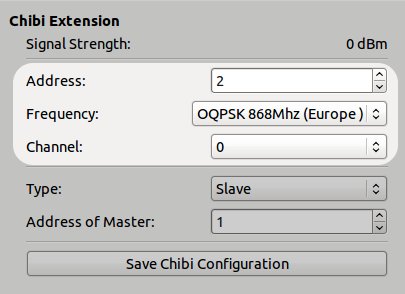
If you want to configure the extension as slave, you have to choose "Slave" as type and specify the address of the Chibi master.
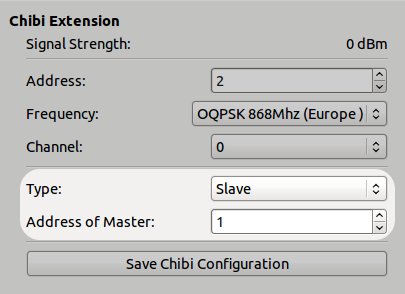
If you want to configure the extension as master, you have to choose "Master" as type and specify a list of the slave addresses the master should be able to talk to (as a comma separated list).

At the end, press "Save Chibi Configuration" to save the configuration permanently on the Chibi Extension. The Master Brick has to be restarted to apply the new configuration.
Chibi Network Modification
If you want to change something in your network, e.g. add new Bricks or Bricklets, you have to power down the stack you like to change. Change it and repower it. If the node was a Chibi slave, you also have to reset the Chibi master (it only searches for new Bricks and Bricklets on startup). This can be achieved by a power cycle or pressing the reset button on the Master Brick.
Chibi Frequency and Channel
The Chibi Extension supports several frequencies with different channels and different frequencies are allowed in different countries.
Here is a small list of frequencies with corresponding possible channels:
Frequency |
Possible Channels |
|---|---|
OQPSK 868MHz (Europe) |
0 |
OQPSK 915MHz (US) |
1, 2, 3, 4, 5, 6, 7, 8, 9, 10 |
OQPSK 780MHz (China) |
0, 1, 2, 3 |
BPSK40 915MHz |
1, 2, 3, 4, 5, 6, 7, 8, 9, 10 |
Warning
The Chibi Extension is sold as an electronic component. You are building a system with this component and it is your responsibility that the system you are building meets your local statutory regulations. Make sure that you are allowed to use the frequency you are configuring!