- Getting Started
- Hardware
- Software
- Kits
- Embedded Boards
- Specifications
Tabletop Weather Station
Features
Open source touch-capable Tabletop Weather Station
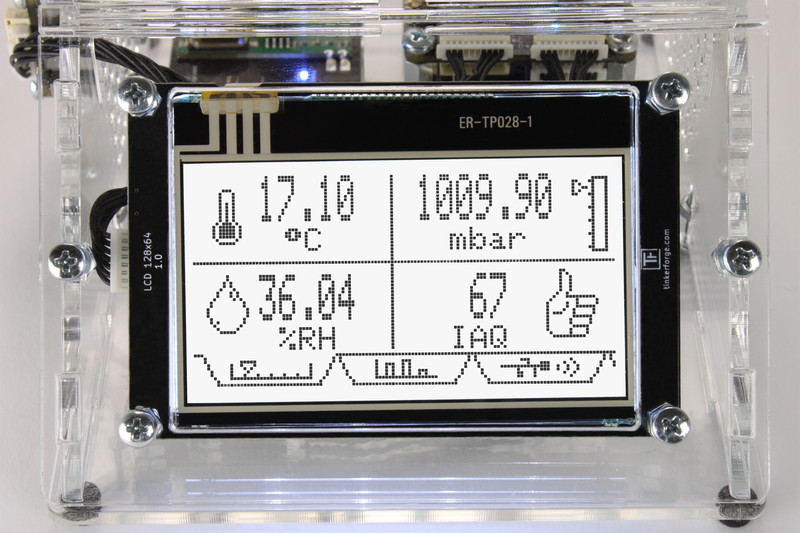
Measures Temperature, Humidity, Air Pressure and Air Quality Index
Demo Application available (touch-capable, with graphs, database logging)
Control over USB, Wi-Fi or with RED Brick
Internet of Things (IoT) capable
Description
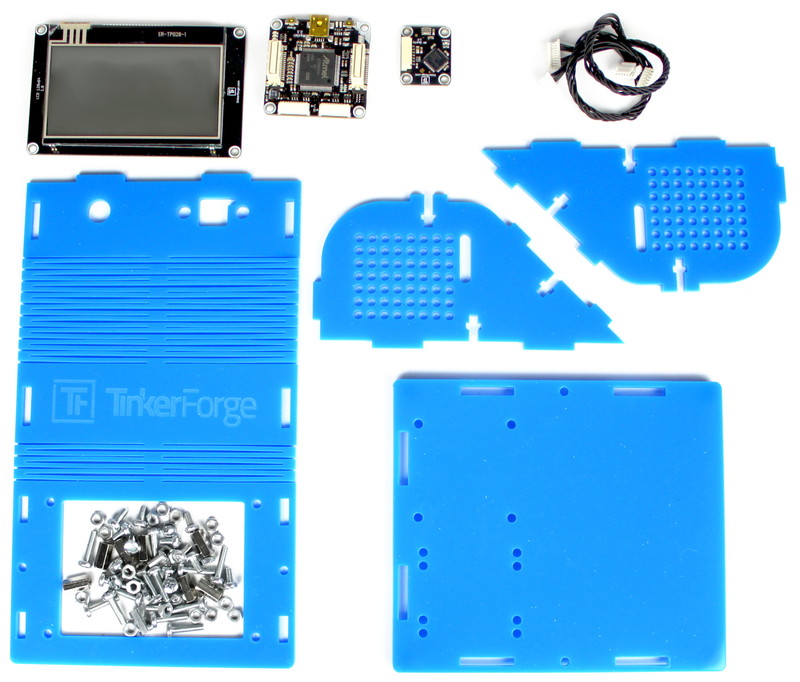
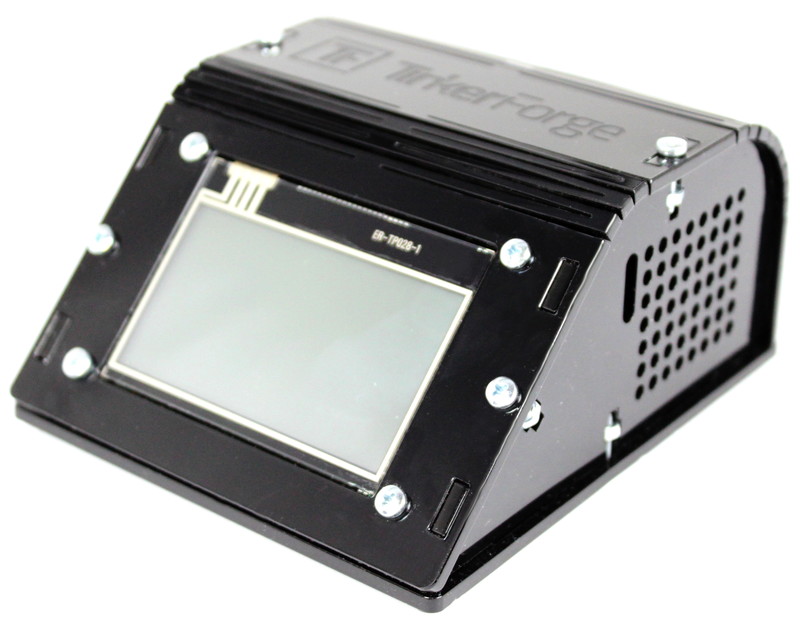
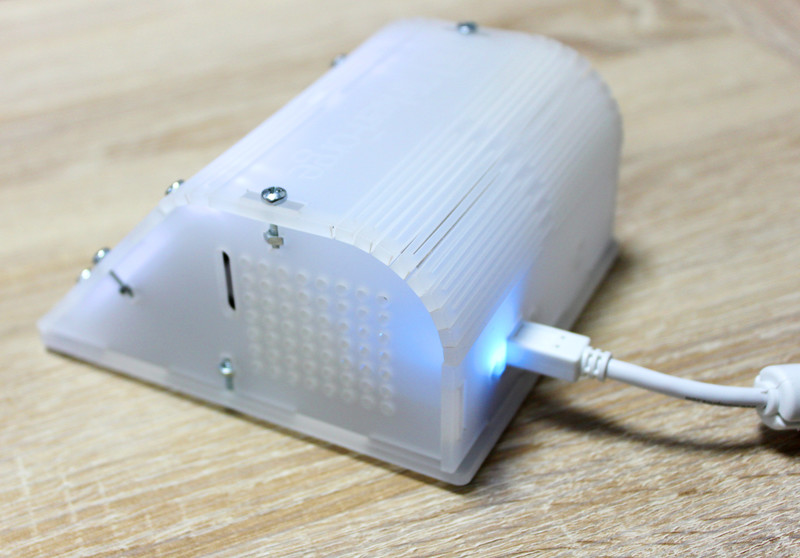
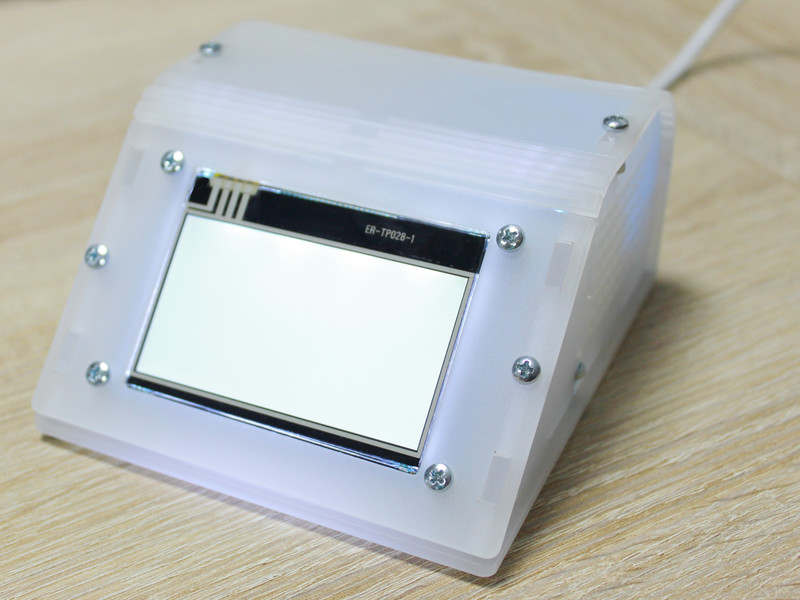
The Tabletop Weather Station is an open source touch-capable weather station. It measures temperature, humidity, air pressure and air quality index with high precision. The basic kit consists of
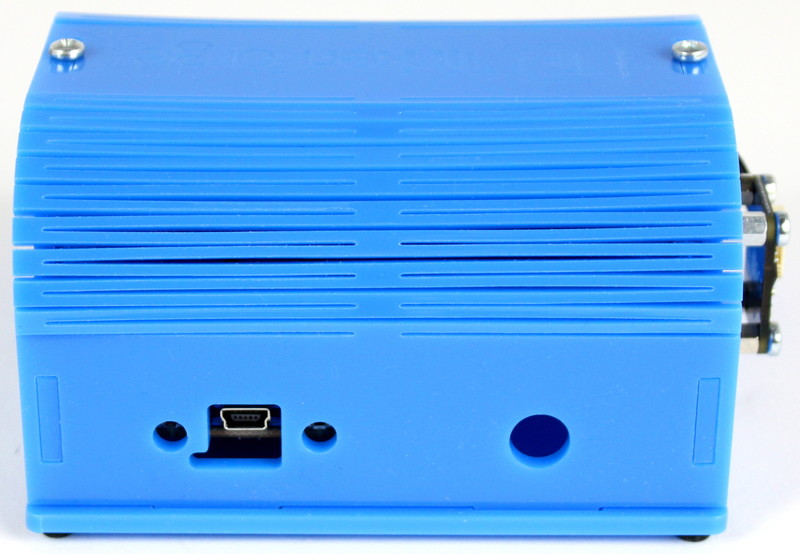
It can be controlled by an (Embedded-) PC. Control via Wi-Fi is possible if a WIFI Extension 2.0 is added. Alternatively the weather station can be controlled over your local network when adding an Ethernet Extension. To use it standalone you can add a RED Brick or another embedded board such as a Raspberry Pi.
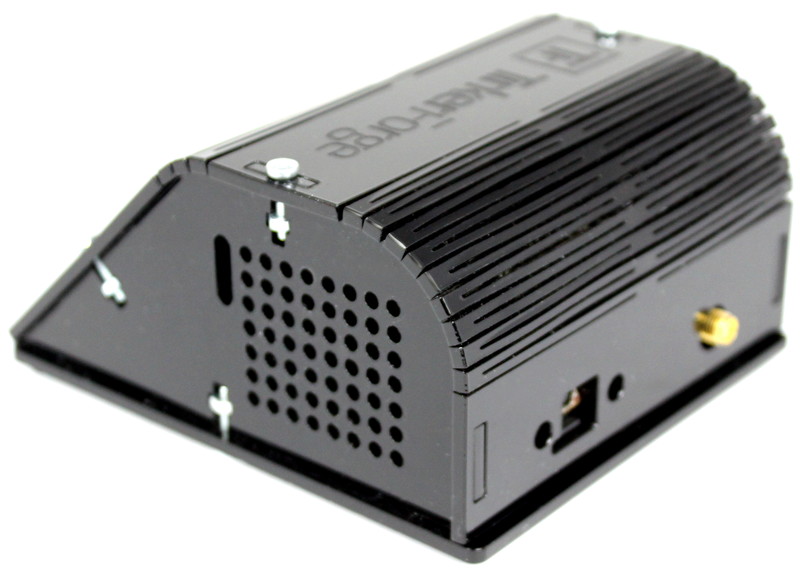
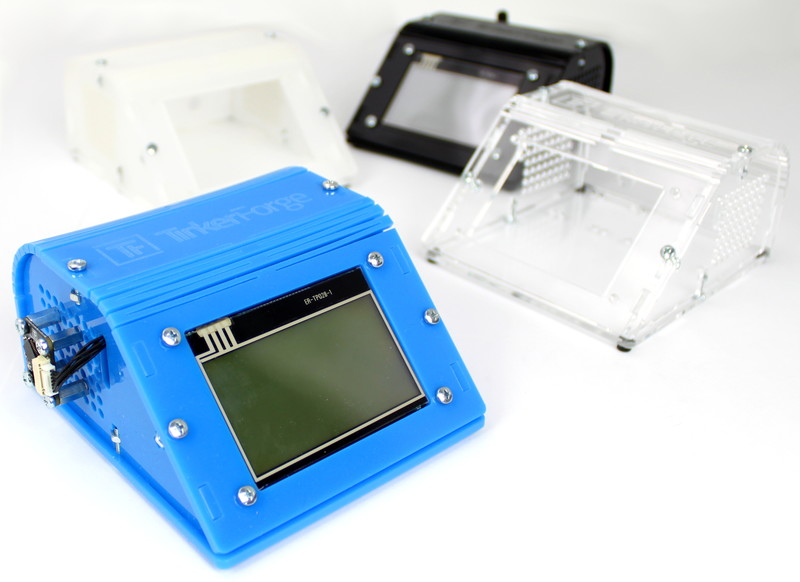
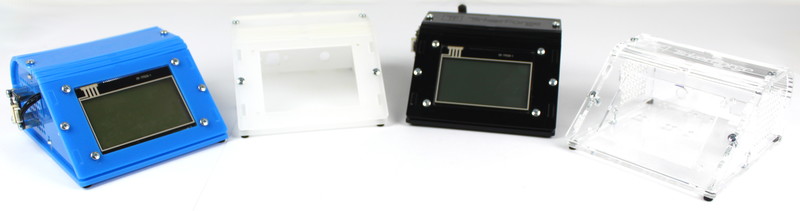
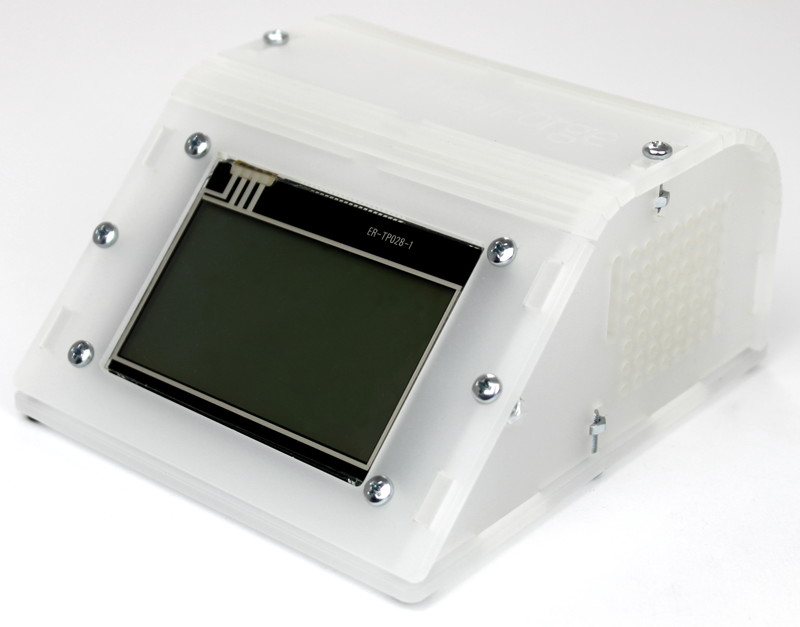
The kit allows to modify soft- and hardware. The casing consists of tinker-friendly PMMA which can be easily modified (e.g. drill new holes with simple wood drill). Additionally mounting holes for other sensor Bricklets are available.
Programming of the weather station can be done with all of the available bindings (C/C++, C/C++ for Microcontrollers, C#, Delphi/Lazarus, Go, Java, JavaScript, LabVIEW, Mathematica, MATLAB/Octave, MQTT, openHAB, Perl, PHP, Python, Ruby, Rust, Shell, Visual Basic .NET). Example implementations for many supported programming languages and a demo application are available. The demo application offers graphs, logging to database, control via touch, etc. It is written in Python and available for Windows, Linux and macOS.
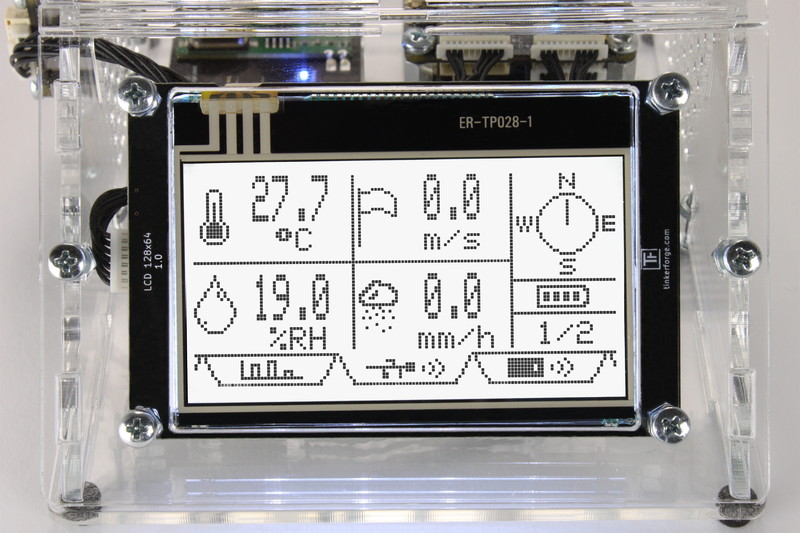
The kit can be extended by an Outdoor Weather Bricklet. Mounting holes and an opening for the antenna are included in the Tabletop Weather Station enclosure. With this Bricklet you can receive data from the following wireless outdoor weather station and sensor:
Both are supported by the demo application out-of-the-box.
Technical Specifications
Property |
Value |
|---|---|
IAQ Index Resolution |
1 |
Air Pressure Resolution |
0.0018hPa |
Humidity Resolution |
0.008%RH |
Temperature Resolution |
0.01°C |
IAQ Index Accuracy |
±15 and ±15% of reading |
Air Pressure Accuracy |
±0.12hPa (700-900hPa at 25-40°C), ±0.6hPa (full scale) |
Humidity Accuracy |
±3%RH (20-80%RH at 25°C) |
Temperature Accuracy |
±0.5°C (at 25°C), ±1.0°C (0-65°C) |
Dimensions (W x D x H) |
110 x 125 x 65mm |
Weight |
238g (basic), 288g (basic + RED Brick + Outdoor Weater Bricklet) |
Resources
Firmware updating and first tests
As a very first step you should try out and update your Bricks and Bricklets.
For that you need to install the Brick Daemon and the Brick Viewer. Connect all Bricklets to the Master Brick and connect it via USB to your PC. Afterwards use Brick Viewer to check if all of the firmwares up to date (Updates / Flashing button). If not, you can update the Bricks and update the Bricklets with the Brick Viewer, too:
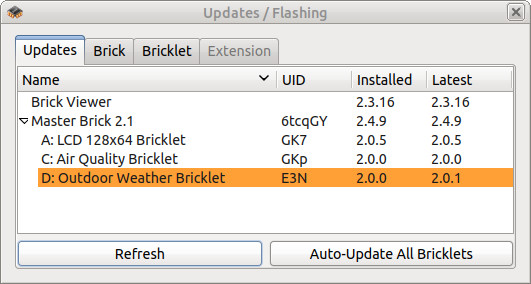
As next step click through the tabs of the Brick Viewer to see if all of the sensors are working correctly. Now you can be sure that the Bricks and Bricklets have versions that work together and that everything will work if it is screwed together in the weather station enclosure.
Demo Application
The demo application for the Tabletop Weather Station is written in Python. You can find the source code here and executables for Linux, macOS and Windows are available here.
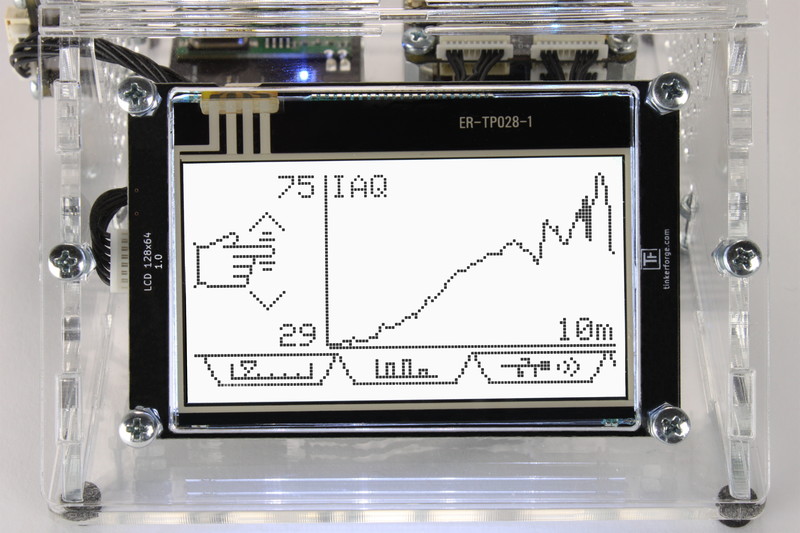
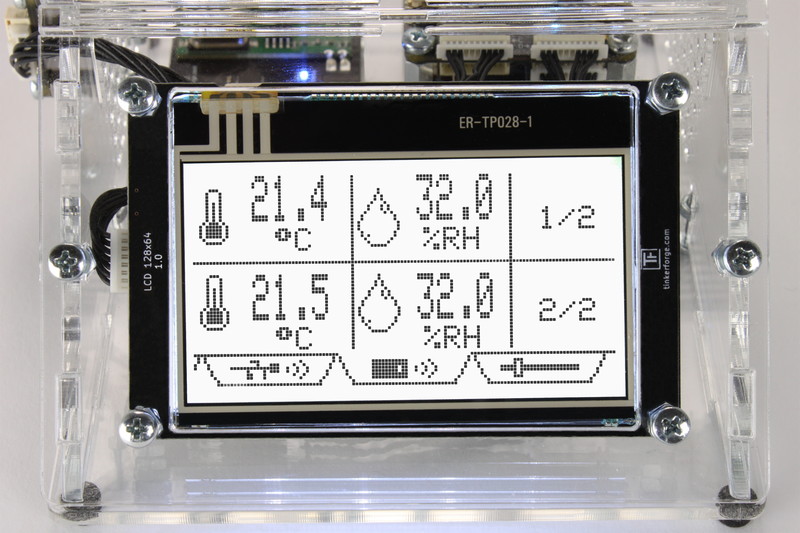
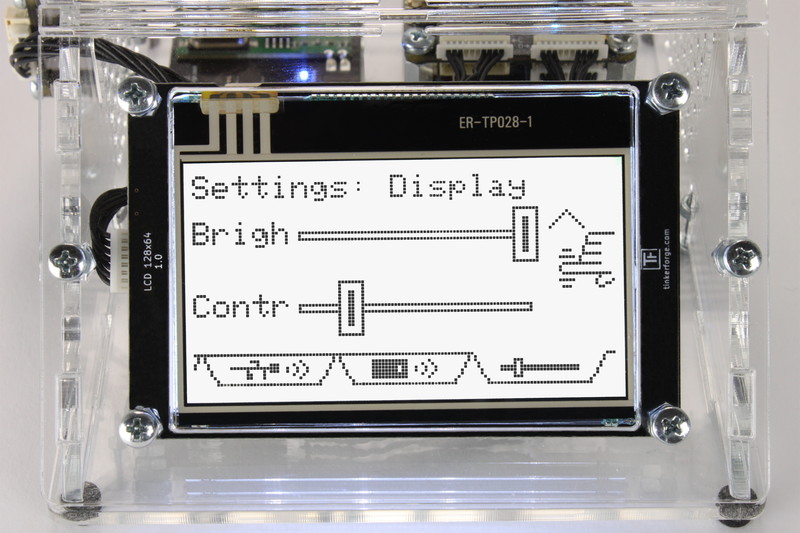
It shows the data of the Air Quality Bricklet as well as the Outdoor Weather Station. Graphs can be drawn for different time frames, the data is logged in a SQLite database with a configurable period and the settings are configurable through the touch-interface of the weather station itself.
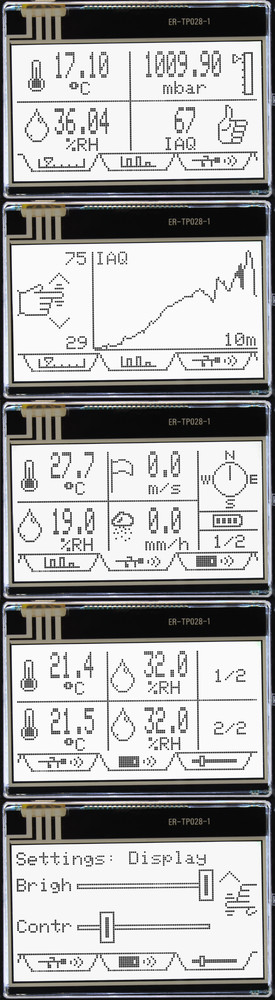
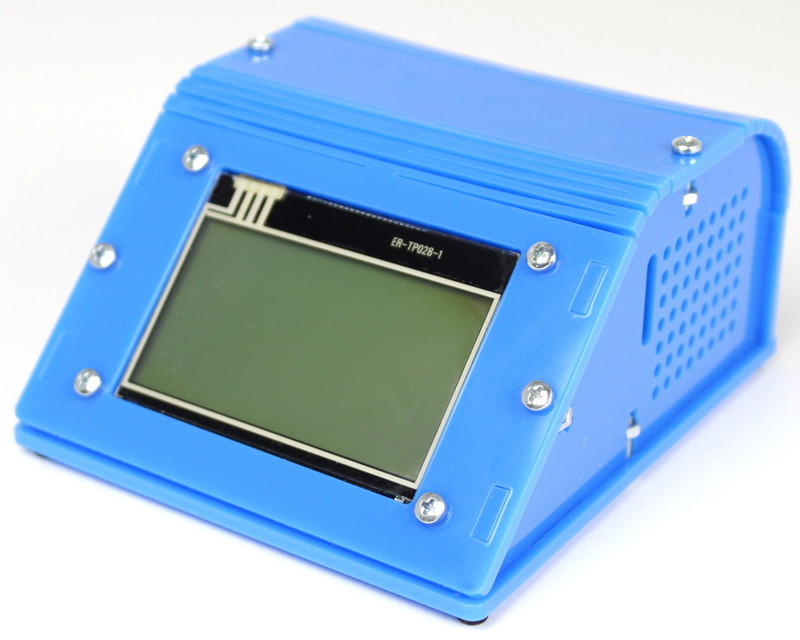
The application is segmented in "screens". Each screen is shown as a tab that can have a text-label or icon. The touch-click/gesture and GUI callbacks of the LCD 128x64 Bricklet are passed through to the screen if it is selected.
You can add your own screens in the custom_screens.py.
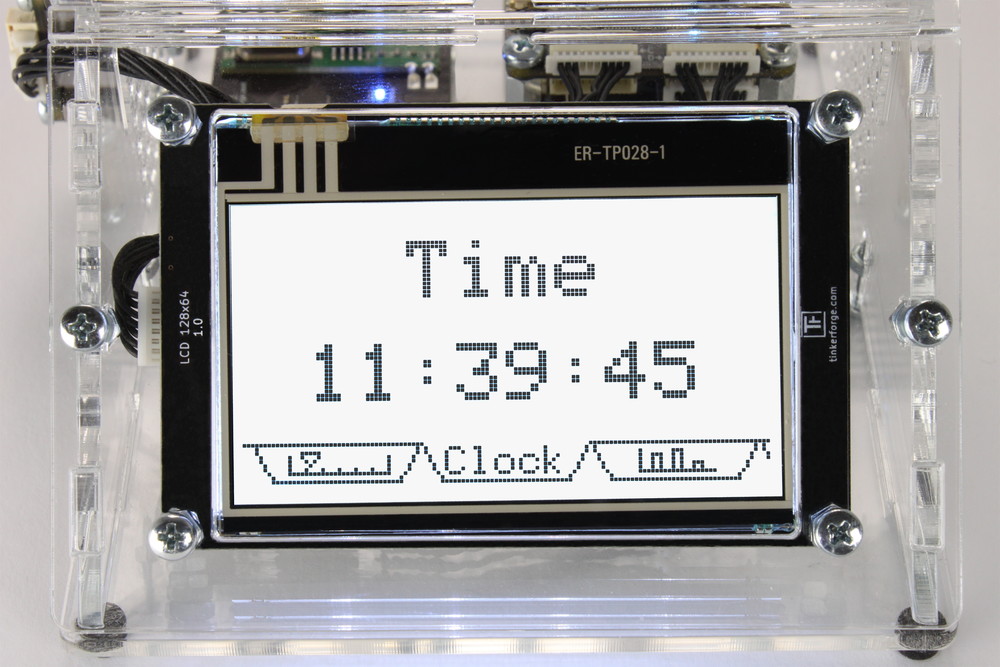
A simple screen that displays the curent time looks as follows:
class ClockScreen(Screen):
        # text/icon: Text is taken if no icon is available
        text = "Clock" # Text shown on tab
        icon = None    # Icon shown on tab (see icons.py and data/ sub-directory)

        # Called when tab is selected
        def draw_init(self):
                self.lcd.draw_text(40, 5, self.lcd.FONT_12X16, self.lcd.COLOR_BLACK, 'Time')
                self.draw_update()

        # Called when new data is available (usually once per second)
        def draw_update(self):
                # Get current time in HH:MM:SS format
                current_time = time.strftime("%H:%M:%S")
                self.lcd.draw_text(16, 30, self.lcd.FONT_12X16, self.lcd.COLOR_BLACK, current_time)
As a minimum you have to define a text (or optionally an icon) and a draw_init as well
ass draw_update function. For examples on how to react to touch-gestures and similar
you can take a look at the already implemented screens in
screens.py.
The code above will create the following additional tab:
Pull requests for new screens are definitely welcome, we are looking forward to integrate your fancy screens into the demo applications :-).
Construction
To assemble the Tabletop Weather Station we recommend that you first screw all of the Bricks/Brickelts to the plastic parts and put the parts together afterwards.
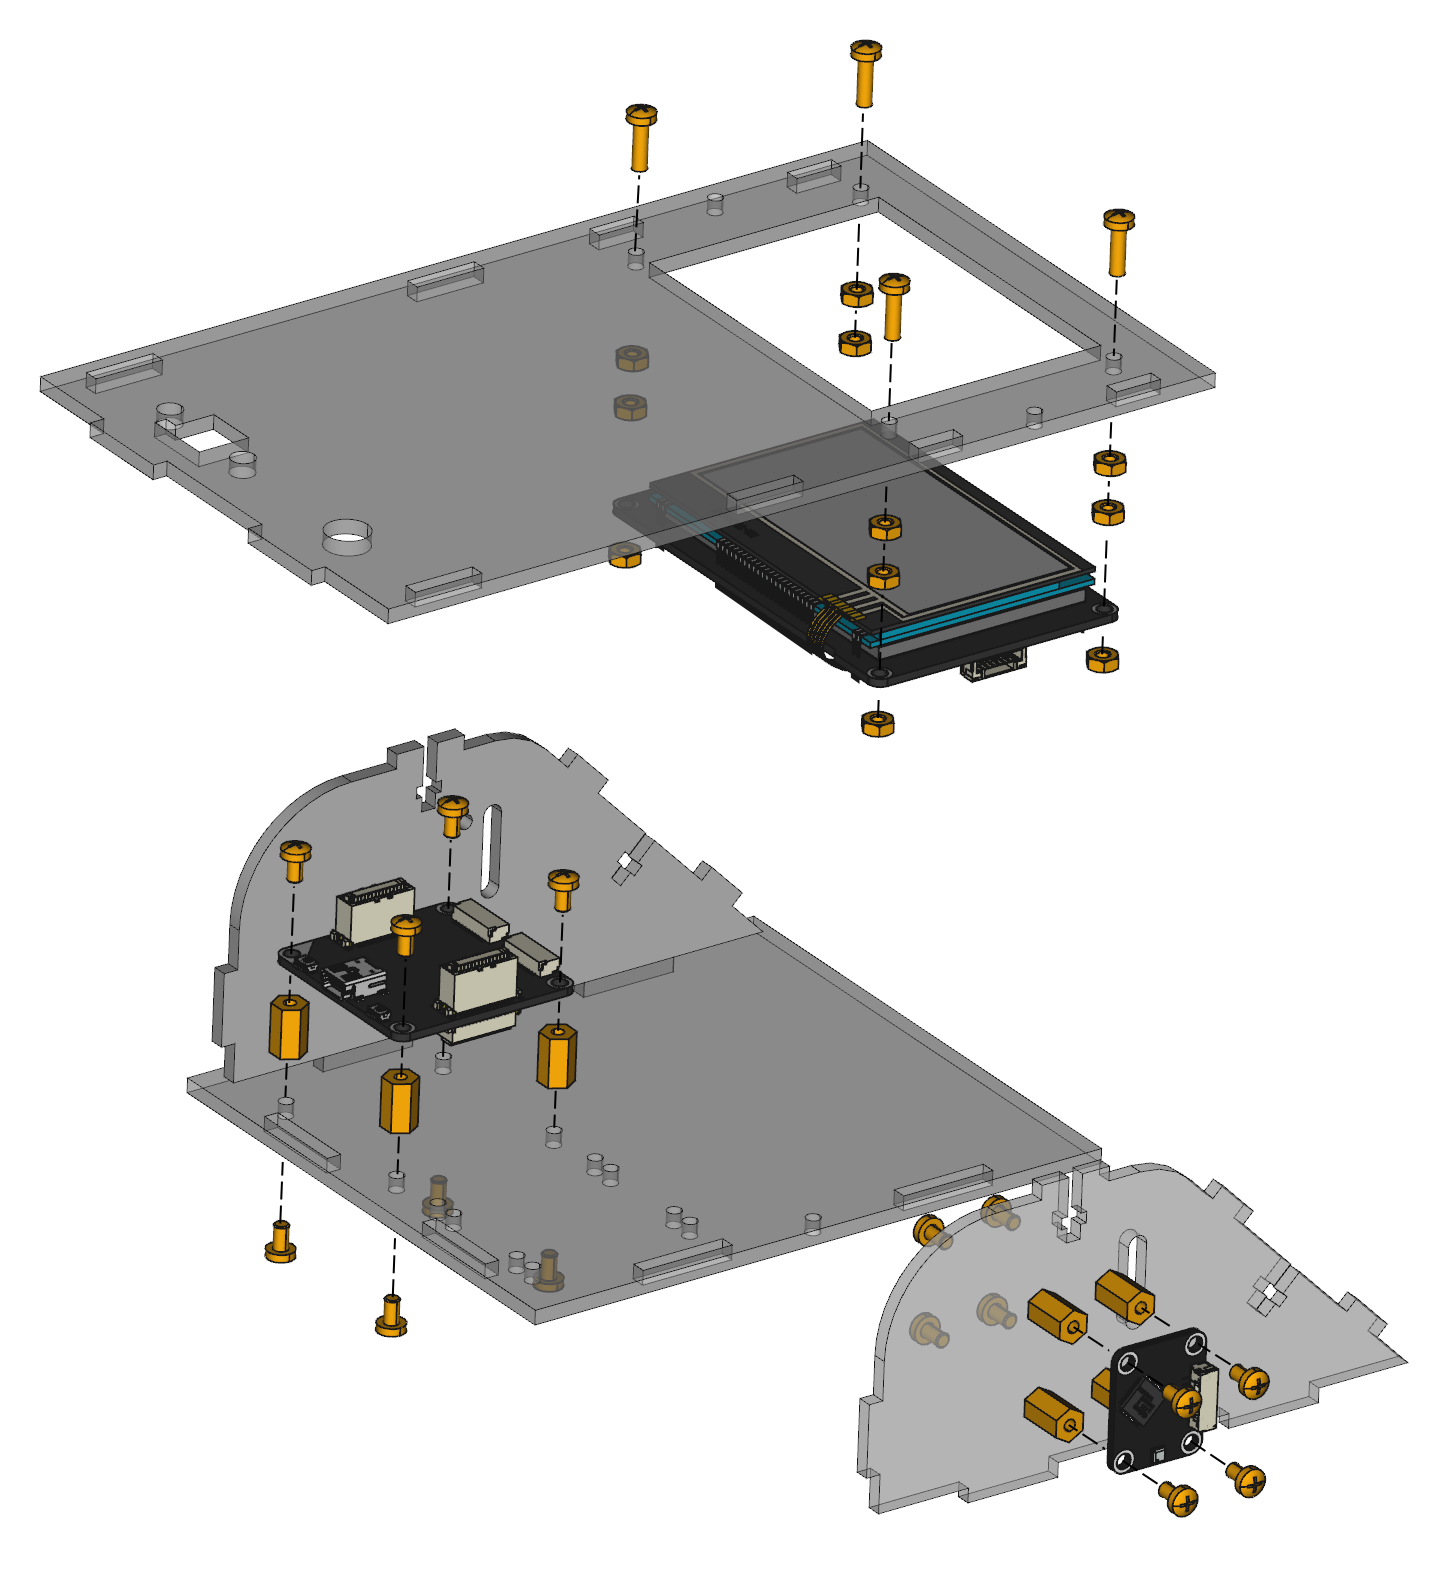
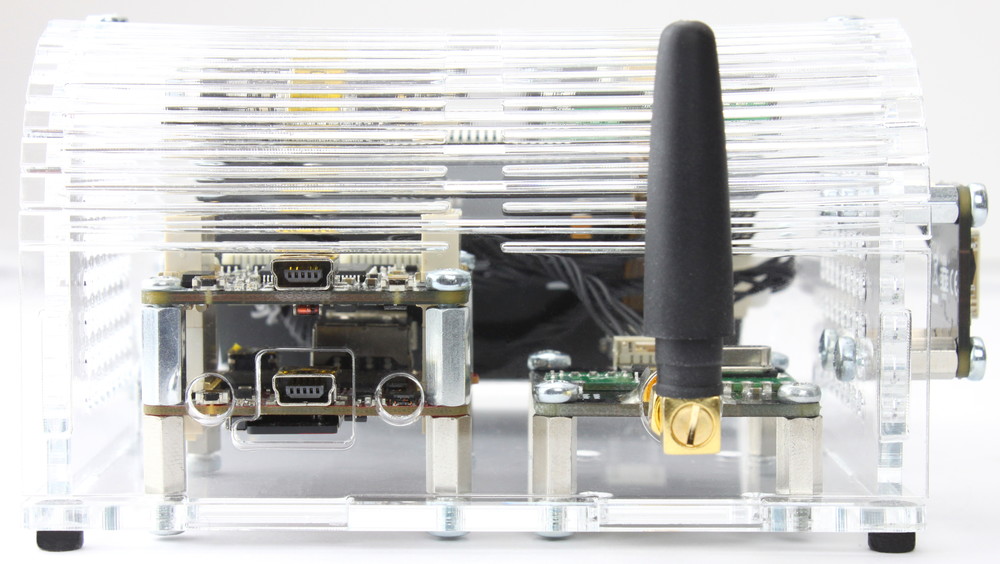
If you want to add a RED Brick and/or Outdoor Weather Bricklet, you can attach them to the same plate as the Master Brick:
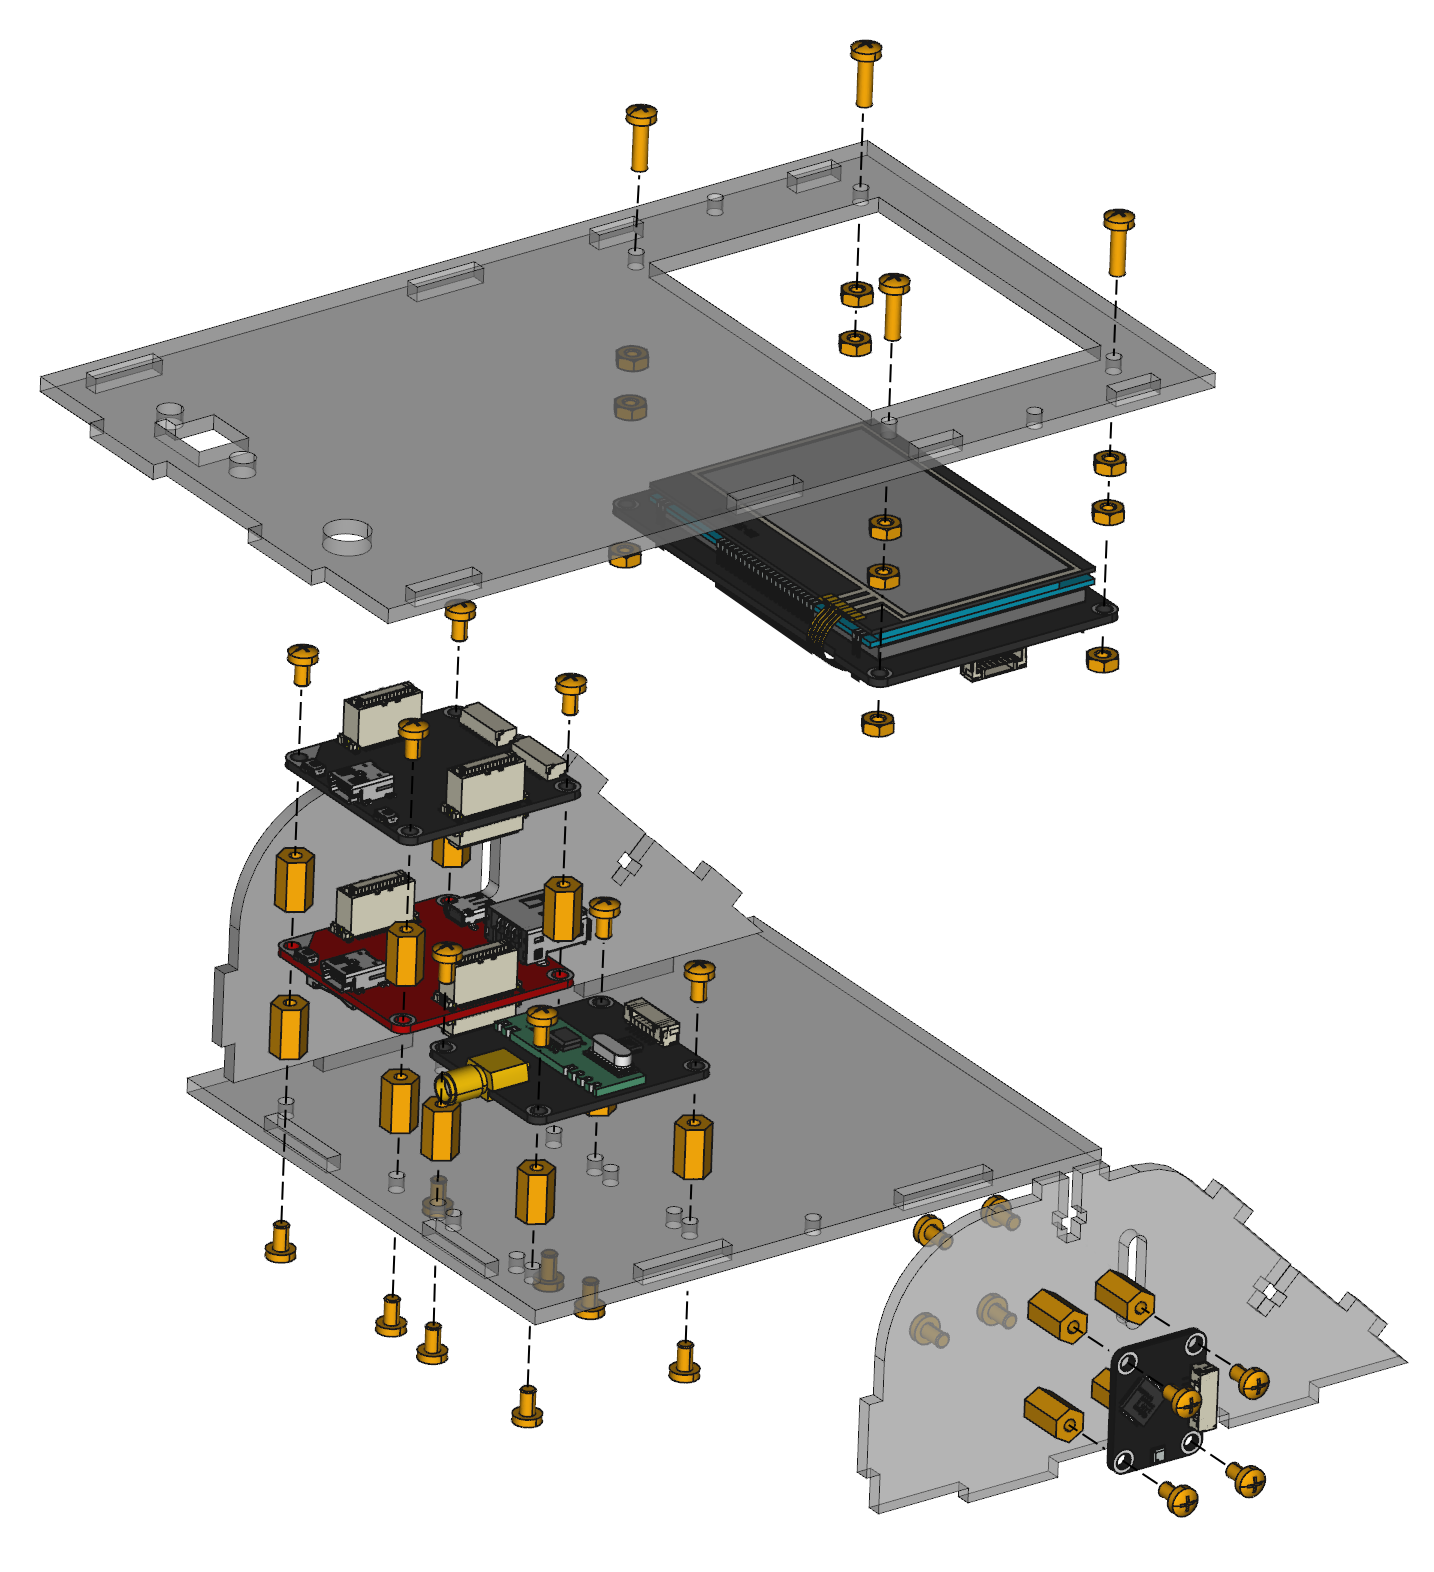
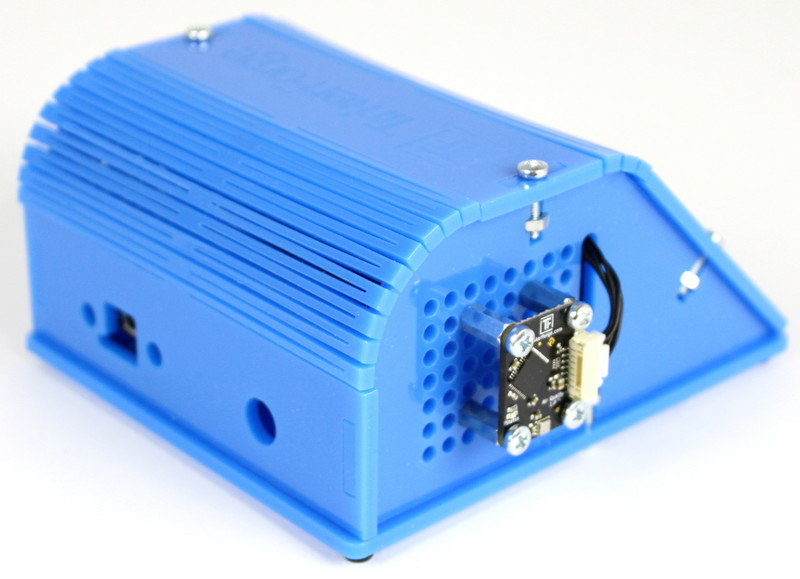
As you can see in the exploded assembly drawings, we attach the Air Quality Bricklet to the outside of the weather station. This ensures that the heat coming from the other components (LCD 128x64 Bricklet, Master Brick, perhaps a RED Brick) does not influence the temperature measurement of the Air Quality Bricklet.
You can also screw the Air Quality Bricklet to the inside. In this case we recommend that you use the temperature calibration function of the Bricklet to correct it to the temperature of the outside. This is important since the temperature is also used to determine the correct Indoor Air Quality Index and Humidity.
Below you can find a sped-up video of the assembly. During crucial parts the speed of the video is slowed down.
Examples
If you don't want to use Python or you want to write your own program that does not use the Demo Application as a starting point, you can take a look at the following examples:
These examples will write the measured data to the display in an one second interval. They are written to be as simple as possible, but with a robust approach. They will wait for the Brick Daemon to be available, automatically reconnect if necessary, automatically discover UIDs and support hotplug.
Thus they are a good starting point for the foundation of your own custom application.
Standalone with RED Brick
You can add a RED Brick to the Tabletop Weather Station below the Master Brick. In this case the power is supplied through the USB connector of the RED Brick.
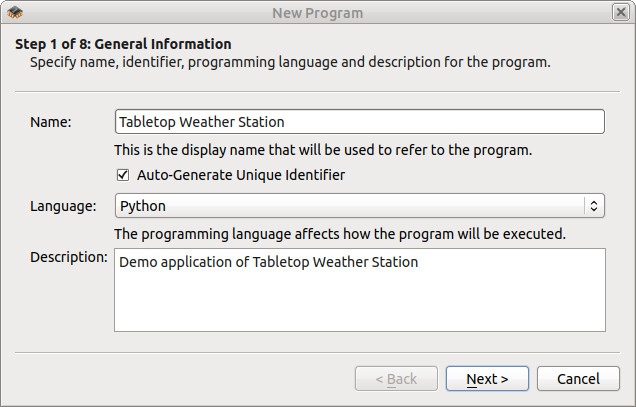
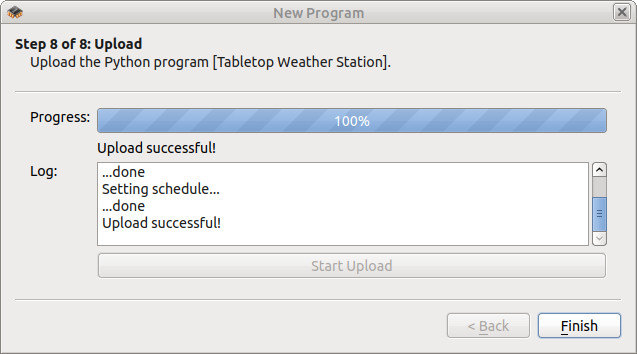
With the RED Brick you can upload your application and make the Tabletop Weather Station standalone. To upload the demo application go to the RED Brick tab in Brick Viewer and click on "Program" and "New".
Choose a name and Python as language.
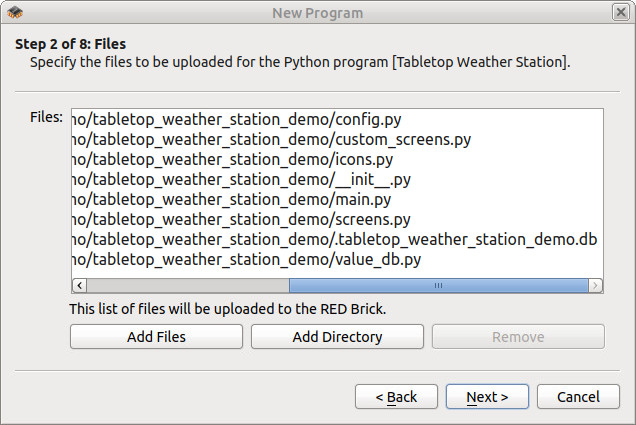
Add the files of the demo application. You can find the files
on GitHub.
If you already had the weather station running before, you can also
upload the SQLite database (.tabletop_weather_station_demo.db in your home
directory) to retain the data.
Choose main.py as script file.
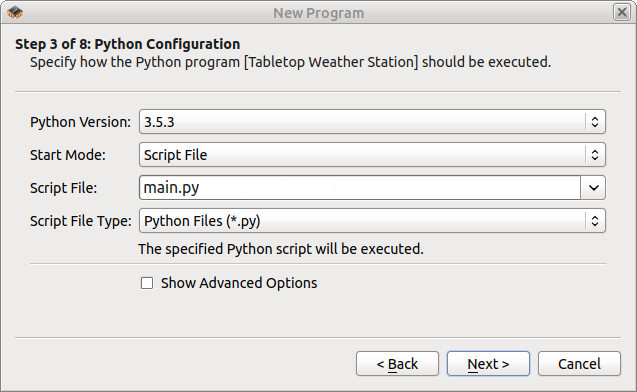
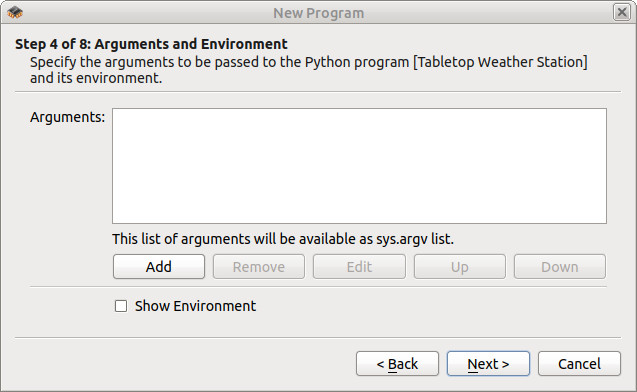
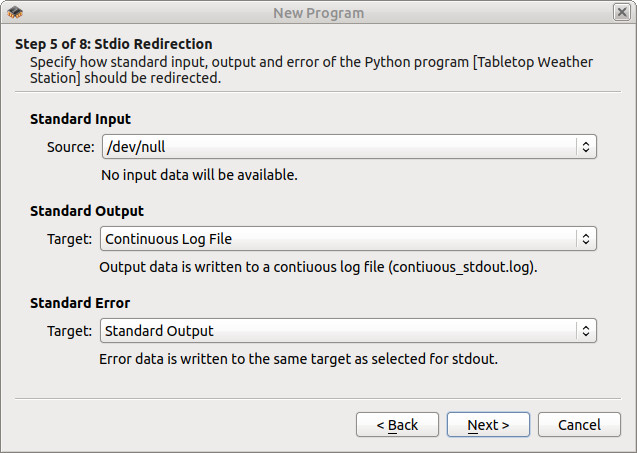
There is no standard input for the demo, otherwise you can leave the rest of the configurations as default.
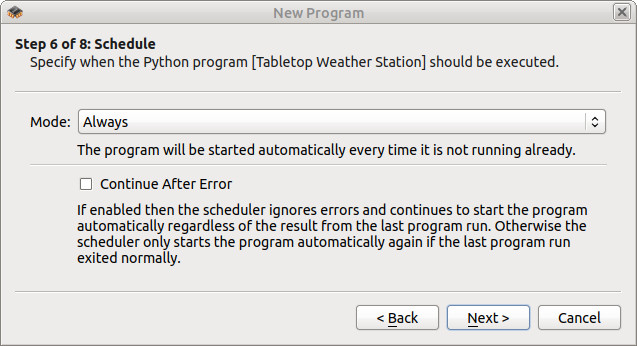
After the upload is finished the demo application should be able to automatically run on the RED Brick after power-up!