ESP32 Ethernet Brick
Features
Ports for six 7-pole Bricklets
Execute your own code directly on this Brick (stand-alone)
Use the preprogrammed Brick to control Bricklets via LAN/WIFI
Description
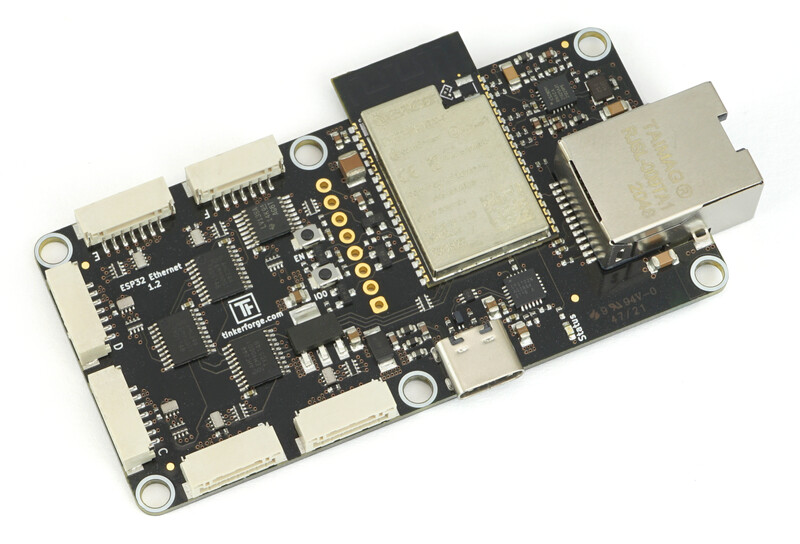
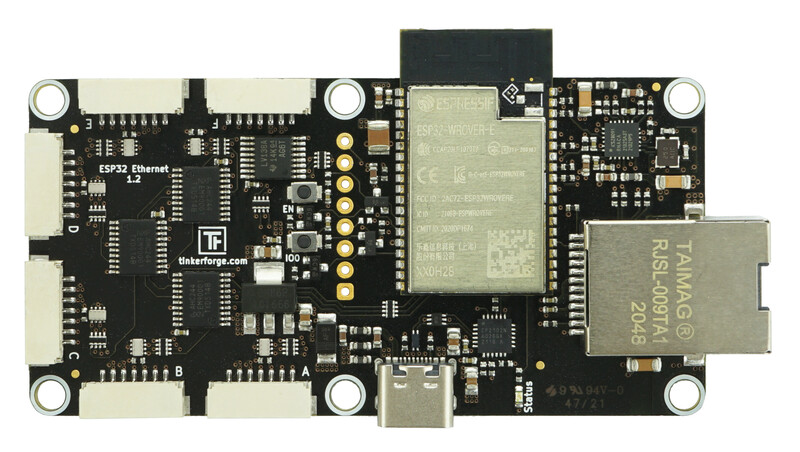
The ESP32 Ethernet Brick offers six Bricklet ports and is equipped with a powerful ESP32 microcontroller. The ESP32 is equipped with two CPU cores (up to 240MHz), 16MB SPI Flash, WIFI (802.11b/g/n) and Bluetooth (V4.2 BR/EDR, BLE).
You can use this Brick for two use cases:
The Brick can be used for stand-alone applications where you want to flash and execute your own code on the device. By integrating the C/C++ API Bindings for Microcontrollers libraries in your code, you can easily access the connected Bricklets. Support for LAN/WIFI, Bluetooth and other ESP32 features is available by the official Espressif ESP32 platform libraries. Your software can be flashed to the Brick by an onboard USB to UART converter directly connected to the ESP32 or by WIFI when using an appropriate firmware.
If you want to control the Brick with the high-level APIs from Tinkerforge you can use the pre-programmed standard firmware that is flashed by default. With this firmware you can access the connected Bricklets through the LAN/WIFI connection of the Brick. The standard firmware offers a web interface to manage the LAN and WIFI settings. For the initial setup a WIFI access point is opened through the ESP32. After the setup process this access point can be disabled.
A simultaneous use of stand-alone applications and an additional external control through the high-level API is possible. As a consequence you can react on specific events immediately (closed loop) while having other parts of the system controlled externally (open loop).
The Brick can either be powered over its USB-C connector, by the ESP32 Power Supply through the GPIO connector of the Brick.
Technical Specifications
Property |
Value |
|---|---|
Power Supply |
By USB-C jack, optional ESP32 Power Supply module |
Current Consumption (WIFI enabled) |
925mW (185mA at 5V) |
Current Consumption (WIFI disabled) |
520mW (104mA at 5V) |
Bricklet Ports |
6 (7-pole) |
ESP32 Variant |
ESP32WROOM32E with 16MB Flash (ESP32WRM32E128PH) |
LAN |
10BASE-T, 100BASE-TX (KSZ8091 Ethernet PHY) |
WIFI |
802.11b/g/n (with up to 150 Mbps) |
Bluetooth |
V4.2 BR/EDR and Bluetooth LE |
Dimensions (W x D x H) |
88 x 45 x 12mm (3.46 x 1.77 x 0.47") |
Weight |
20g |
Resources
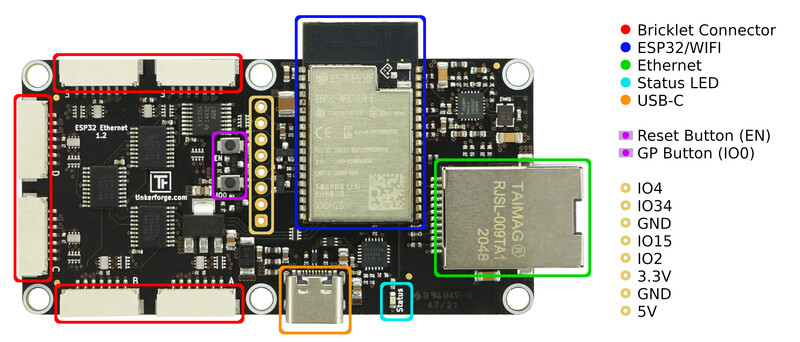
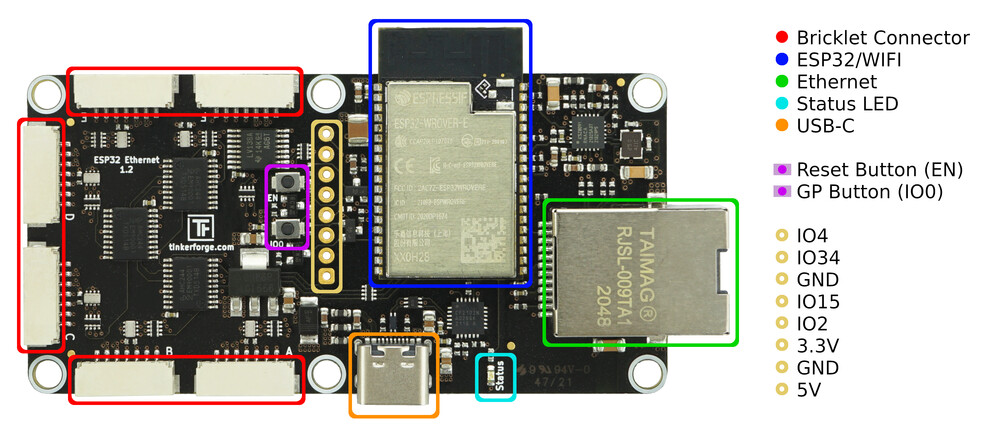
Hardware Description
First Setup
First the ESP32 Ethernet Brick has to be powered by its USB-C connector. After a short while the blue status LED will blink slowly. The Brick is now operational.
The Brick can be accessed by LAN or WIFI. Both can be used simultaneously. he USB connector is only used as power source and to perform a factory reset on the Brick. In contrast to other Bricks, an ESP32 Brick connected to USB will not show up as Brick in a Brick Viewer connected to localhost.
By default the Brick uses automatic IP address configuration (DHCP) for its LAN connection.
Simply connect the Brick with a LAN cable. The orange LED at the LAN jack should
start blinking and the Brick should be accessible by
http://[Hostname] (e.g. http://esp32-ABC) in your browser.
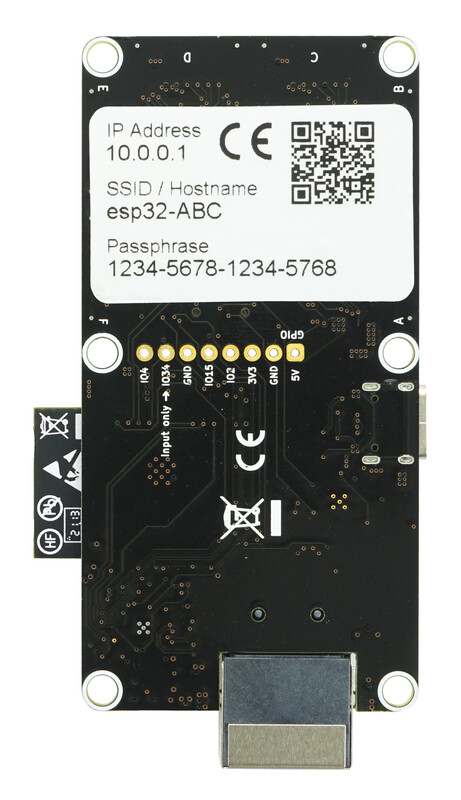
The individual hostname (e.g. esp32-ABC) is noted on the WIFI credential
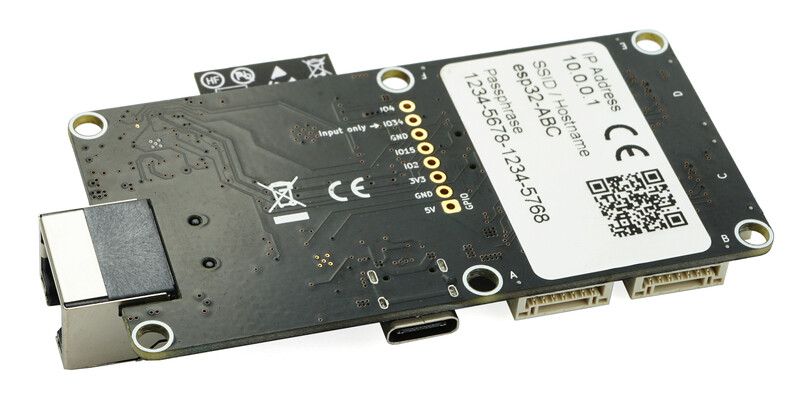
sticker on the bottom of the Brick.
If you want to use the LAN connection with a static IP address configuration or if you want to use the Brick with an existing WIFI network you first have to access the web interface of the Brick. The web interface can be accessed by the WIFI access point of the Brick.
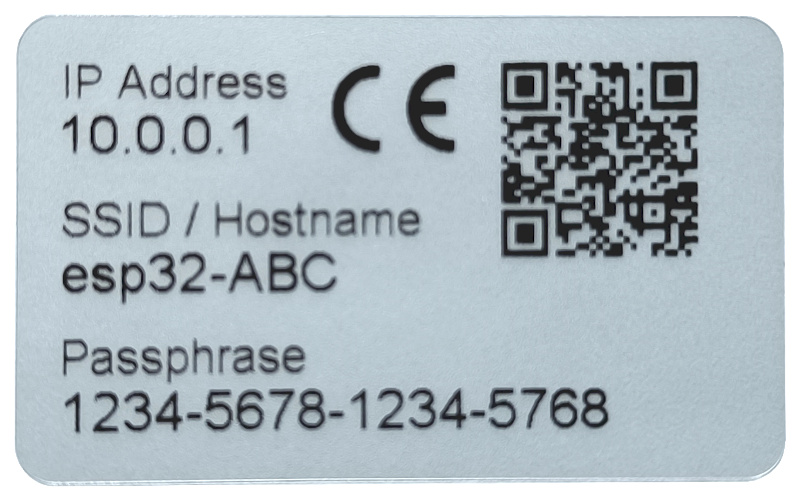
The individual credentials of your Brick are noted on the WIFI credential sticker on the backside of the Brick. The QR code can be scanned with a smartphone to setup the WIFI connection automatically. It is also possible to enter SSID and passphrase manually on your smartphone or laptop.
When the WIFI connection to the access point of the Brick is established, the web interface
can be accessed by http://10.0.0.1. On a smartphone the mobile data connection might
has to be deactivated to access it.
On Samsung phones the preinstalled browser "Samsung Internet" seems to have problems with WebSockets. The web interface might not work as expected. Please try another browser, e.g. Firefox or Chrome.
LAN Configuration
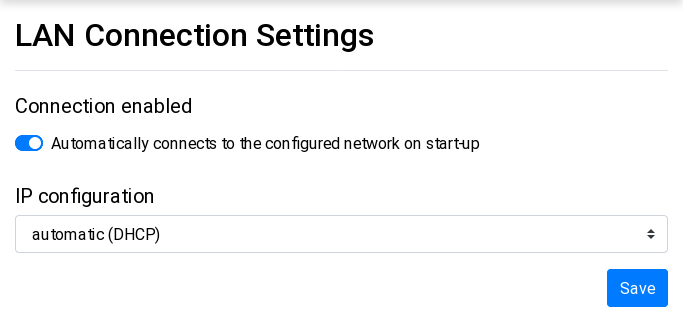
At the web interface below Network > LAN-Connection the LAN connection can be de-/activated and the IP address configuration can be configured as "automatic (DHCP)" or "static". In factory condition automatic IP is set.
After changing any configuration press "Save". The Brick will reboot and apply the new configuration.
WIFI Configuration
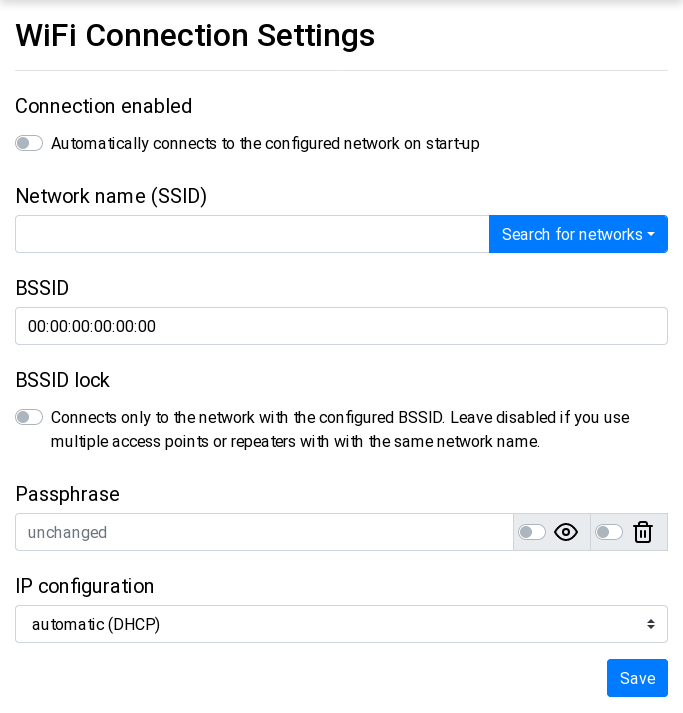
At the web interface below Network > WIFI-Connection the WIFI connection can be configured. In factory condition the connection to a WIFI network is deactivated.
To connect the Brick to an existing network the WIFI connection has to be activated and the SSID and passphrase of the network has to be entered. You can search for existing networks with a press on the "Search for networks" button.
After changing any configuration press "Save". The Brick will reboot and apply the new configuration.
WIFI-Access-Point Configuration
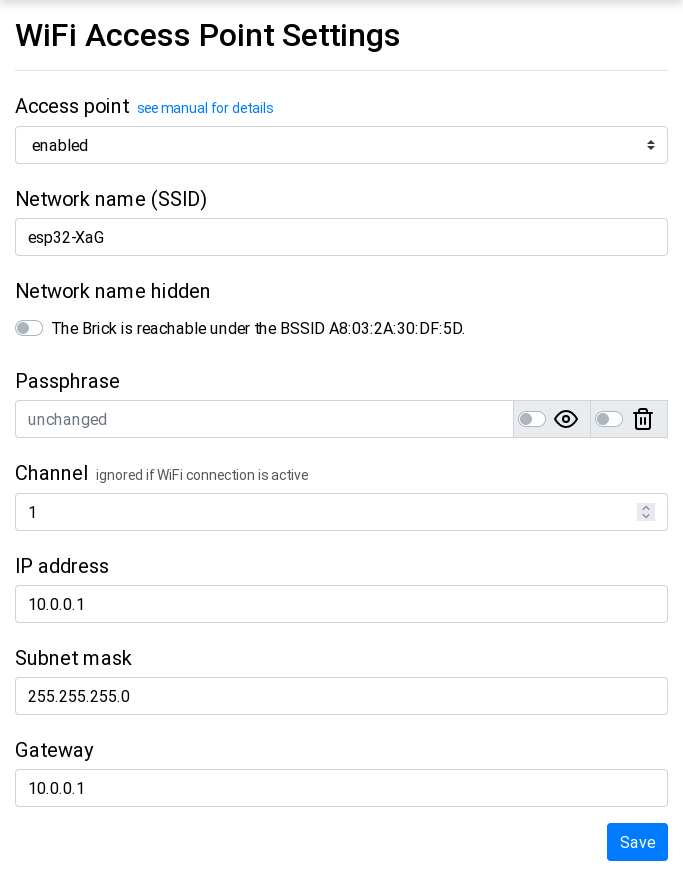
At the web interface below Network > WLAN-Access-Point the WIFI access point can be configured. In factory configuration the access point is active and configured with the individual SSID and passphrase noted on the sticker on the backside of the Brick.
The access point can be configured as fallback, such that it is only active when WIFI and LAN are not connected.
It also can be completely disabled. We don't recommend this setting, since it might be possible that you are unable to access the web interface of the Brick when there is a problem with your LAN or WIFI settings. In that case the only solution is to factory reset the Brick.
After changing any configuration press "Save". The Brick will reboot and apply the new configuration.
First Test
To test a ESP32 Ethernet Brick install Brick Viewer. With Brick Viewer you can connect to the ESP32 Ethernet Brick and get information about the connected Bricklets. You also can test the connected Bricklets.
To do that change the host name from localhost to the hostname or IP address of
the Brick. The preconfigured hostname (e.g. esp32-ABC) is noted on the WIFI credential
sticker on the backside of the Brick.
After clicking the connect-button a new tab named "ESP32 Ethernet Brick" should appear. Select this tab.
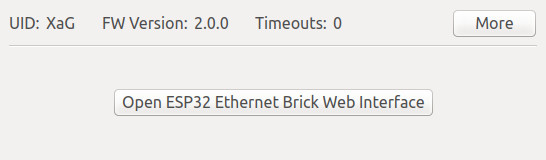
ESP32 Ethernet Brick can only be configured by its web interface. By Brick Viewer nothing can be configured. It is only intended to give access to the connected Bricklets.
Firmware
For ESP32 Ethernet Brick the following firmwares are available:
Standard-Firmware: ESP32 Ethernet Brick comes with the Standard-Firmware as factory default. This firmware could be used to configure network settings by the web interface and access to the connected Bricklets by Brick Viewer and API Bindings. This is similar to a Master Brick with Ethernet or WIFI Master Extension 2.0.
Extension of Standard-Firmware: The functionality and the web interface of the Standard-Firmware consists of modules. This Tutorial for ESP32 Firmware explains step by step how the firmware can be extended by your own module.
Your own Firmware based on C/C++ Bindings for Microcontroller: With the C/C++ Bindings for Microcontroller supported microcontroller can directly communicate with Bricklets. These API bindings can be used together with Arduino ESP32 Project to build your own firmware for ESP32 Ethernet Brick.