- Getting Started
- Hardware
- Software
- Kits
- Embedded Boards
- Specifications
Construction - Wi-Fi Weather Station
The Weather Station case is big enough to add a WIFI Extension for wireless controlling. In this tutorial we will use the Step-Down Power Supply together with a DC Jack Adapter to power the stack. It is also possible to power the stack with a USB Power Supply, in this case Step-Down Power Supply and DC Jack Adapter are not required.
This is an extension of the basic version. You should build the basic version first and then modify it as described down below.
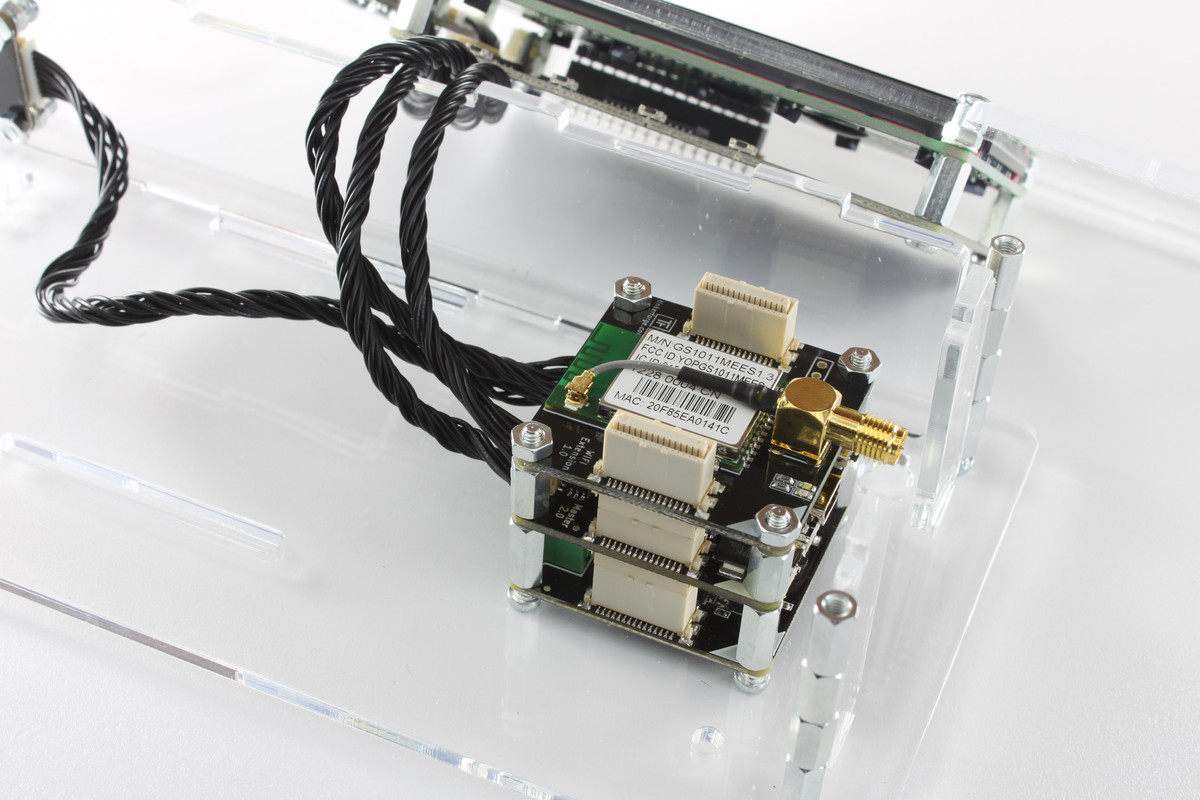
Stack on Backside
We will start by mounting a stack consisting of Step-Down Power Supply, Master Brick and WIFI Extension to the back side of the case. There is a slot in the case where solder bumps of the Step-Down Power Supply are, so it is possible to mount the Step-Down Power Supply directly flush to the case.
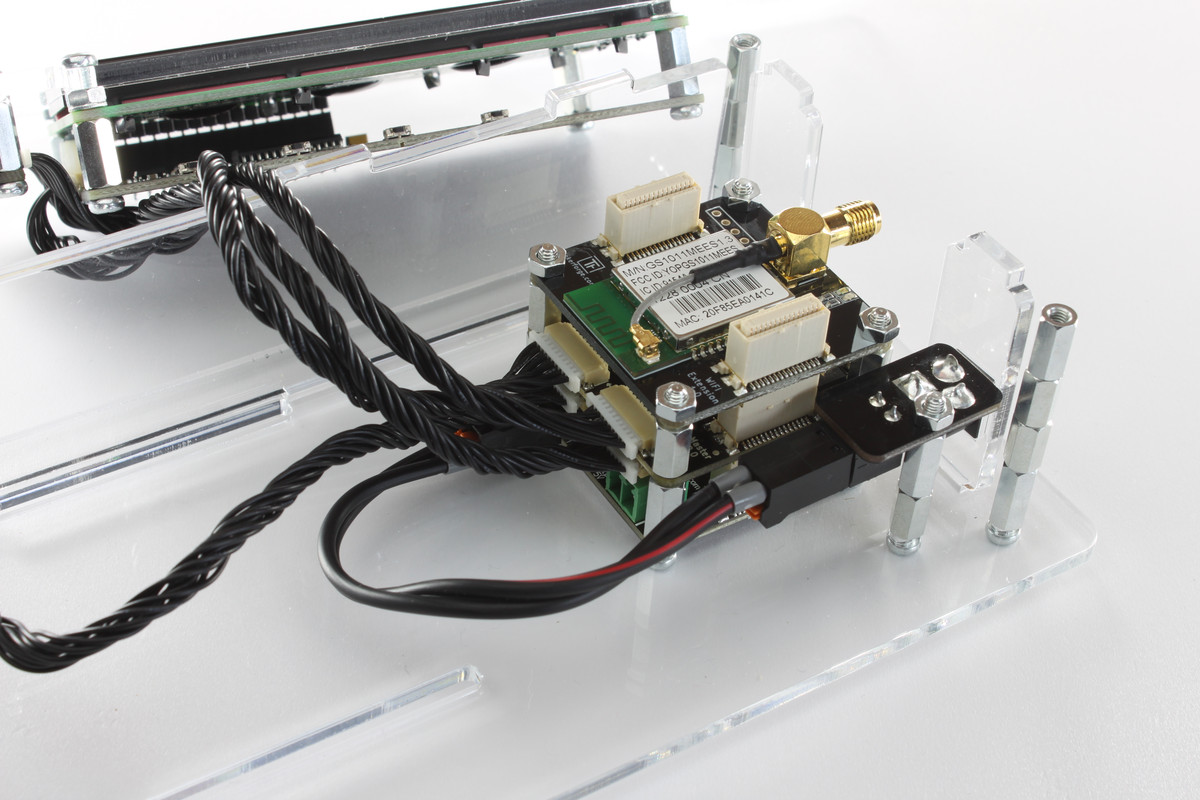
DC Jack Adapter on Backside
The DC Jack Adapter can be mounted to the back side of the case with a single 21mm long spacer. The 21mm long spacer can be constructed out of one 9mm spacer and one 12mm spacer. It is screwed to the case on the bottom with a screw and to the DC Jack Adapter with a nut.
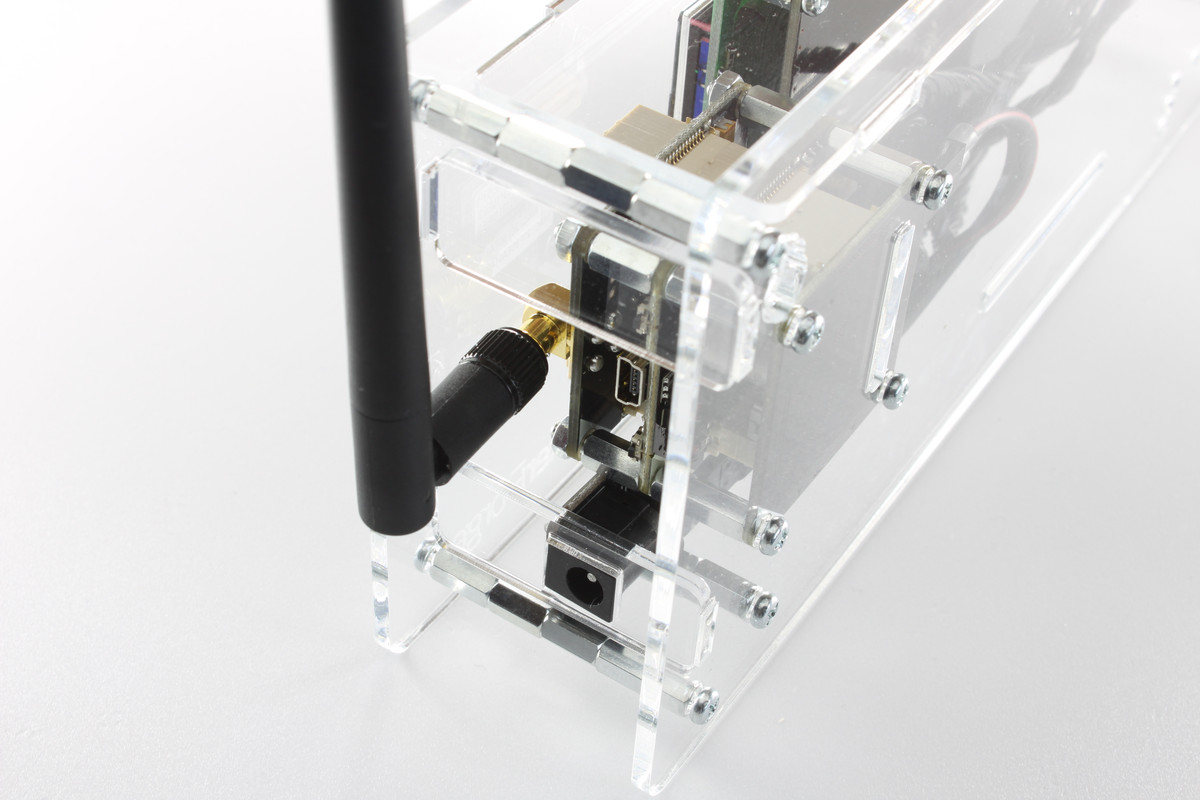
If it is mounted correctly, the DC Jack Adapter should fit in the side part of the case.
That's it! We can now again mount the front of the case to the back. If you use an antenna from the Tinkerforge shop, you need to either use the large or the external antenna. The small antenna does not fit.