- Getting Started
- Hardware
- Software
- Kits
- Embedded Boards
- Specifications
Construction - Adding RED Brick and Touchscreen
Instead of using an external PC to control the camera slider you can also use a RED Brick with an HDMI touchscreen. The RED Brick add-on for the camera slider contains the following parts:
1x RED Brick (including SD-Card 8GB (RED Brick Image), Mini USB Cable 180cm, Micro-HDMI Cable 90cm and Mounting Kit 12mm)
The add-on does not include 6mm and 12mm bolts. You should have more than enough bolts leftover from the basic kit.
Note
Currently the add-on does not include a Micro USB cable to power the display and connect it to the RED Brick. For now you have to provide your own.
Uprights
To connect the touchscreen uprights to the frame four 6mm bolts have to be added to the frame:
Loosen the bottom lock nuts that fasten the stack-side pair of legs to the long MakerBeams of the frame.
Partly disconnect the pair of legs from the rest of the frame.
Insert two 6mm bolts into each side of the long MakerBeams.
Reconnect the stack-side pair of legs to the rest of the frame.
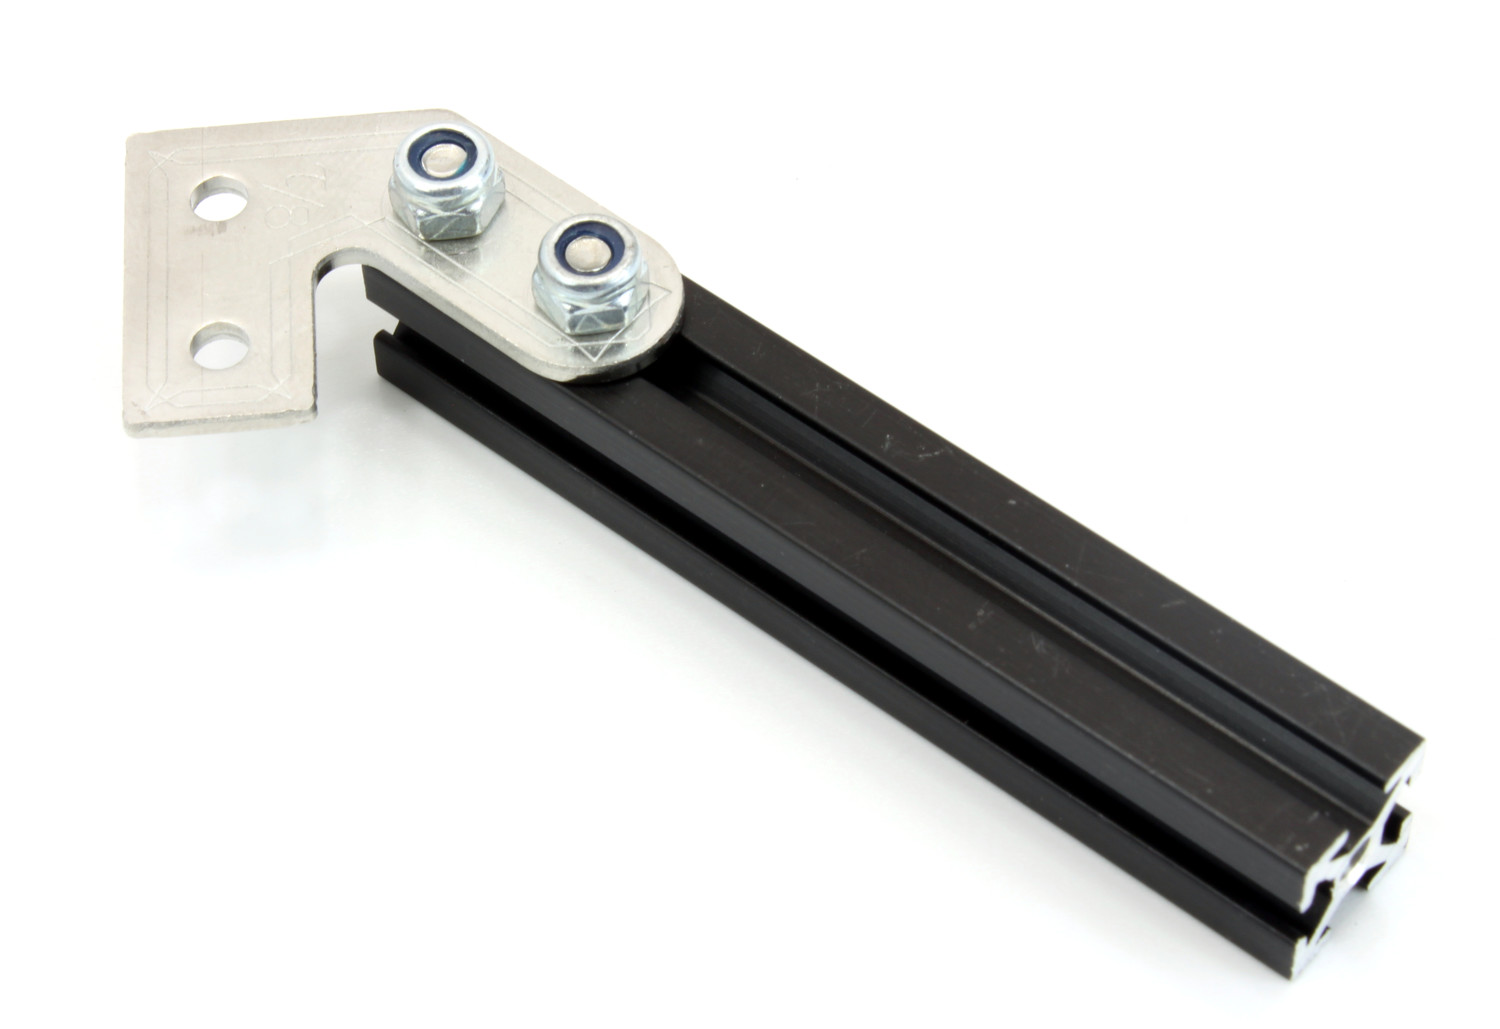
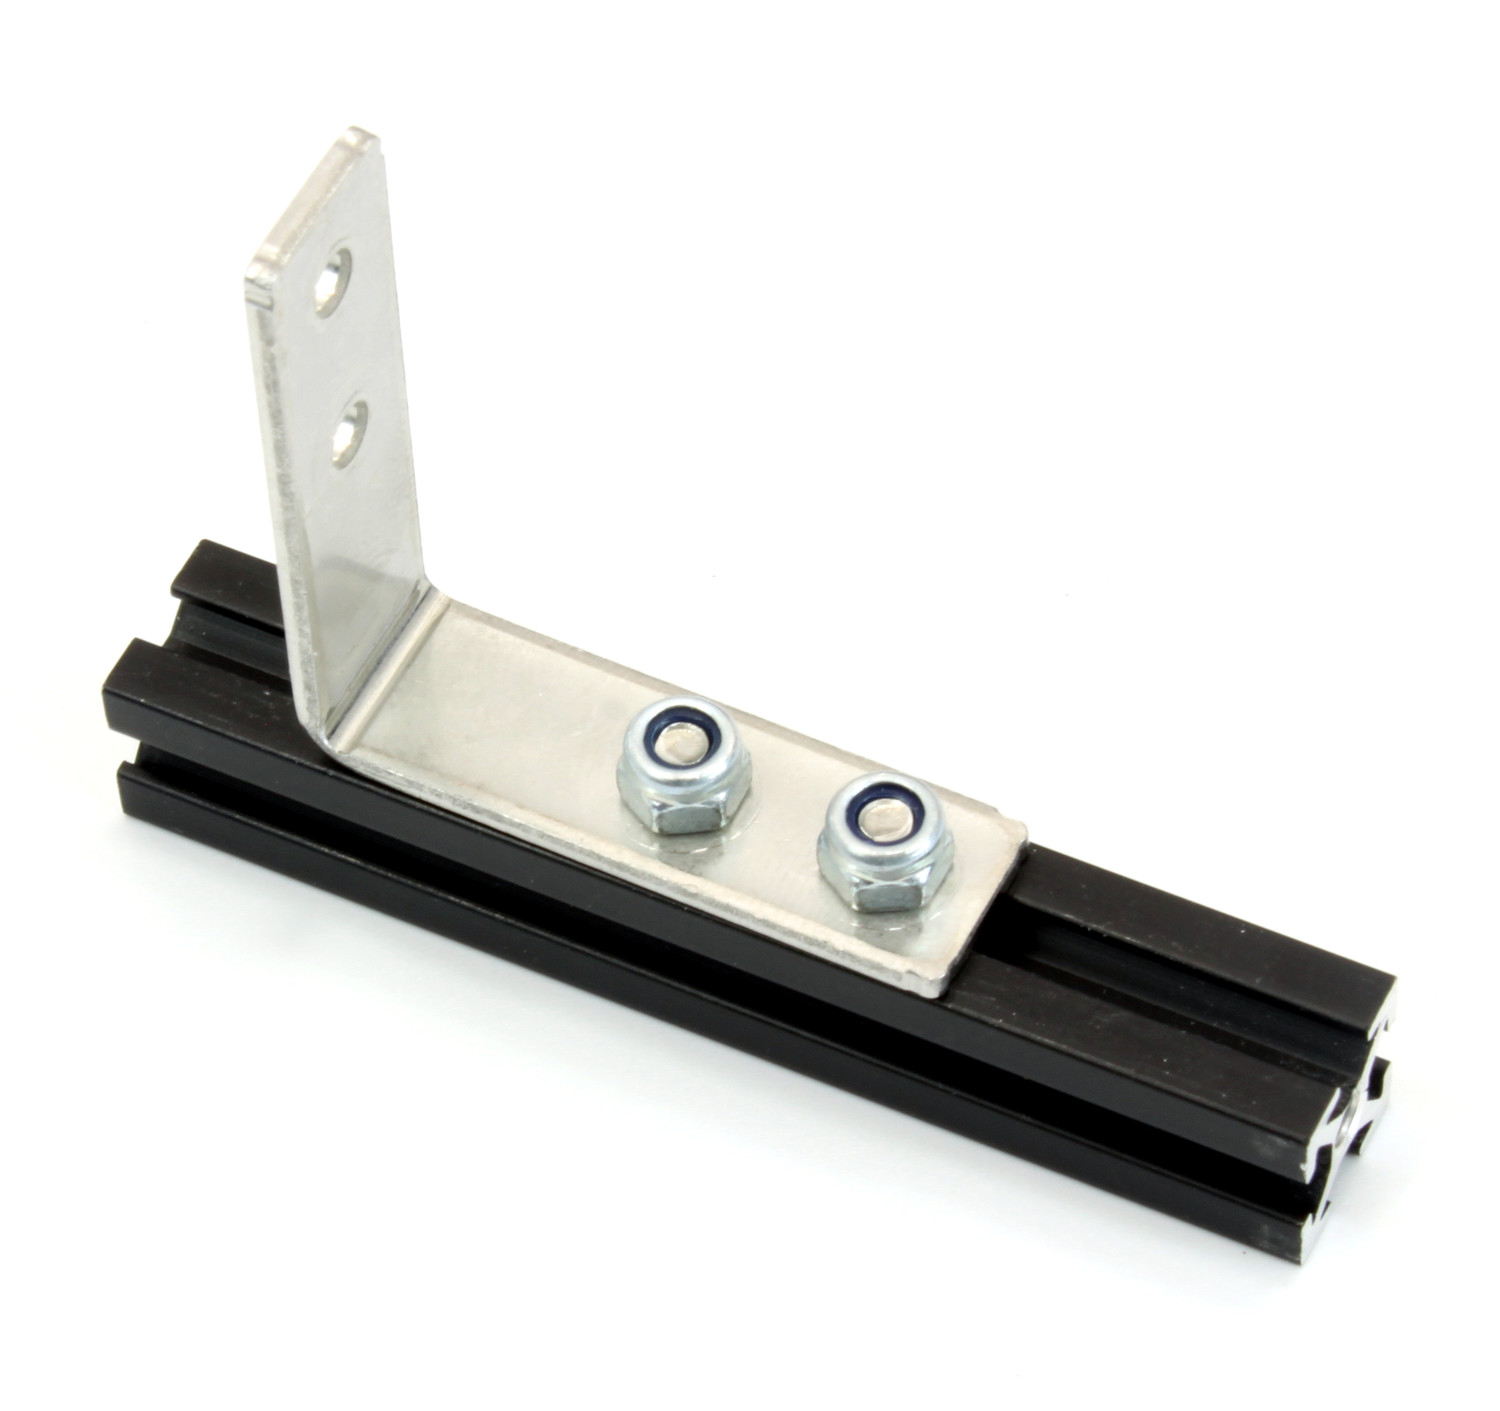
The touchscreen will be held at a 45° angle:
Insert two 6mm bolts into a 60mm MakerBeam.
Fasten a MakerBeam 45° Bracket to the MakerBeam with two lock nuts. Ensure to fasten the 45° part of the bracket to the MakerBeam, not the 90° part.
Repeat these steps for a second MakerBeam.
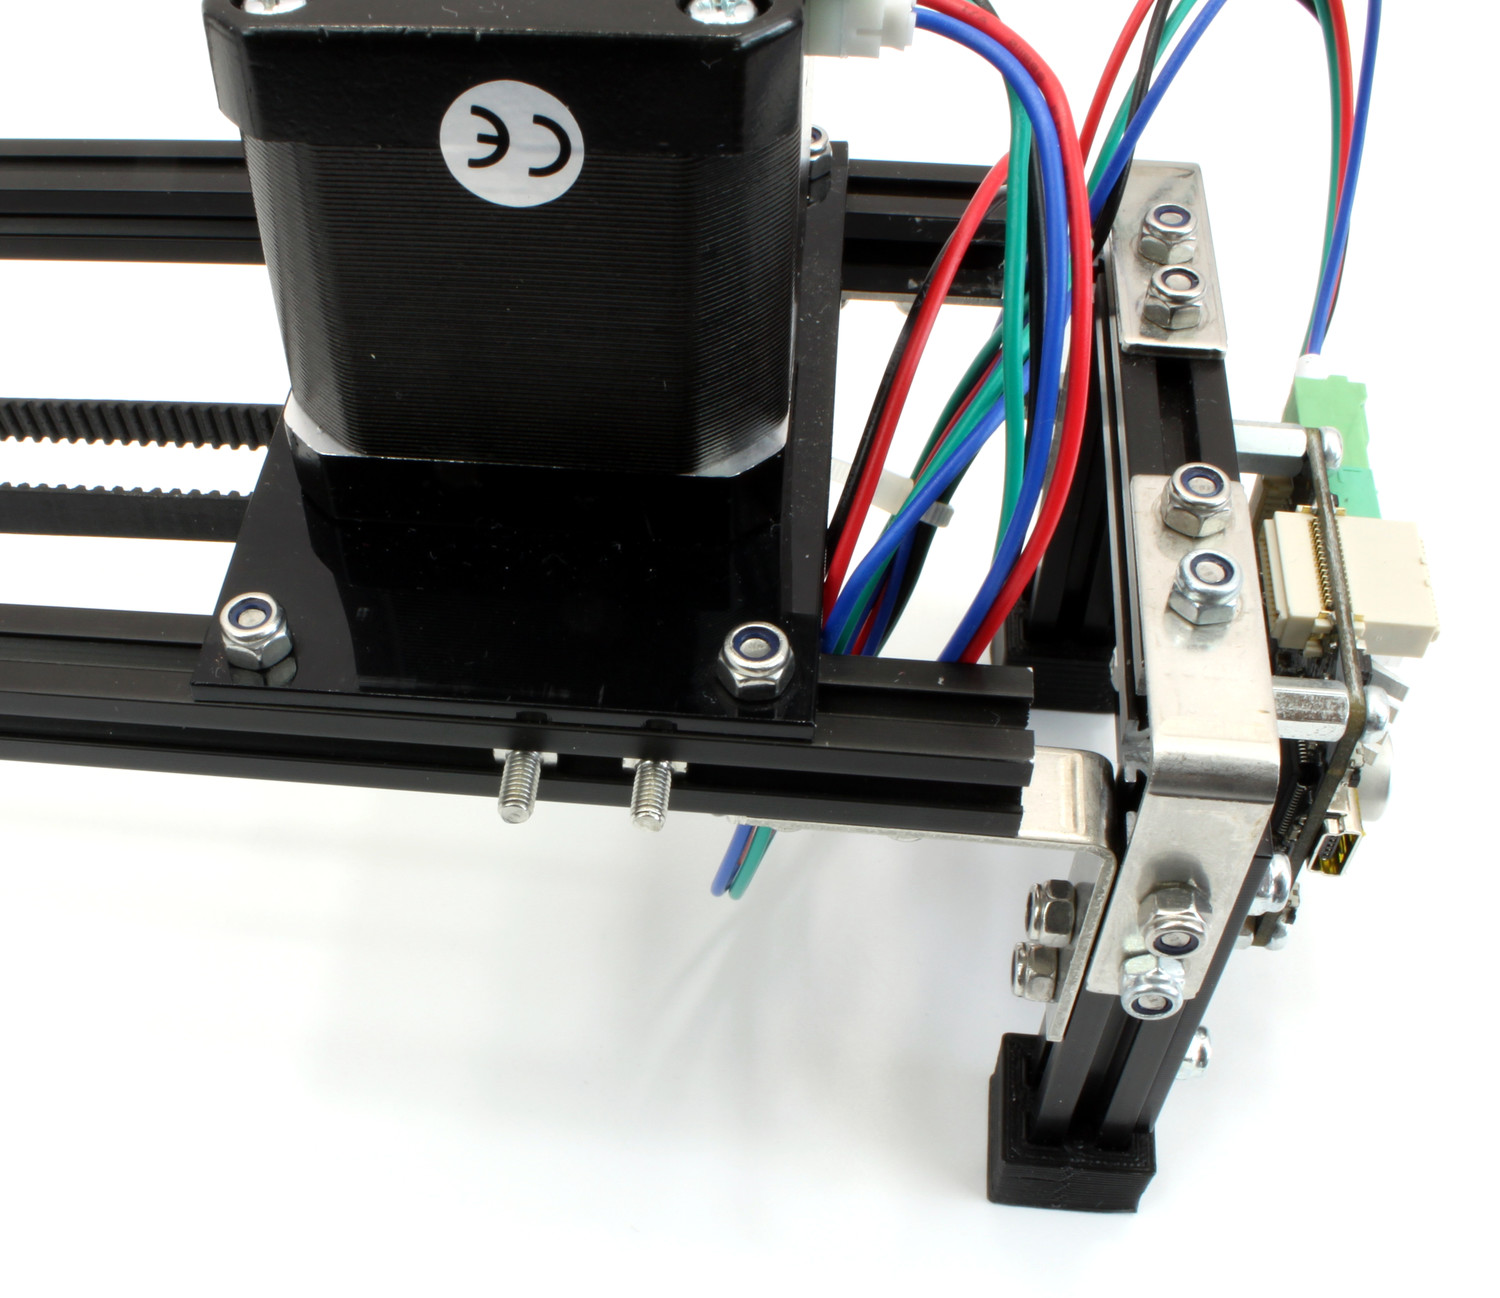
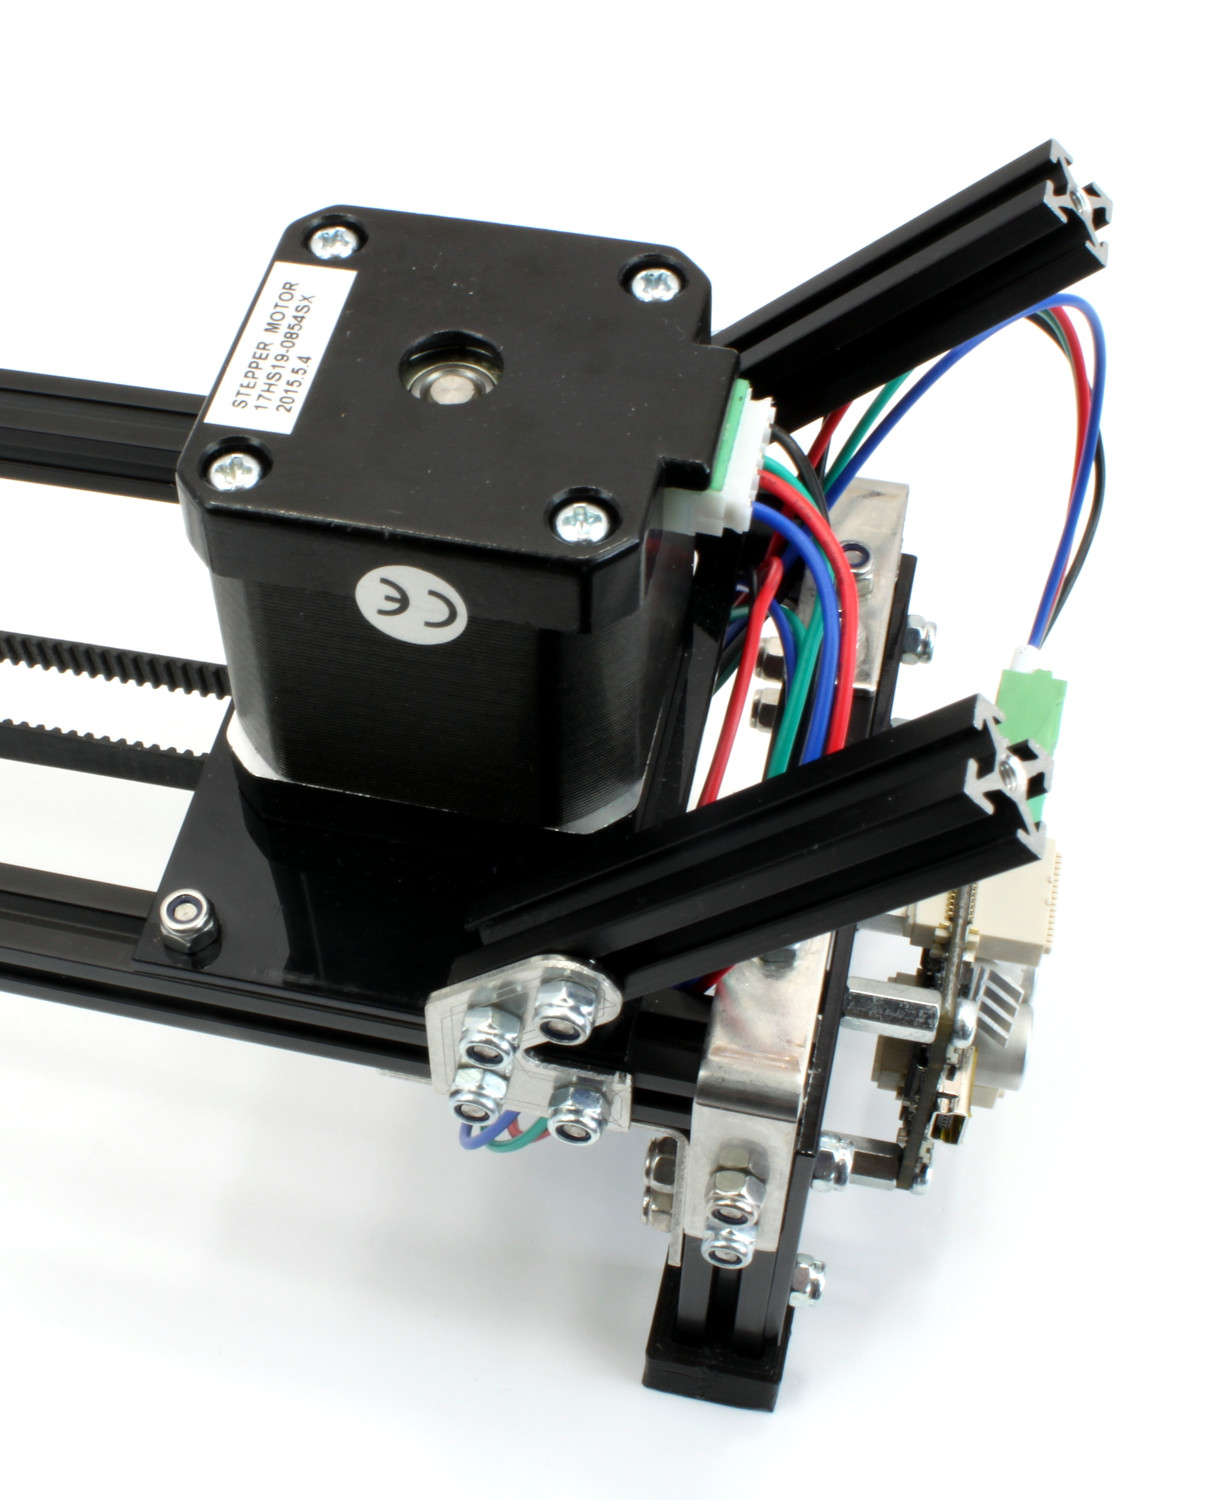
Connect both MakerBeams to the frame:
Fasten the MakerBeams with their 45° brackets to the frame with two lock nuts each. Ensure that the MakerBeams lean towards the Stepper Brick.
Holder
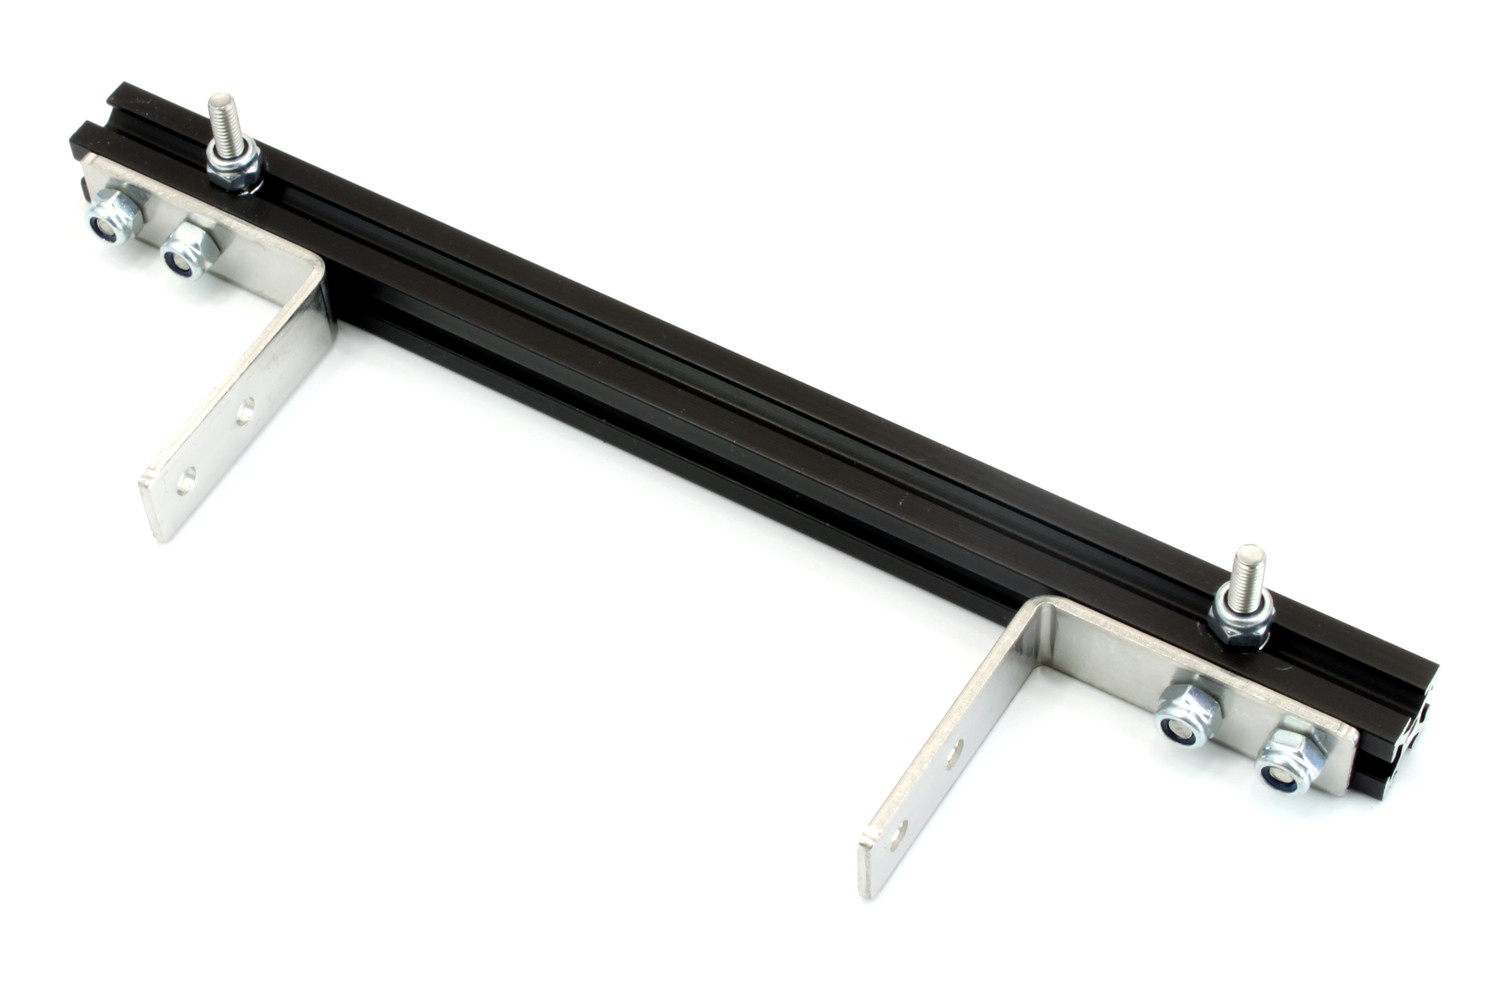
The touchscreen holder starts with two 60mm MakerBeams:
Insert two 6mm bolts into a 60mm MakerBeam.
Fasten a MakerBeam Corner Bracket to the MakerBeam with two lock nuts.
Repeat these steps for the second MakerBeam.
The touchscreen itself will be connected to two 150mm MakerBeams:
Insert four 6mm bolts into a 150mm MakerBeam.
Fasten two MakerBeam Corner Brackets to the MakerBeam with two lock nuts each.
Insert two 12mm bolts in the MakerBeam at 90° to the corner brackets and fasten each one near the ends of the MakerBeam with a lock nut.
Repeat these steps for the second MakerBeam.
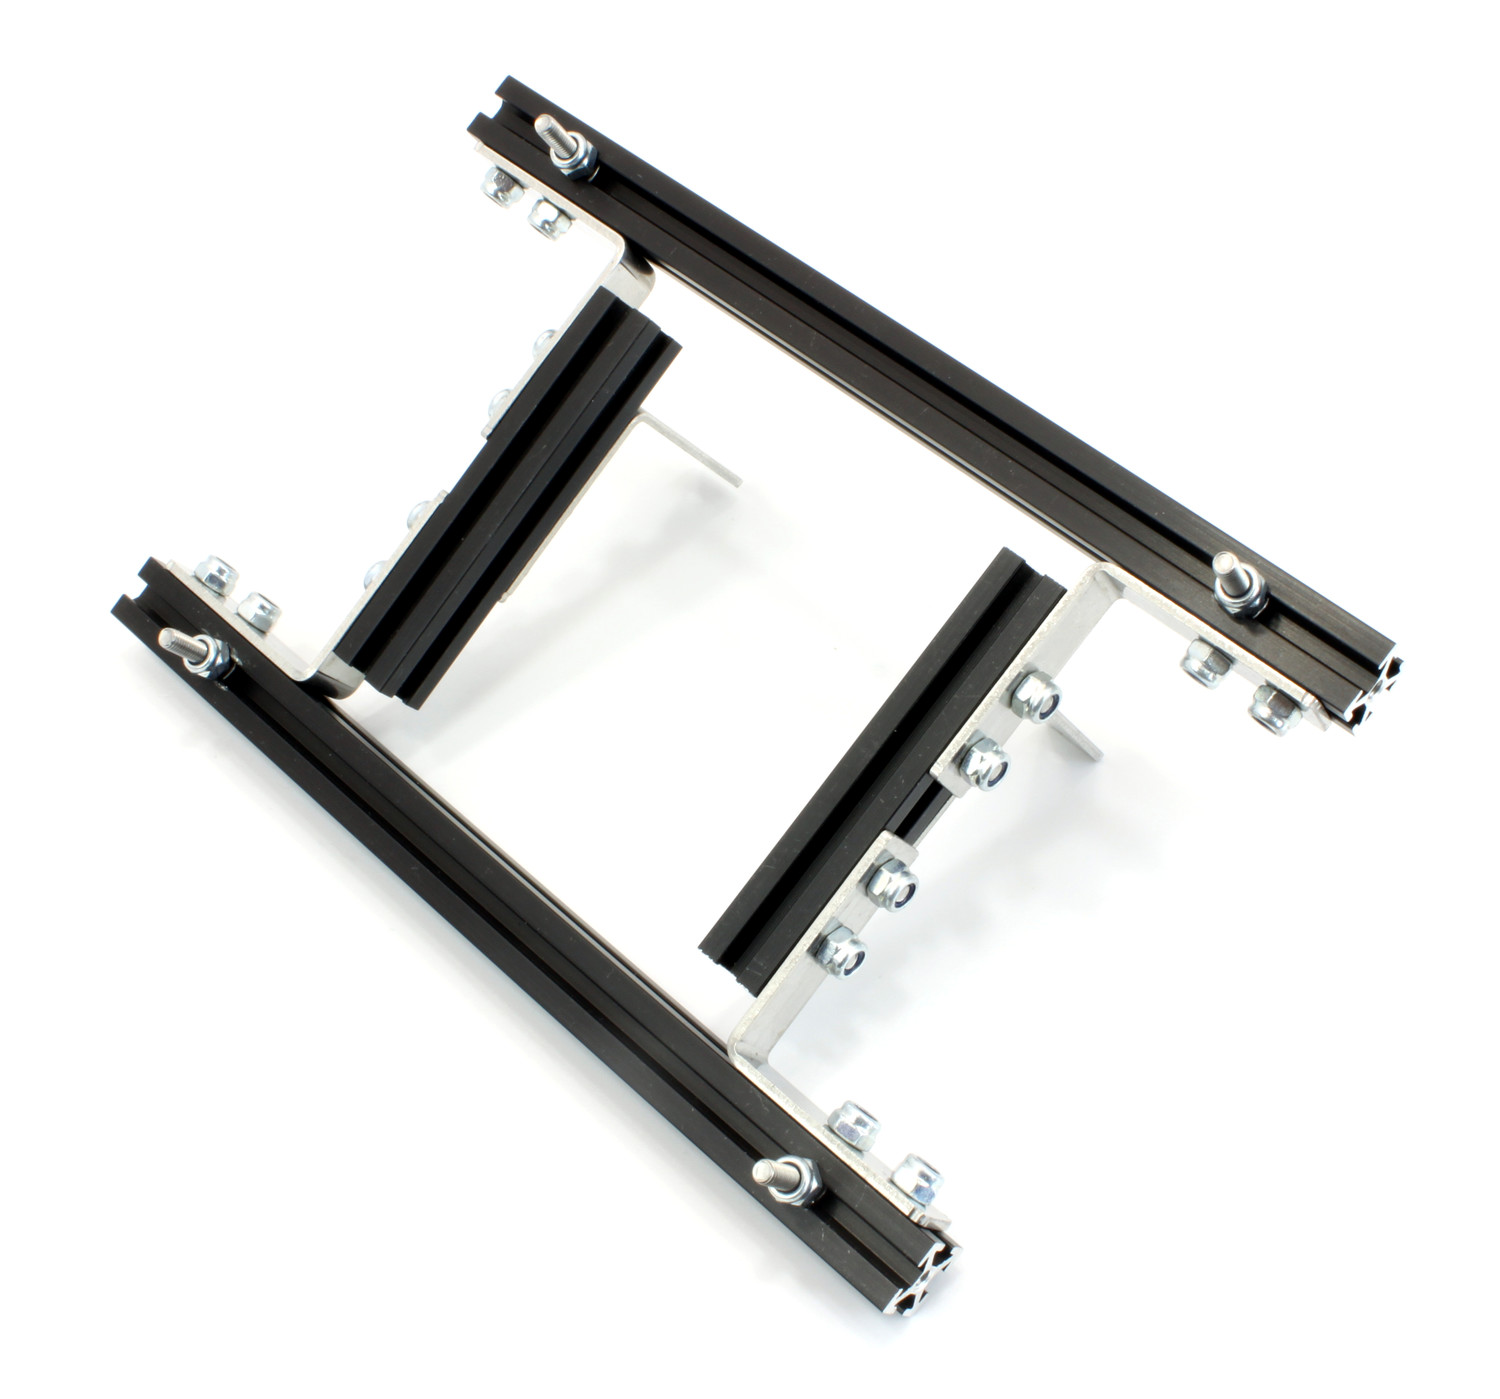
All four prepared MakerBeams form the holder:
Insert four 6mm bolts into the side of a prepared 60mm MakerBeam.
Fasten the corner brackets of the two prepared 150mm MakerBeams to the prepared 60mm MakerBeam with two lock nuts each. Ensure that the 12mm bolts on the 150mm MakerBeams and the corner brackets on the 60mm MakerBeams face into opposite directions.
Repeat these steps for the second prepared 60mm MakerBeam.
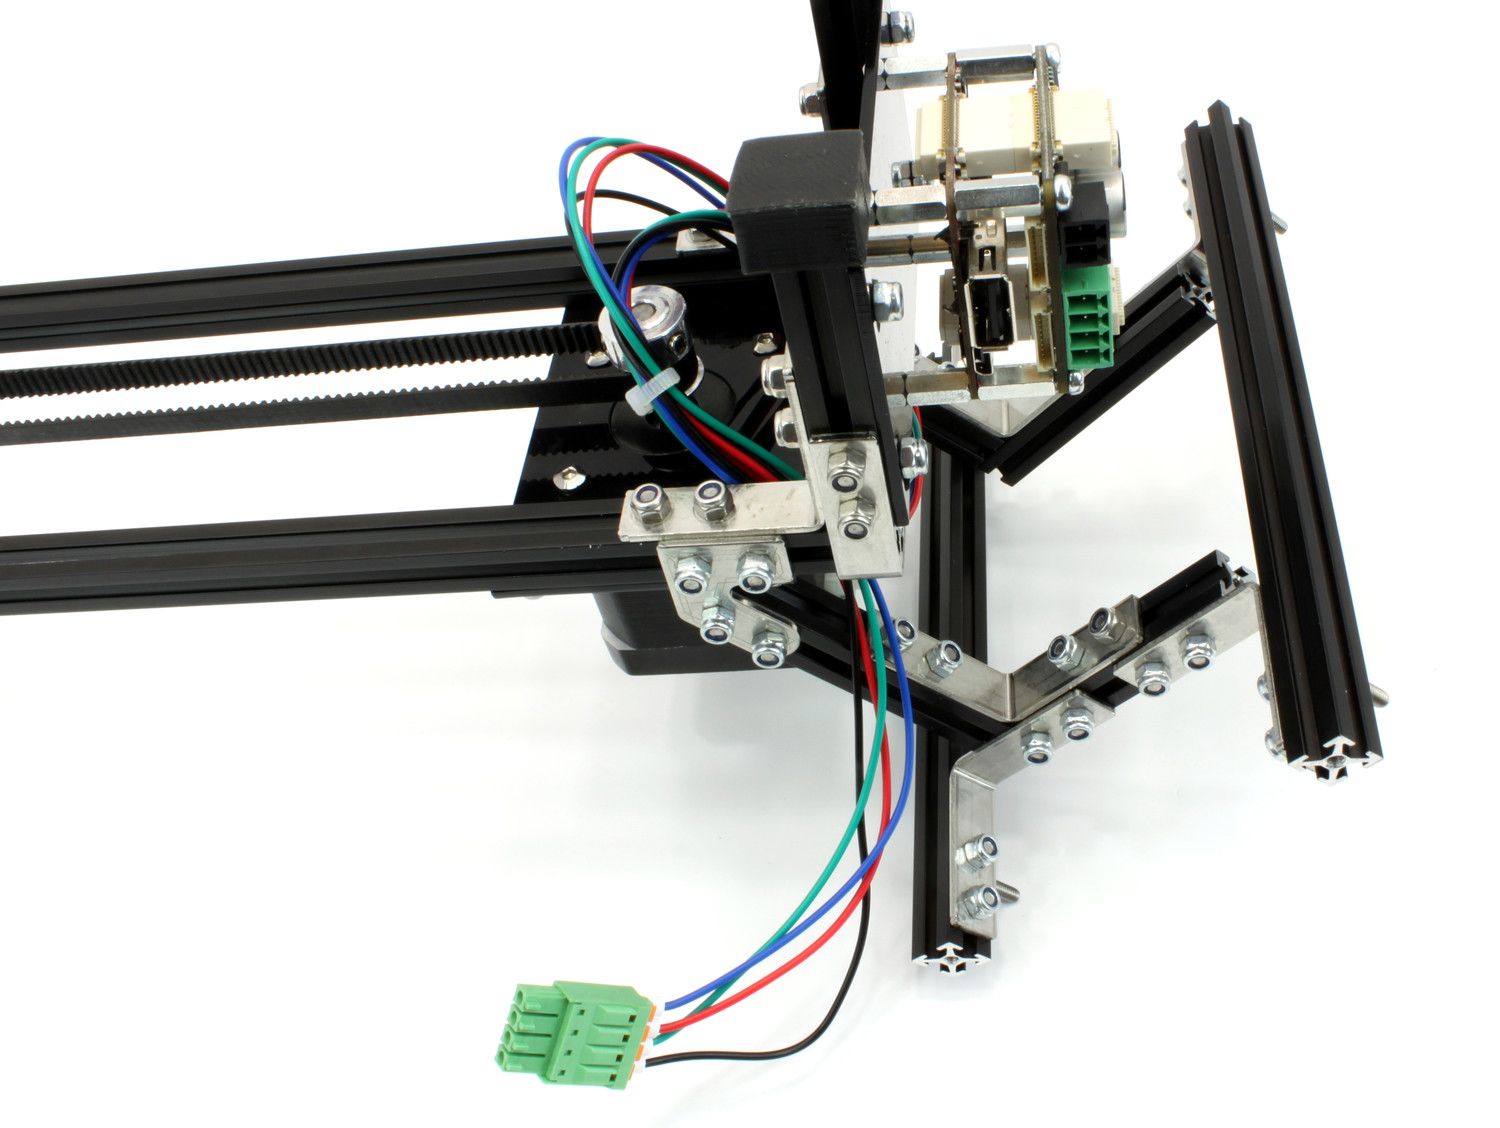
Connect the completed holder to the uprights:
Insert two 6mm bolts into the bottom side of each of the two uprights.
Fasten the MakerBeam Corner Brackets on the holder to an upright with two lock nuts each.
Fit the holder to the touchscreen:
Realign the four 12mm bolts and the distance between the two 150mm MakerBeams to fit the bolts into the four holes of the touchscreen.
Secure the touchscreen on the four 12mm bolts with four lock nuts. Don't fully tighten the lock nuts to avoid putting to much mechanical stress on the touchscreen.
Finally, add the RED Brick:
Disconnect the Stepper Brick from the frame.
Put the Stepper Brick on top of the RED Brick.
Reconnect the stack to the frame.
Connect the RED Brick and the touchscreen with the Micro HDMI cable and a Micro USB cable.
Done!
The camera slider is stand-alone now and you can upload the demo application to the RED Brick.
