C/C++ (iOS) - API Bindings
Objective-C is compatible to C. This allows to use the C/C++ bindings in an iOS App. For general information see the documentation about the C/C++ bindings, this page only covers iOS specific things.
In the following we assume that you already have the iOS development environment installed.
Testing an Example
As an example we will create a small project that can toggle a Dual Relay Bricklet. It should be easy to adjust this example for your needs.
Start a new Xcode project by clicking on:
File
New
Project...
Choose "iOS Application"
Choose "Single View Application"
Click Next
Choose a "Product Name" (e.g. Relay)
Click Next
Choose a "Folder" for the project
Click Create
Add the C/C++ bindings code:
Right click on the Relay folder in the Project navigator
New Group, choose name "Tinkerforge"
Right click on new Tinkerforge group
Add Files to "Relay"...
Choose all files from the
source/folder of the C/C++ bindings
Below is a small example program that turns a relay on and off with a toggle button.
Edit AppDelegate.h as shown below and add the two variables for the IPConnection
and DualRelay objects and the toggleRelays Interface Builder action.
#import <UIKit/UIKit.h>
#include "ip_connection.h"
#include "bricklet_dual_relay.h"

@interface AppDelegate : UIResponder <UIApplicationDelegate>
{
    IPConnection ipcon;
    DualRelay dr;
}

@property (strong, nonatomic) UIWindow *window;

- (IBAction)toggleRelays;

@end
Edit AppDelegate.m as shown below to create the IPConnection and DualRelay
objects after the App is launched. For simplicity no error handling is done here.
In the toggleRelays action the state of both relays is switched.
#import "AppDelegate.h"

@implementation AppDelegate

@synthesize window = _window;

- (BOOL)application:(UIApplication *)application didFinishLaunchingWithOptions:(NSDictionary *)launchOptions
{
    // Change to the IP address of your host
    ipcon_create(&ipcon);
    dual_relay_create(&dr, "XYZ", &ipcon); // Change XYZ to the UID of your Dual Relay Bricklet
    ipcon_connect(&ipcon, "192.168.178.46", 4223);
    dual_relay_set_state(&dr, true, true);

    return YES;
}

- (IBAction) toggleRelays
{
    // Get state of both relays and toogle it
    bool state1, state2;
    dual_relay_get_state(&dr, &state1, &state2);
    dual_relay_set_state(&dr, !state1, !state2);
}

@end
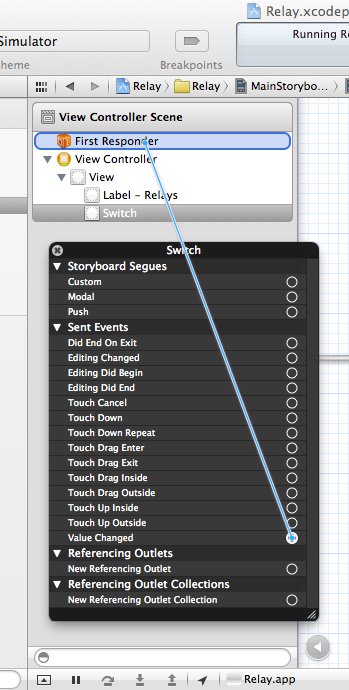
Now open MainStoryboard.storyboard in the Interface Builder and add a Label and
a on/off Switch object as shown in the screenshot. The last step is to connect the
Switch Value Changed event with the toggleRelays action:
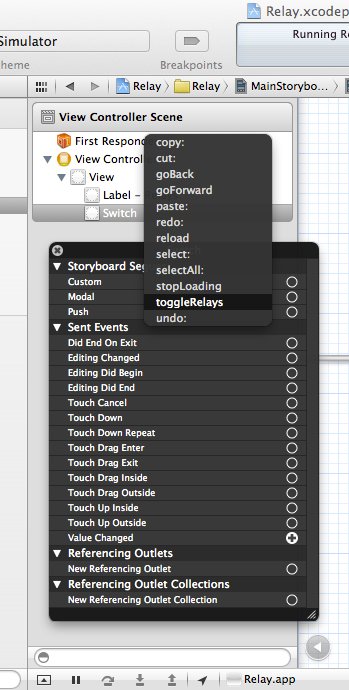
Right click on the Switch
Click on the circle right of the Value Changed event
Drag a line to the First Responder
Choose toogleRelays from the action menu

|
|
Test the App in the simulator by clicking the Run button. Don't forget to change the UID and the host IP address to the correct values for your brickd host and your Dual Relay Bricklet.