By this time we have lots of experience in making photos for the documentation and the shop. Our equipment got steadily better over time. What we were still missing was a turntable that would allow us to make 360° pictures. A professional photography turntable is super expensive, so we made our own!
In front we will show you the resulting 360° photo of the finished turntable and a small video that shows it in action (the video is of low quality, we took it with a smart phone, the camera was used otherwise for obvious reasons ;-) ).
360° Photography of a Bricklet.
From the system of Tinkerforge building blocks we used a Industrial Quad Relay Bricklet and a Stepper Brick. The source code that controls the Stepper Brick and the Quad Relay Bricklet can be found on github.
There are only a few ingredients needed to build a turntable:
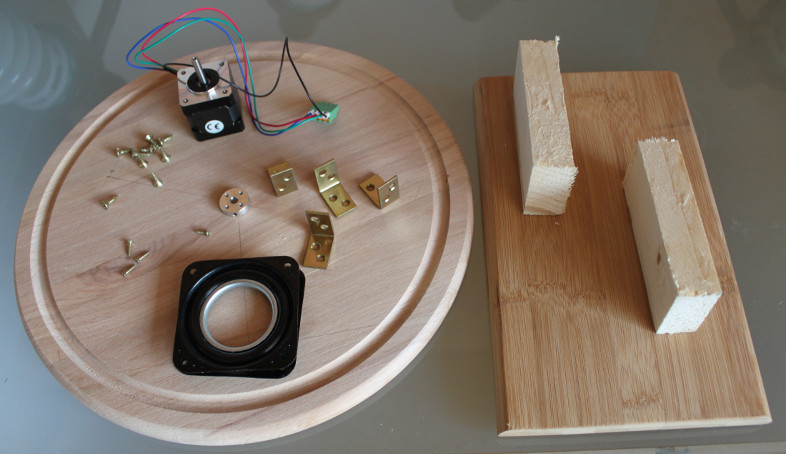
We used a stepper motor (14€) and a hub (6€) from Pololu as well as two cutting boards (1€, 3€) as table and foot. In addition we bought a rotary ball bearing from ebay (10€) and we use a few wood offcuts as spacer and brackets/screws from our scrap box.
In sum: Not too expensive!
After we screwed the ball bearing to the top board, the stepper brick to the hub, the spacers to the bottom board, as well as the brackets between the spacers, the whole assembly looks as follows:
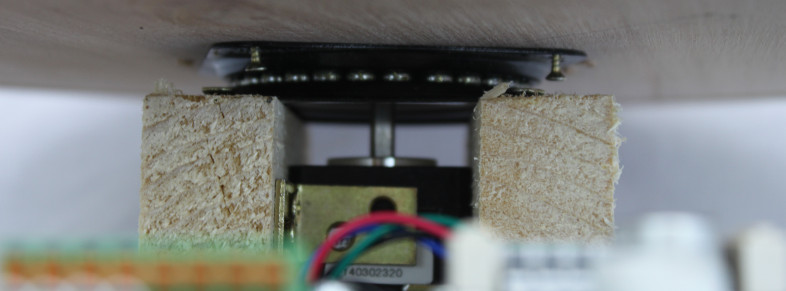

You probably noticed that the screws that connect the rotary ball bearing to the top board are not completely screwed in. This was unfortunately necessary because of the high quality of the ball bearing. The ball bearing, which we bought used from ebay is super smooth-running, it can carry 250kg and it has no clearance whatsoever. The latter turned out to be a problem.
Since the hub is directly connected to the stepper motor which in turn has its place because of the position of the ball bearing, the hub has to be perfectly in the middle of the ball bearing. If it is off by only 0.5mm the ball bearing will not turn. Oooops! Despite many tries to screw the hub exactly to the middle, we couldn’t do it as precise as needed. To fix the issue we gave the ball bearings a bit of clearance by not screwing it completely firm to the top board.
Now we have a turntable that we can control to drive to an arbitrary position. For a full automation we also need a possibility to automatically take a photograph. The trigger of our Canon 500D can be driven by a small 2.5mm audio jack. This jack has two strands and shielding. To focus we can connect the shield to the red strand and to trigger a photograph we can connect it to the white strand.
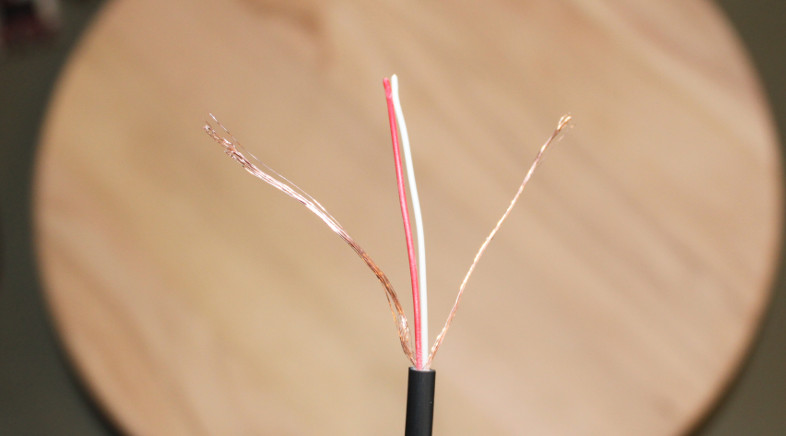
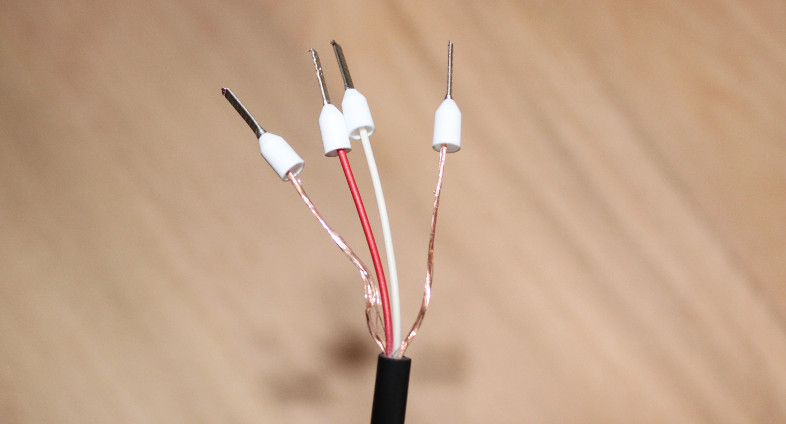
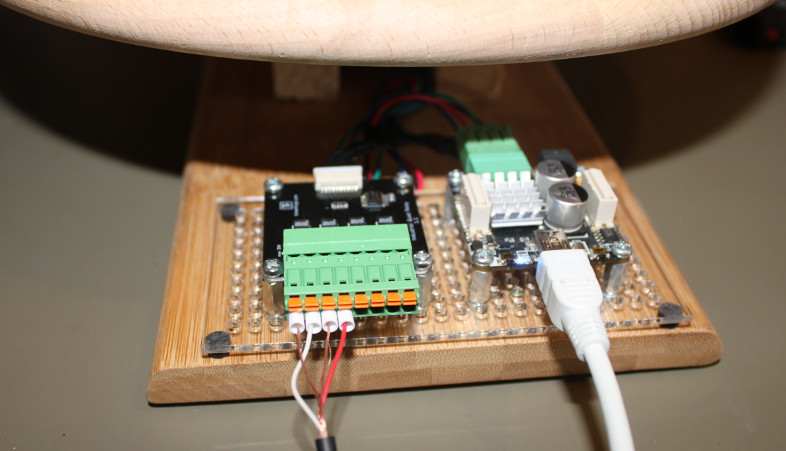
We opened up an audio jack cable and gave the strands and the shielding some wire end sleeves. The resulting four wires can be connected to the Industrial Quad Relay Bricklet. Now we can trigger a photograph by switching relay 1 and we can focus be switching relay 2. That was easy!
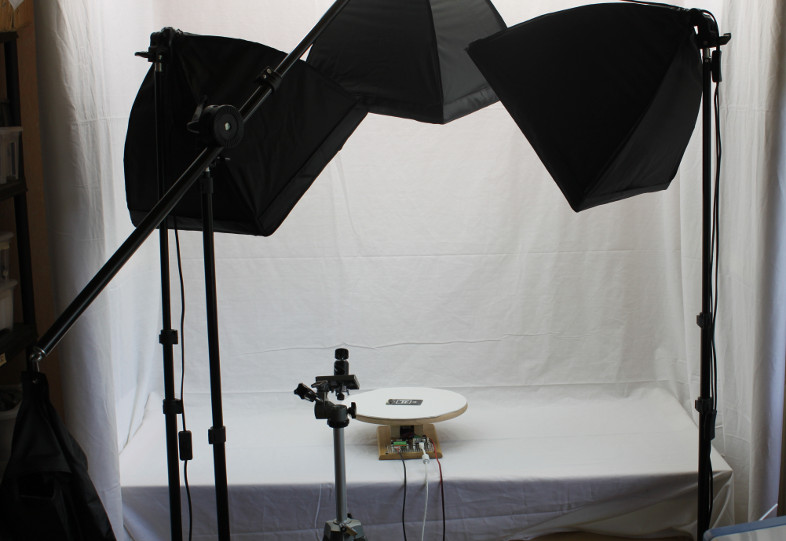
The end result with a white photo pad on top of the board looks as follows:
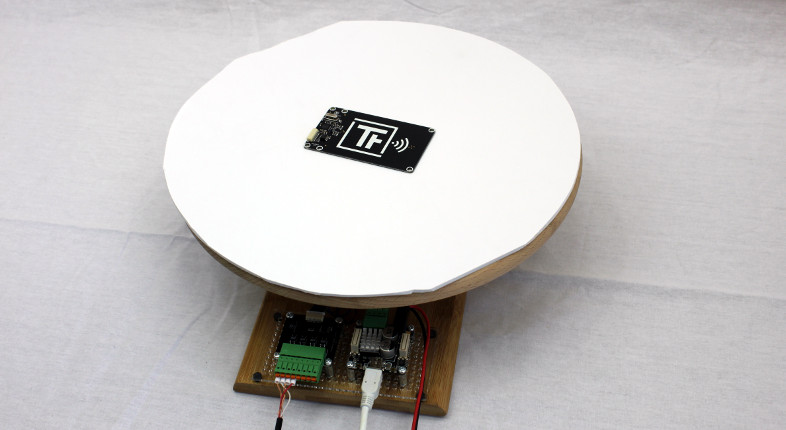
It fits like a charm in our (of course also self-made) photo booth!