
In our last blog entry we wrote about the first prototypes of the RED Brick. We found an error in the hardware design. One of the processor pins was mistakenly connected to ground. To sever the connection we used a drill bit that was a bit too large, nevertheless we were able to bring one of the RED Bricks to life. One week has passed and we have already gone big steps forward.
With the 0.3mm drill bits that arrived last week we were able to repair more RED Bricks. We used a professional xy-stage to position the drill bit correctly, but it was still a big challenge. For some of the Bricks we did damage traces of the 6-layer circuit board that are in proximity to the drill hole. In sum we now have six working RED Bricks.
U-Boot/Linux Image
Most of our work until now went into U-Boot (bootloader) and the Linux image of the RED Brick. Some of the tasks have been to create a toolchain, write build scripts, implement hardware modifications (LEDs, DDR, interfaces), configure the image (language, hostname, etc) and similar. It is particularly time consuming to optimize boot time. We removed lots of daemons, drivers and similar that are not sensible on the RED Brick. The current boot time including graphical user interface is 45 seconds. We will still optimize that. Additionally to the full image with graphical user interface we are also working on a fast stripped down image without graphical user interface. In first tests we were able to reach a boot time of 15 seconds.
HDMI
Since some of the HDMI signals are routed in direct proximity to the via that we had to drill out, HDMI does not work on all of the repaired RED Bricks. It seems we damaged the HDMI traces on those. The RED Bricks that have intact HDMI signals do have a working HDMI output: (Screenshot was taken directly on the RED Brick)
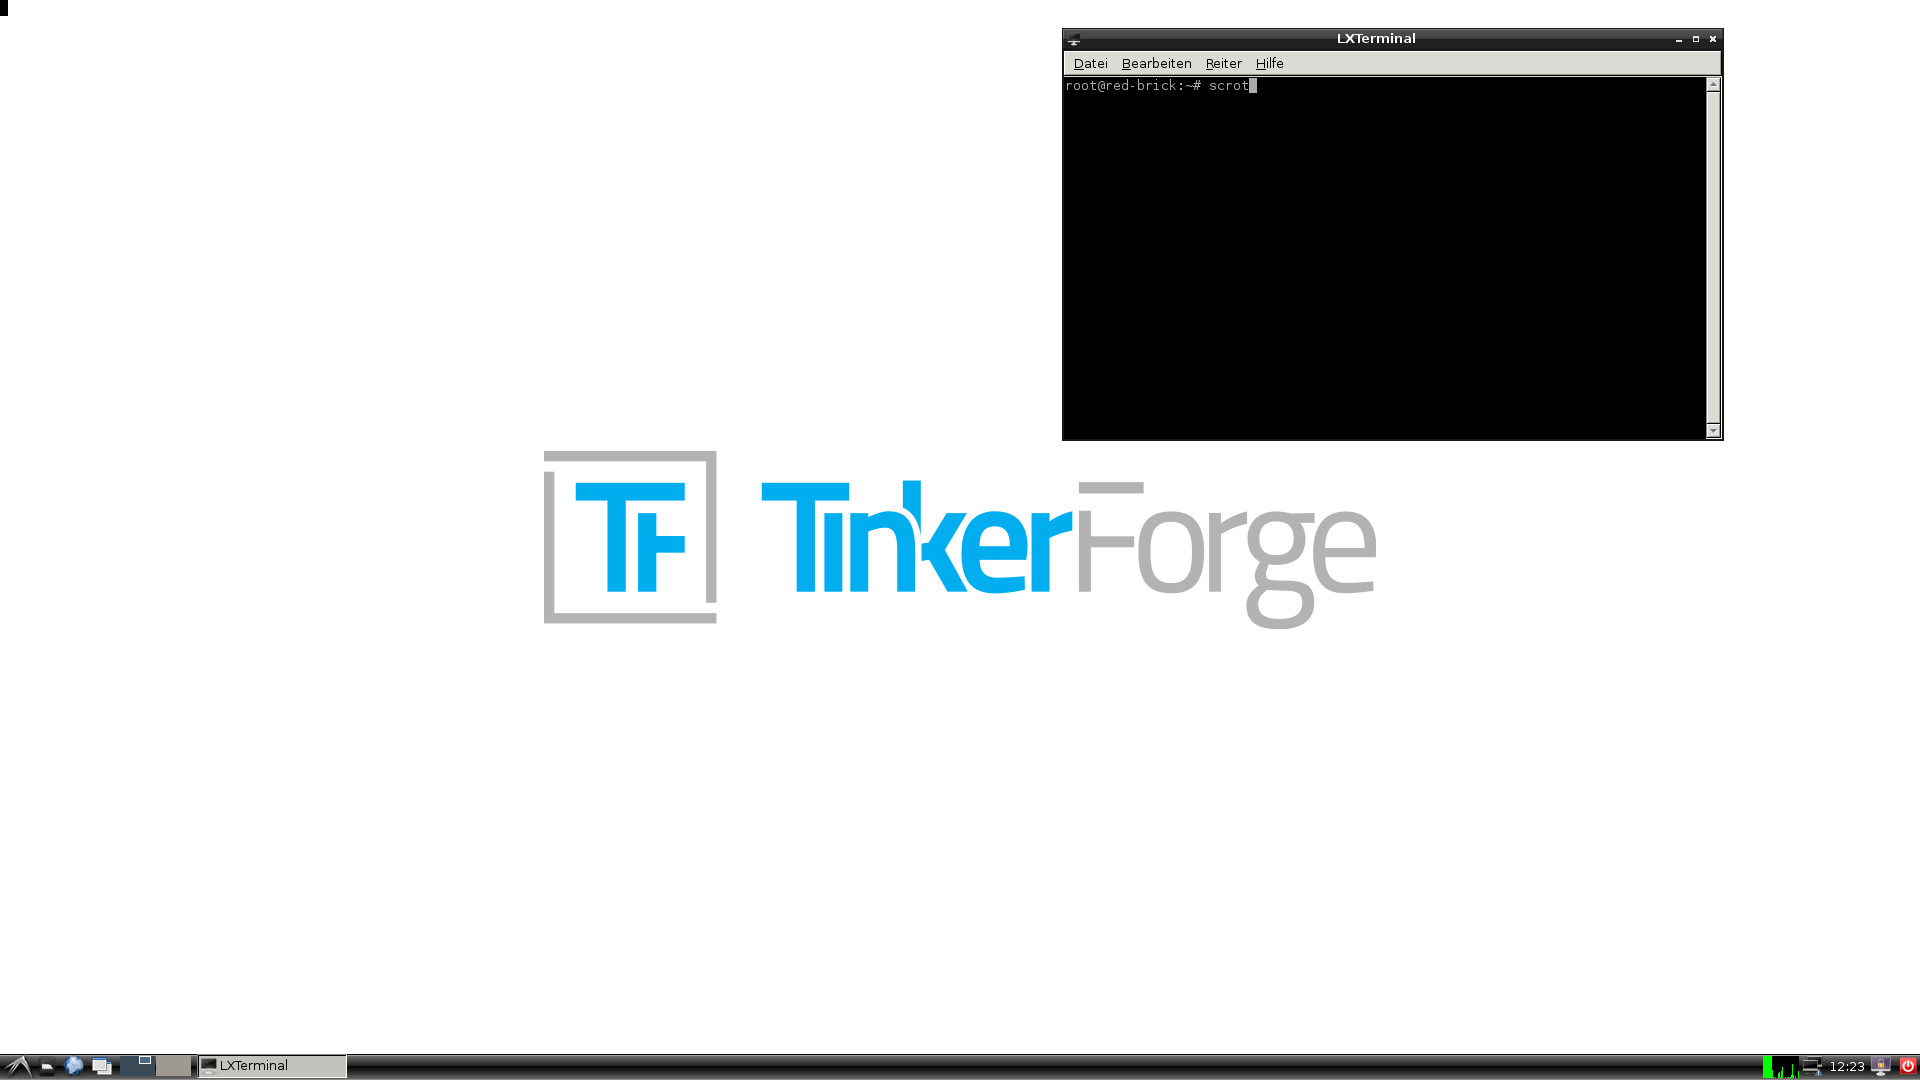
USB host
USB host is working too. Currently we are using USB WIFI dongles to connect the RED Brick to our local network.
RAM and heat testing
The connection of the DDR RAM to the processor is quite complex which means that it has to be tested thoroughly. We used the tool stress, which was able to heat up the RED Brick considerably. Stress uses up all of the available processor, RAM and SD card resources. We ran the test for several hours without a heatsink. While the RED Brick got hot, we could not observe any problems. Additionally we used memtester to run different tests on the RAM. These also couldn’t detect any problems. With sysbench and dd we were able to reach the expected performance goals. As far as we can tell there are no problems present with the connection, stability and performance of RAM, processor and SD card at all, they work exactly as expected.
It seems your finger crossing did work out, thanks!
What next?
There is still a huge amount of work that we have to put into the Linux image. We are also working hard to get the kernel drivers ready that are needed for communication between RED Brick and brickv. Over this interface it will be possible to configure the RED Brick and to transfer your own programs to the RED Brick. We will try to keep you informed in future blog posts!