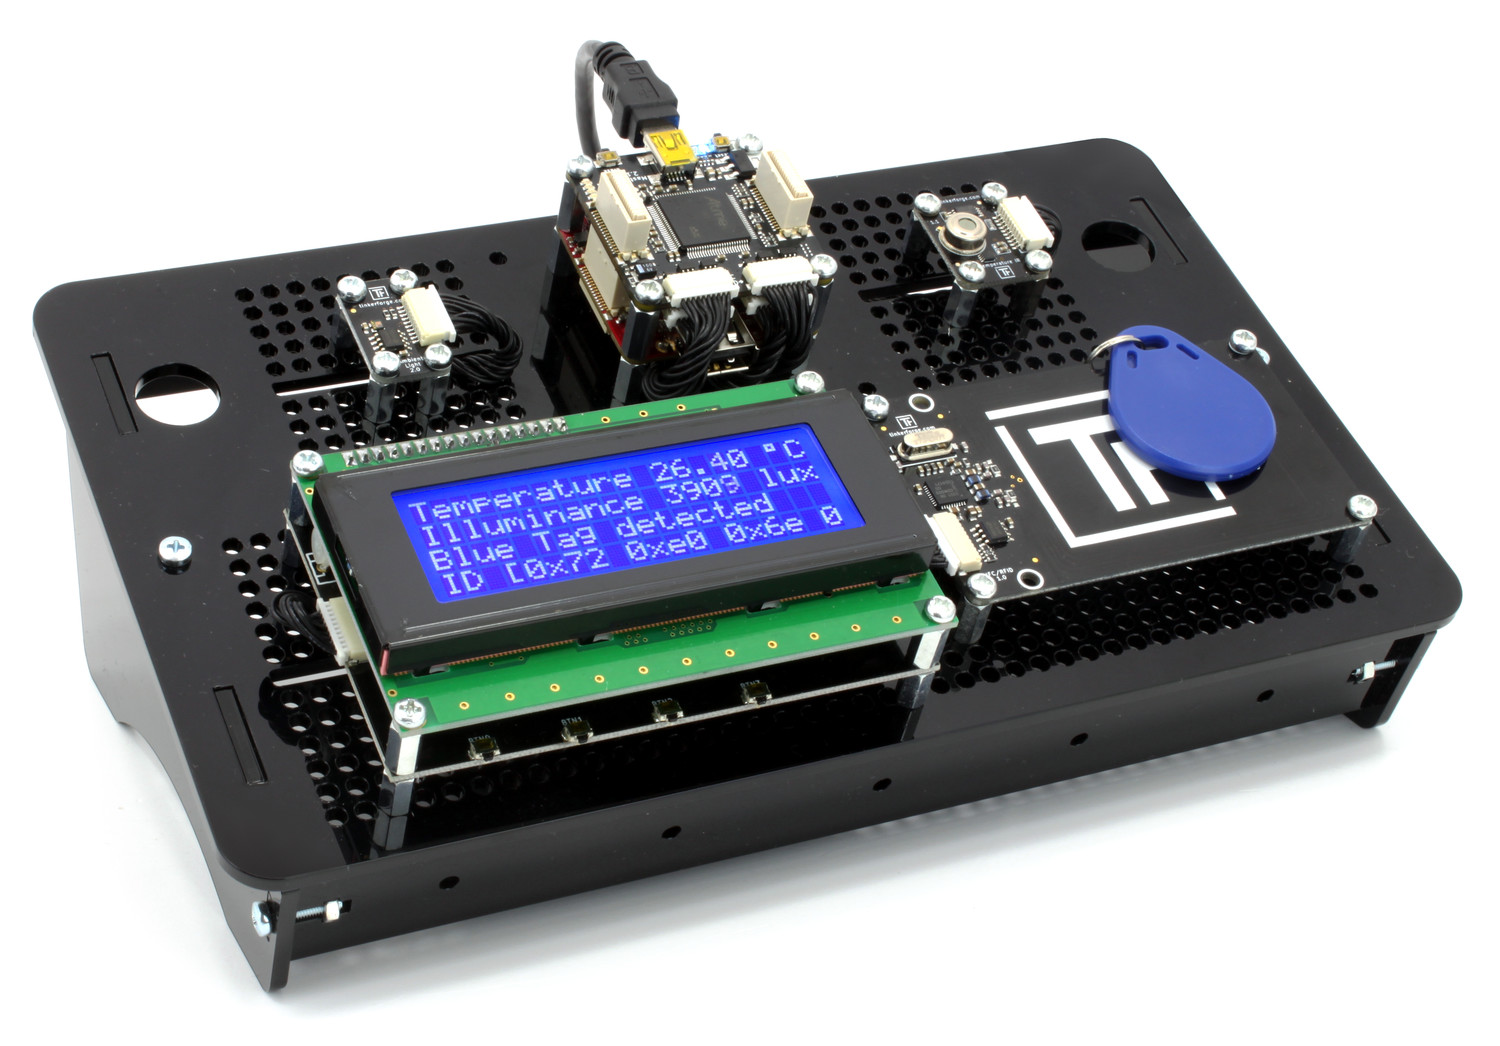
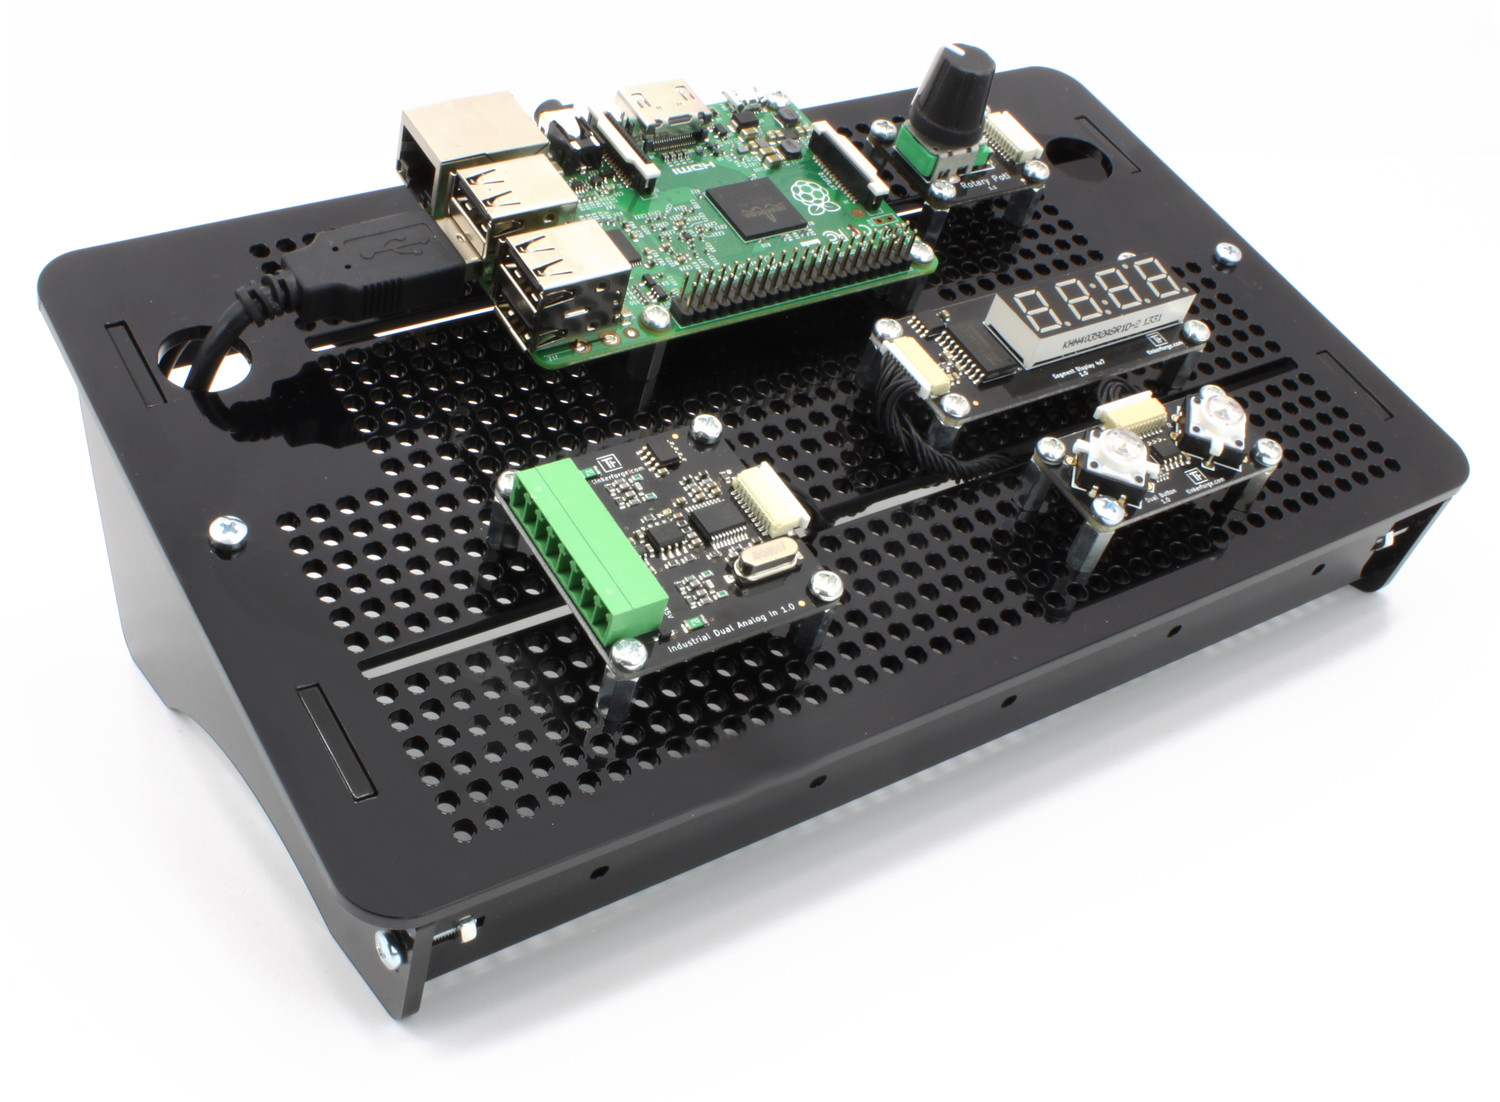
Today we have released the Tinkerforge Workbench. It is perfect for everybody that wants to experiment with Tinkerforge components and wants to present the project in a tidy way.
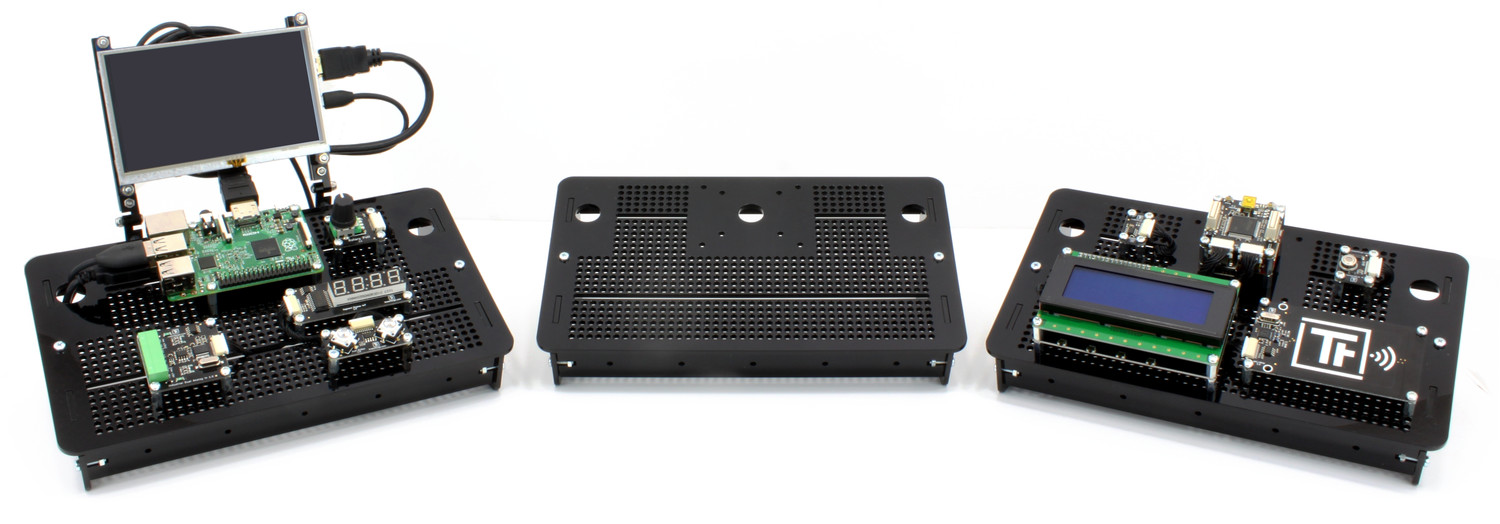
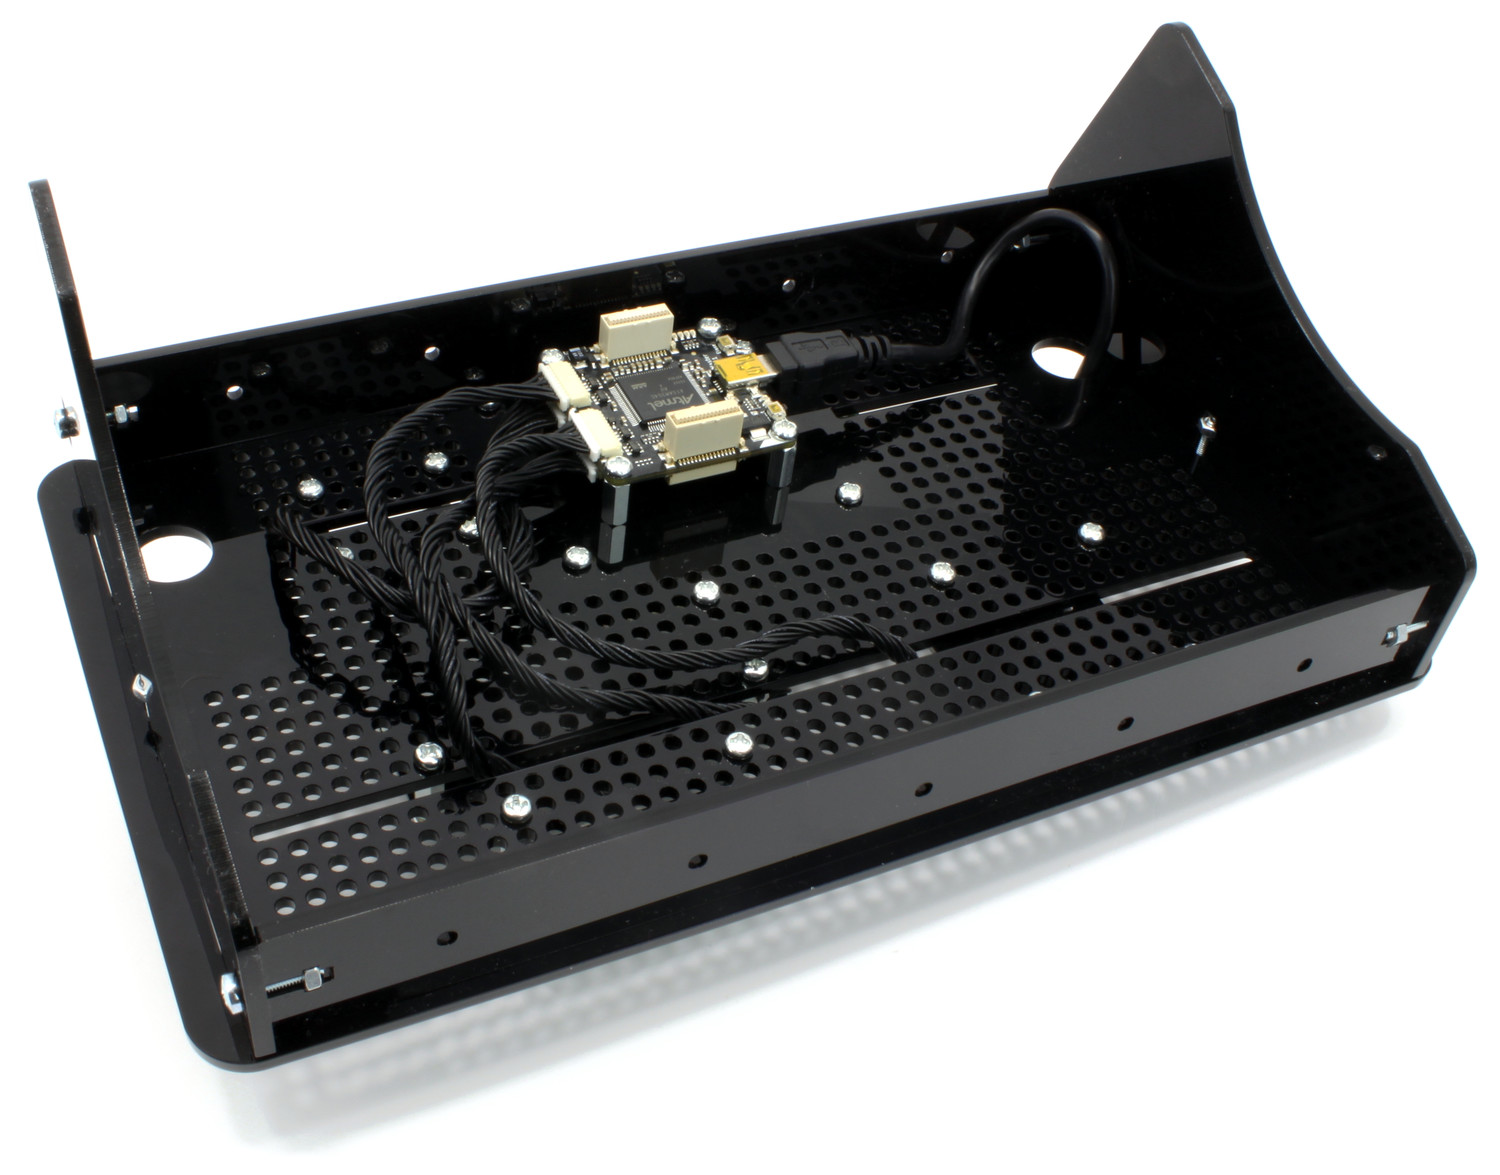
It is a plastic case with a size of 240x140mm and a slightly tilted front panel. The front panel has a grid of 3mm drill holes, that have a distance of 5mm to each other. You can mount all of the Tinkerforge modules on this grid, as well as other circuit boards or other hardware projects. Cables can be put through slots and guided unobtrusively at the bottom site of the case. The resulting projects are thus always clean and tidy, even if they have complex wiring.
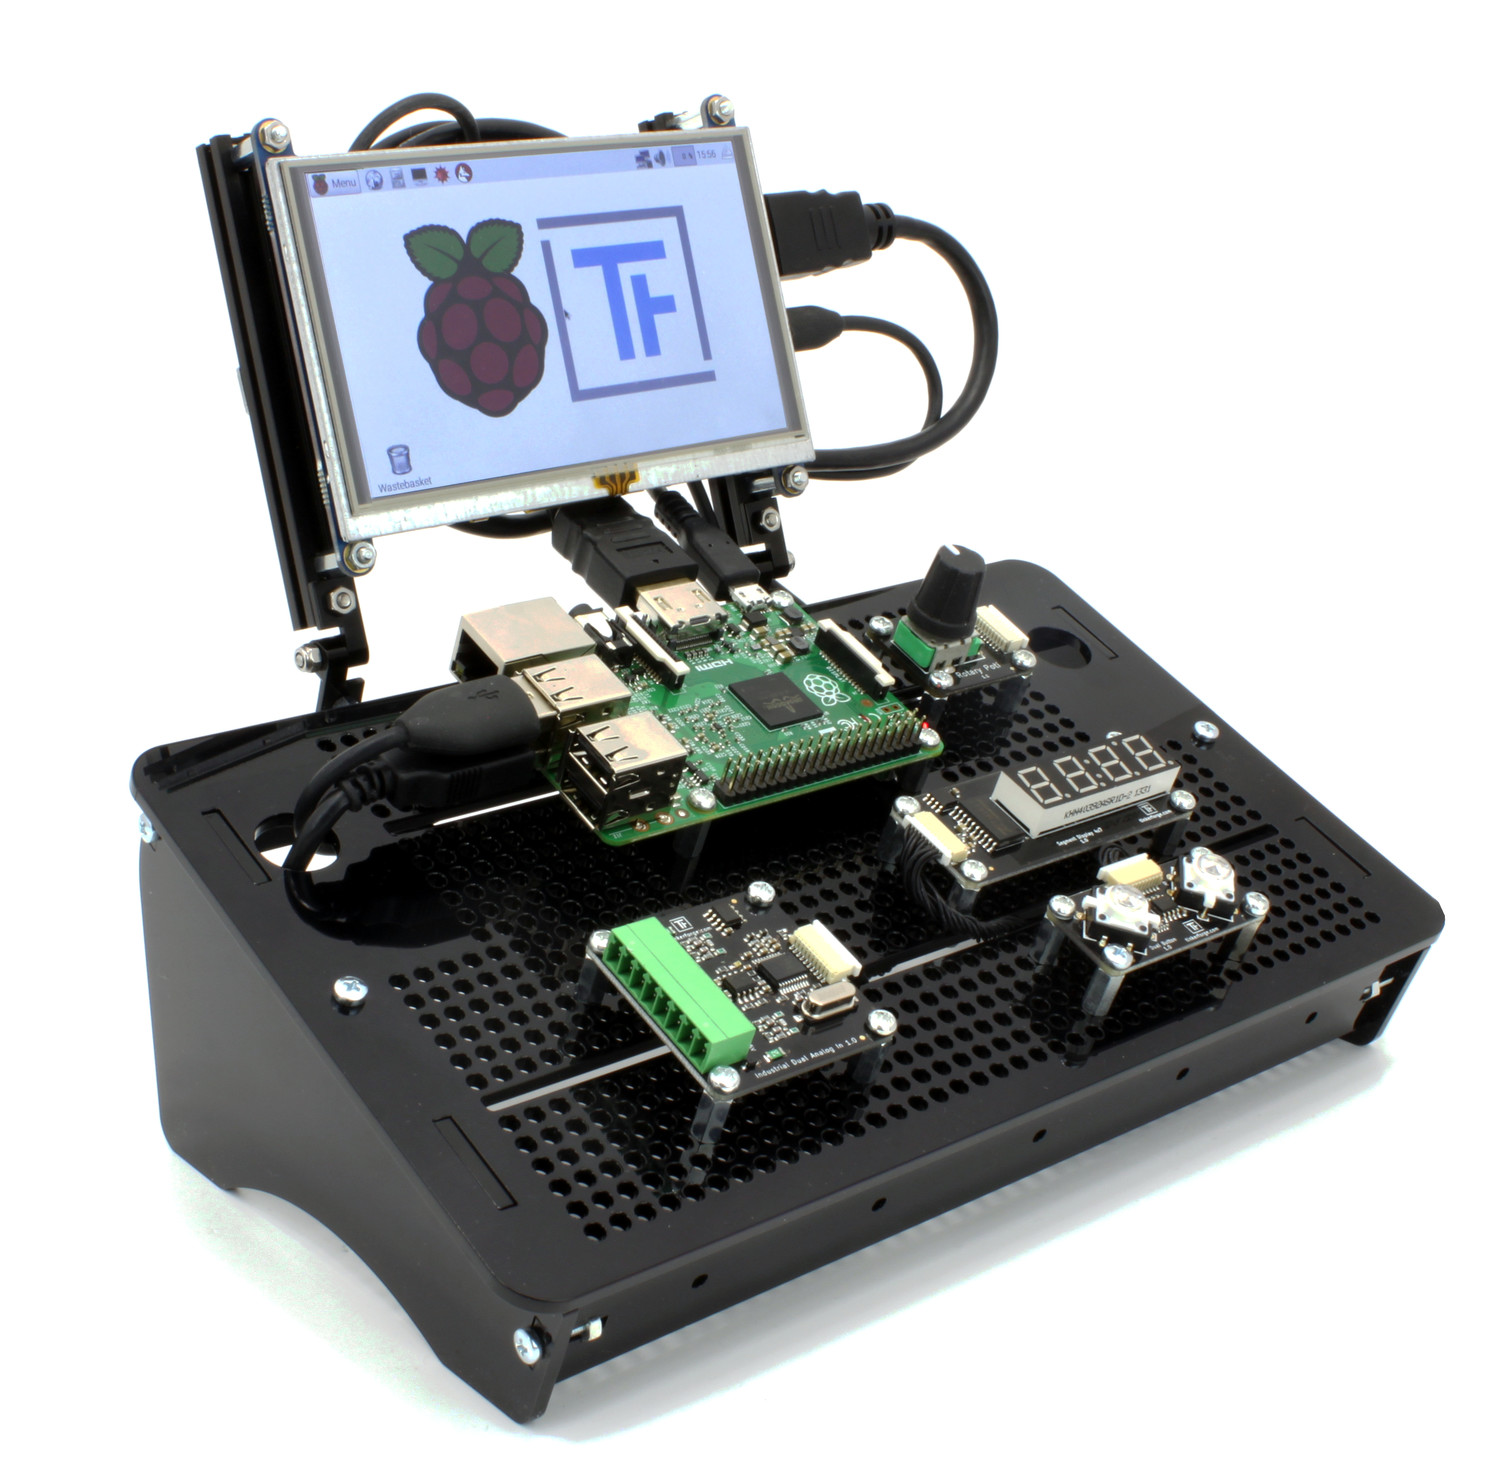
In the middle of the front panel is enough space to either mount a stack of Bricks or a Raspberry Pi (which unfortunately does not have a 5mm compatible grid). If you use a Raspberry Pi, you can still put up to four Bricks at the bottom side of the front panel (inside of the case). If that is not enough, you can of course also mount Bricks at any other position of the case.
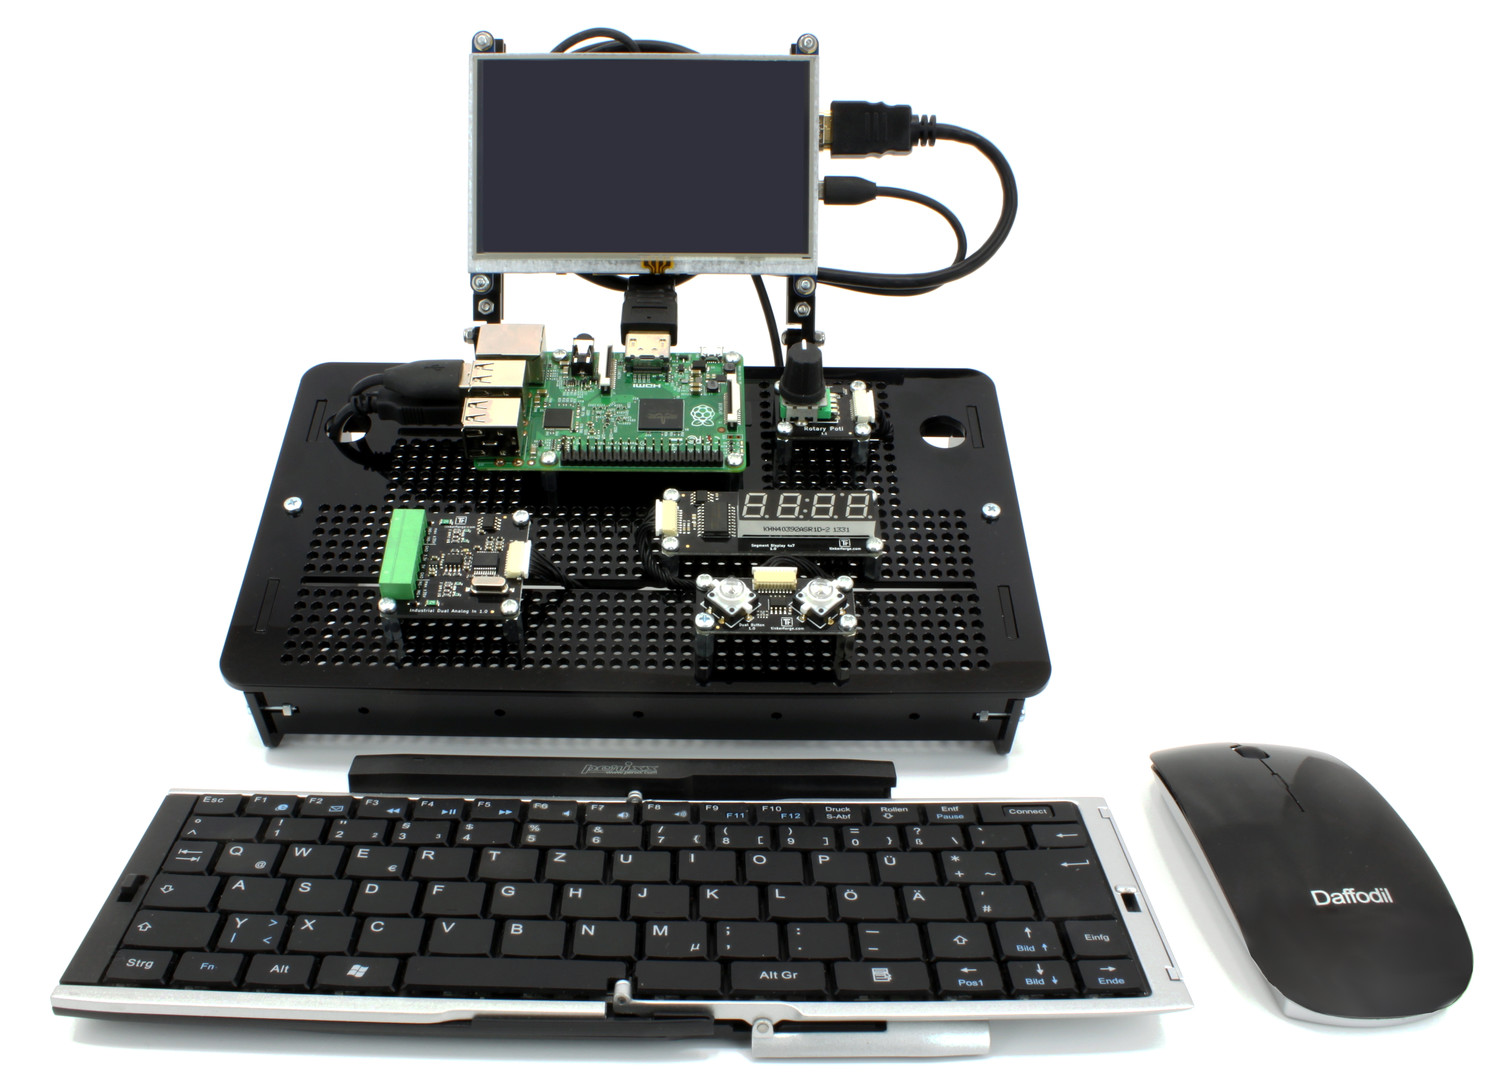
The struts at the front and at the back also have 3mm drill holes. These can be used to mount other construction. As an example we attached a simple HDMI display mount made with MakerBeams:
If you miss a mounting option somewhere, you can easily drill new holes into the acrylic plastic. We wish you lots of fun with this case and hope to be able to see some photos of your projects!